How to square up a quilt for binding
When the quilting’s done and the binding is all that remains, the finish line is in sight. What an awesome feeling! Before you head down the home stretch, take some time to “square up” the quilt and your quilt will look even more spectacular.
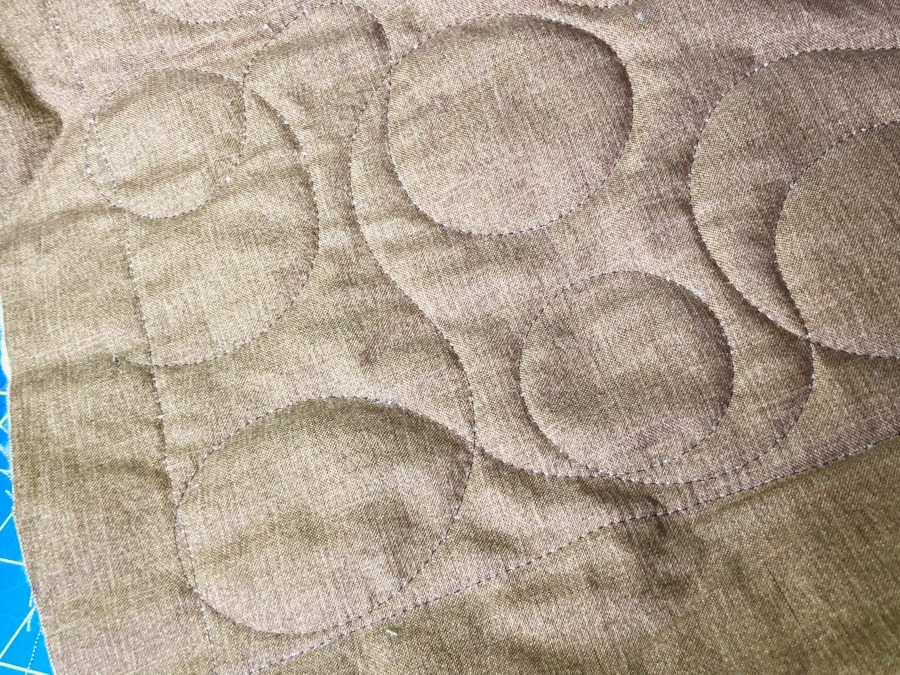
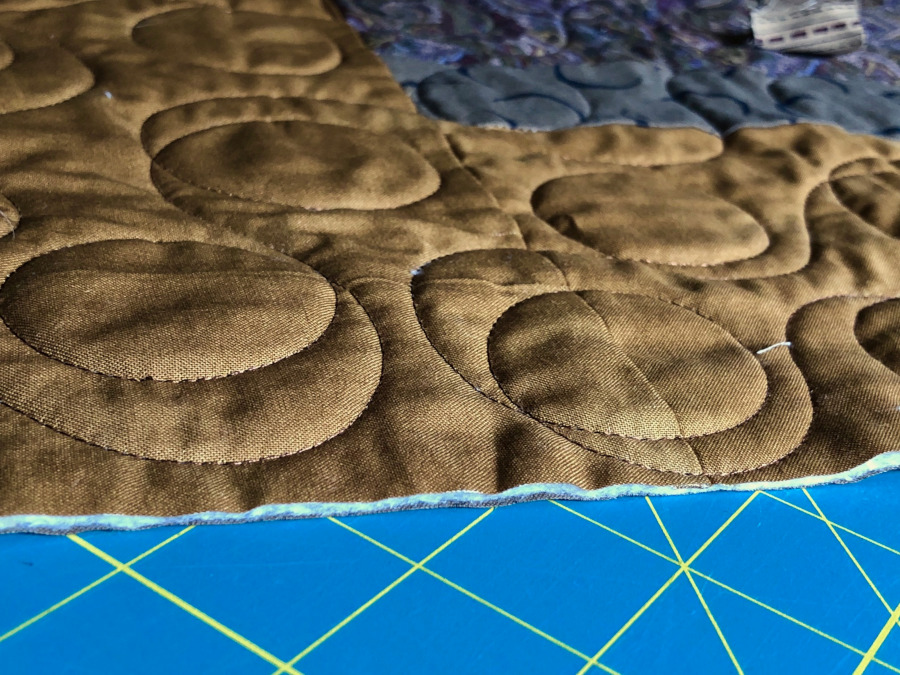
No matter how careful you are, the quilting process can distort the quilt and make the edges crooked. That’s especially true if the quilting density is uneven. Keep the quilting amount consistent across the entire quilt—even the borders—to get a nice, flat quilt.
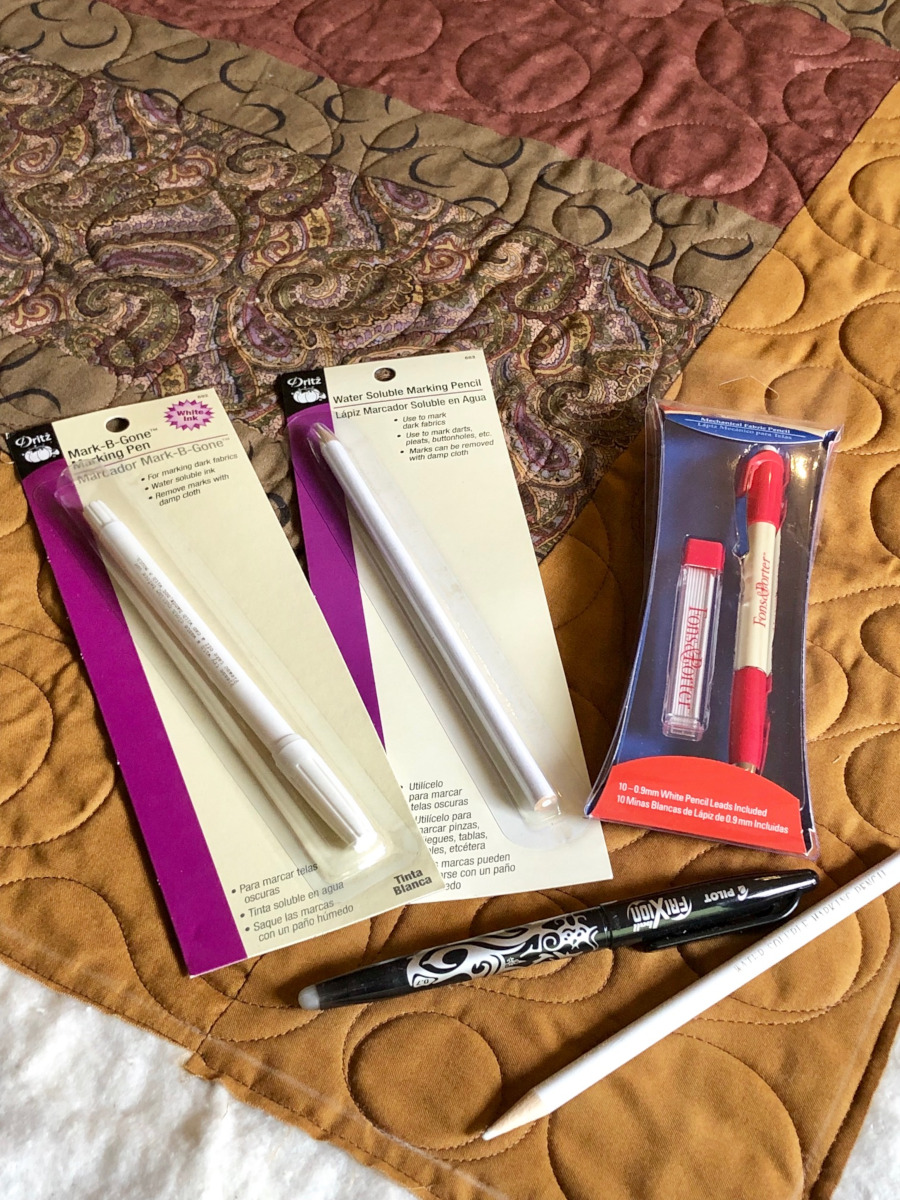
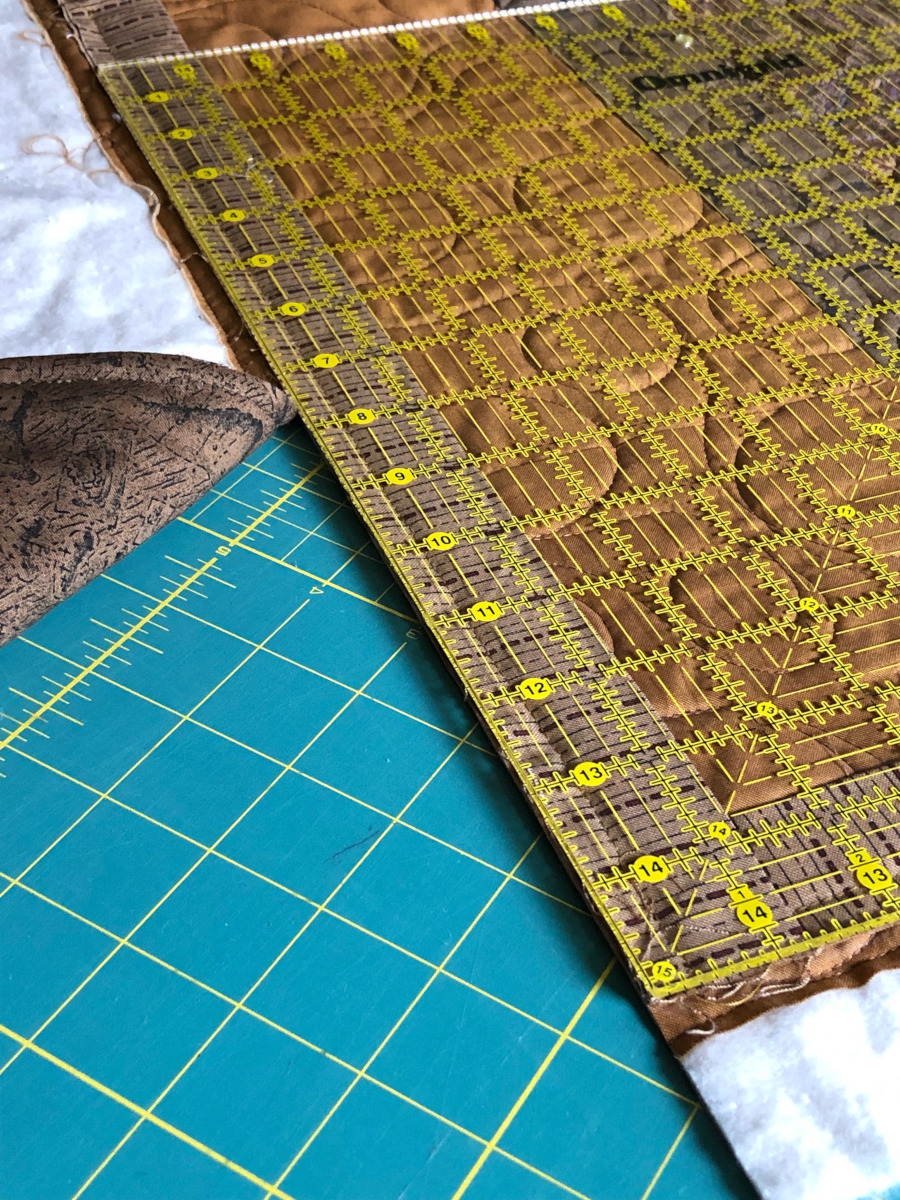
The simplest way to square up a quilt for binding is to mark a new edge along the quilt’s perimeter. You’ll then align the binding raw edge with this new line when attaching it. Use whatever marking tool you’re comfortable with; this mark will be hidden inside the binding.
Start marking in the corner. Align a large square ruler so that its outer edges are equidistant from the interior section of the quilt, making sure that the quilt’s two edges are under the ruler completely on both sides. Note this new measurement and check the remaining three corners to ensure that it will work for all of them. Adjust if necessary.
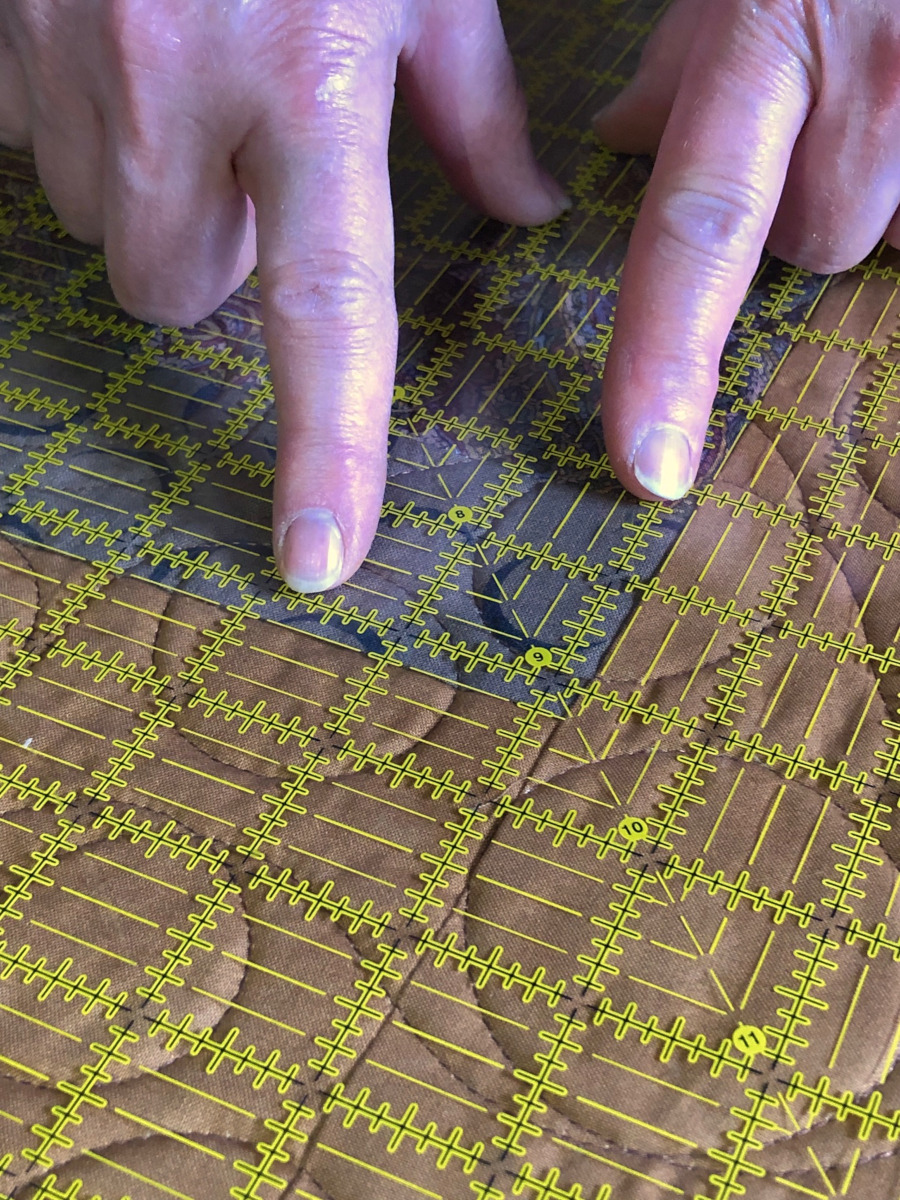
Mark each corner using that measurement.
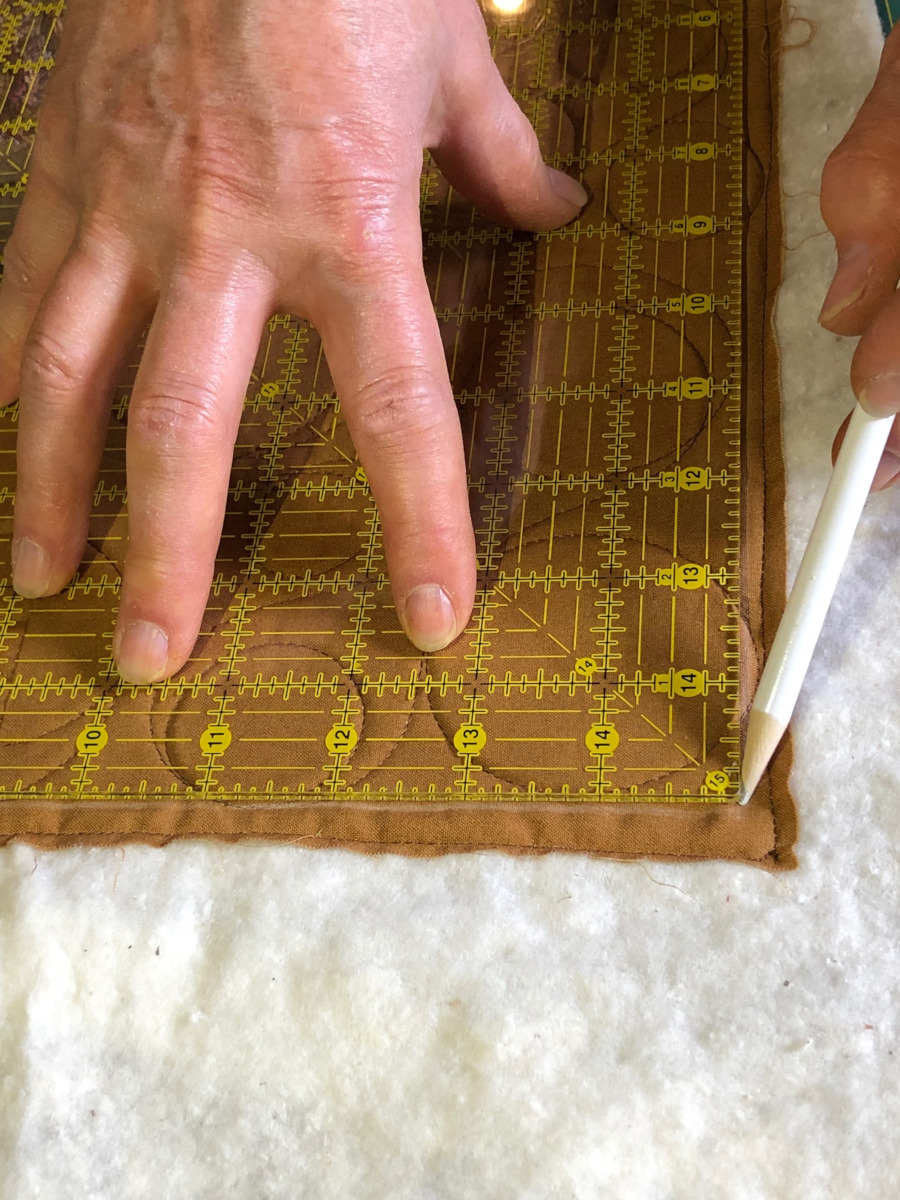
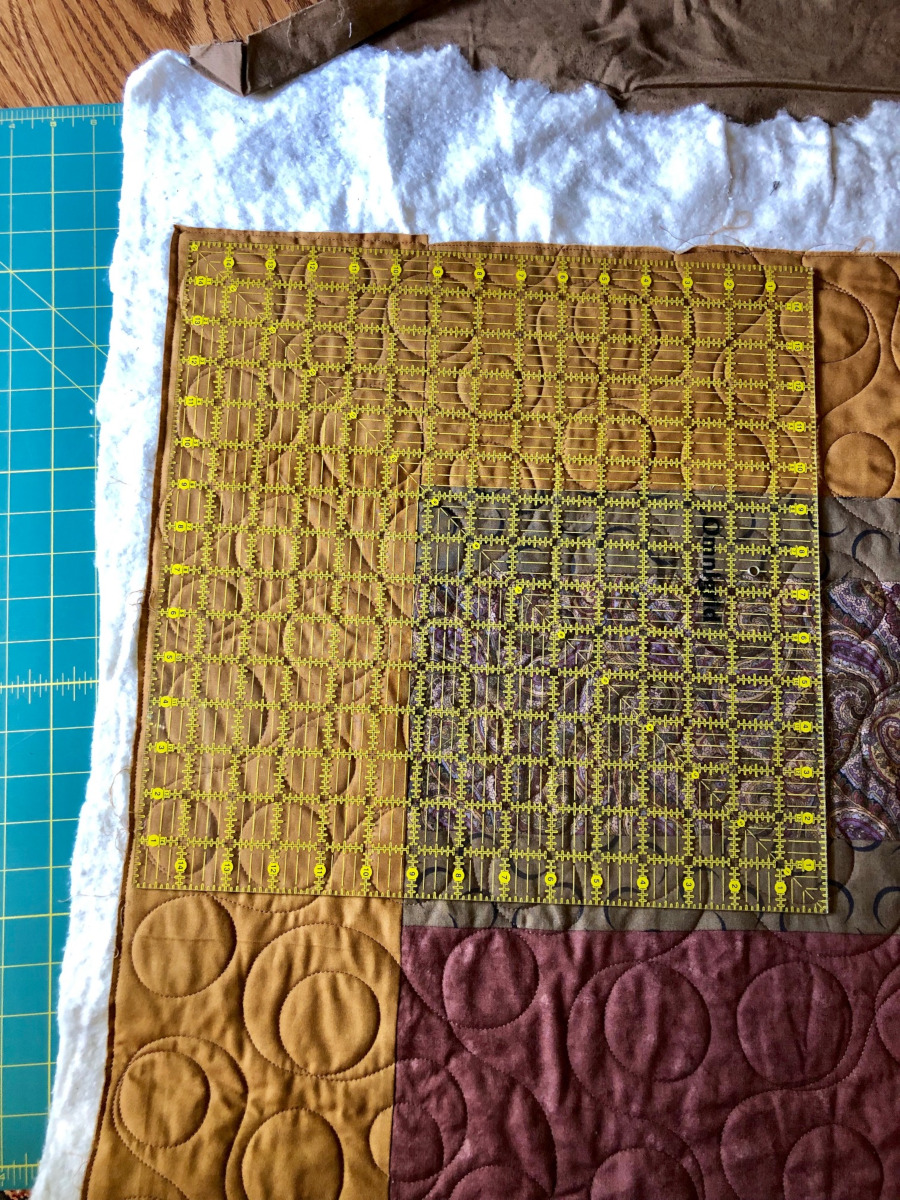
Once all the corners are marked, mark the border between each corner. Use that measurement along the border’s interior seam to mark its outer edge.
Align the binding’s raw edges with the new marked line around the perimeter of the quilt. (Pretend that the marked line is now the EDGE of the quilt.) Sew the binding to the quilt as you normally would, flipping and folding the binding at the corners of the drawn line just as if the drawn line was the actual edge of the quilt.
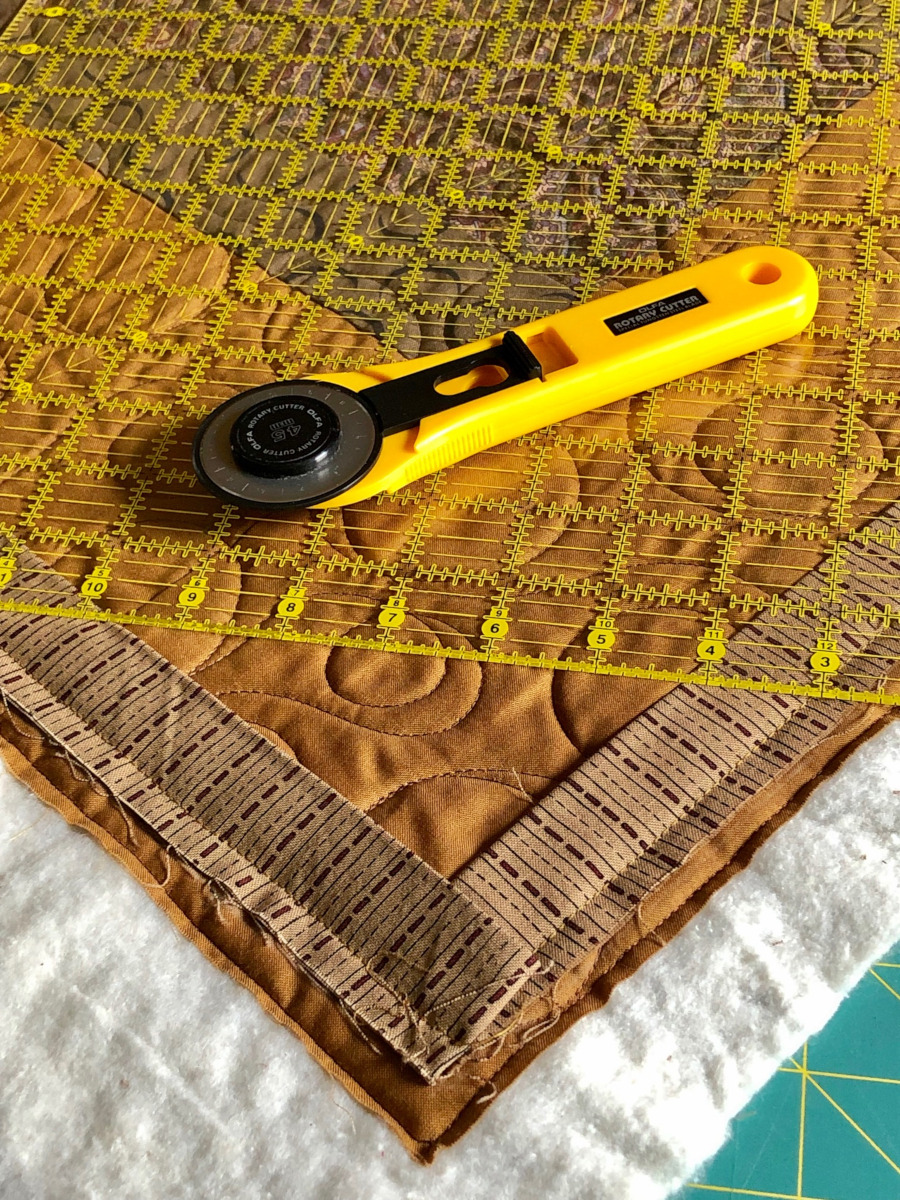
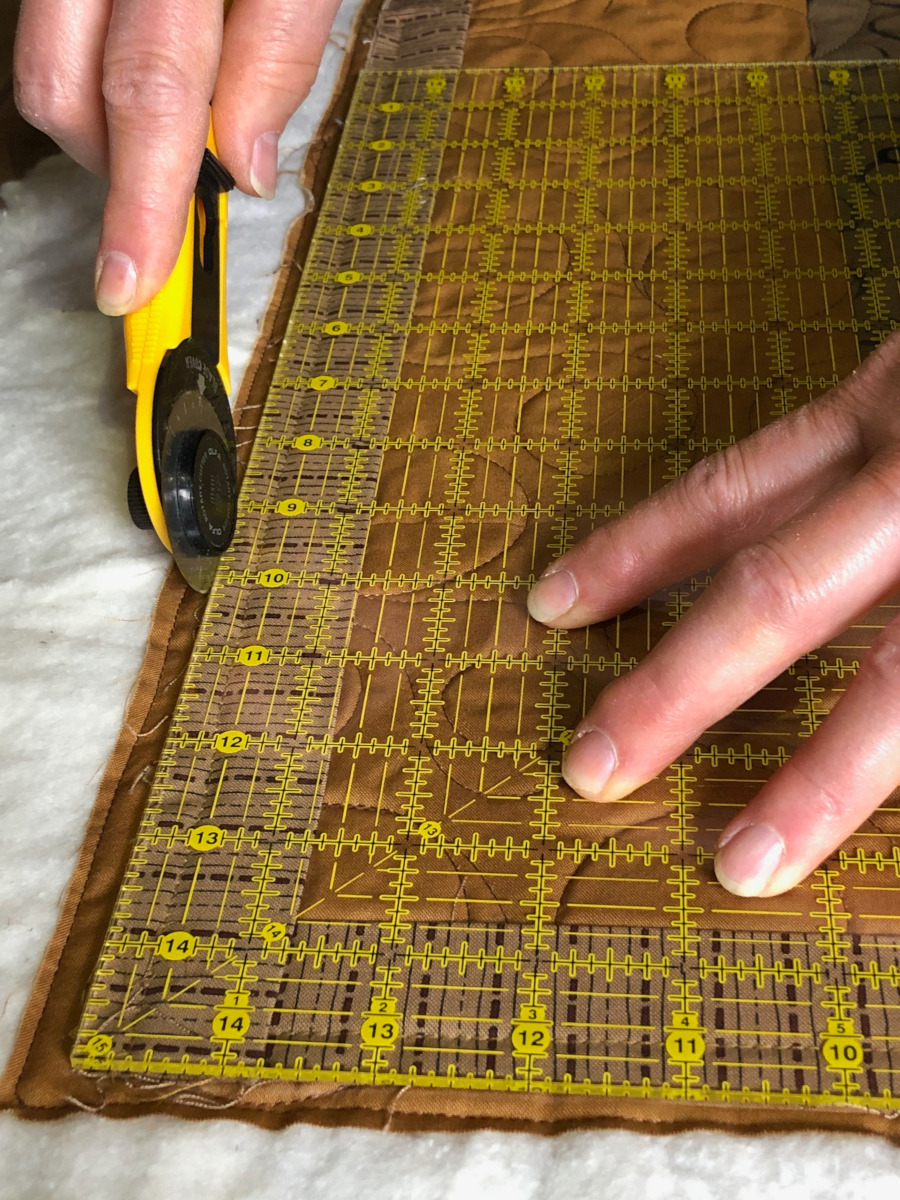
Join the ends of your binding (here’s a slick way to do that.) Trim the quilt backing and batting, leaving enough batting to fill the binding once it’s wrapped to the quilt back for hand sewing.
If your quilting doesn’t come off the edge of the quilt, the outer edges can ripple. This can happen whether you leave the batting and backing intact or trim the quilt before adding the binding.
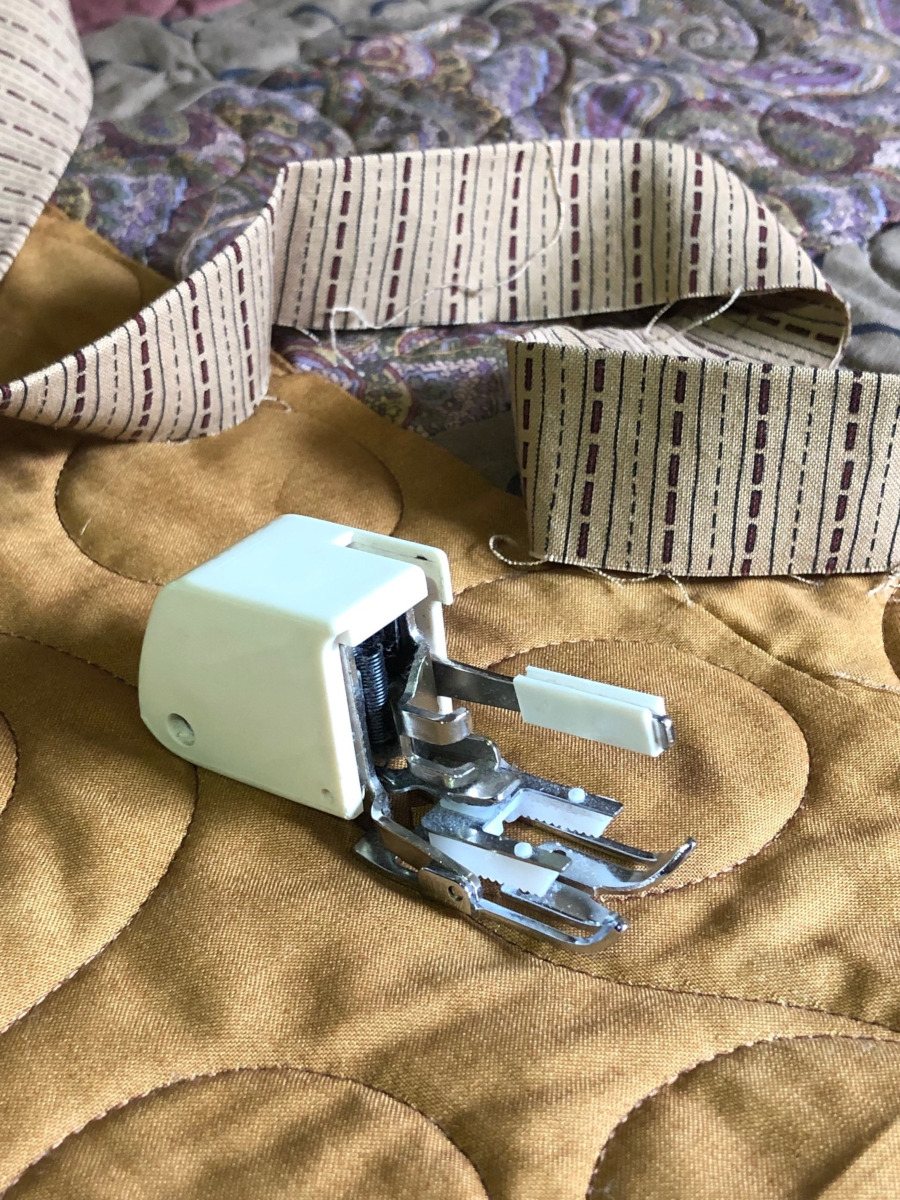
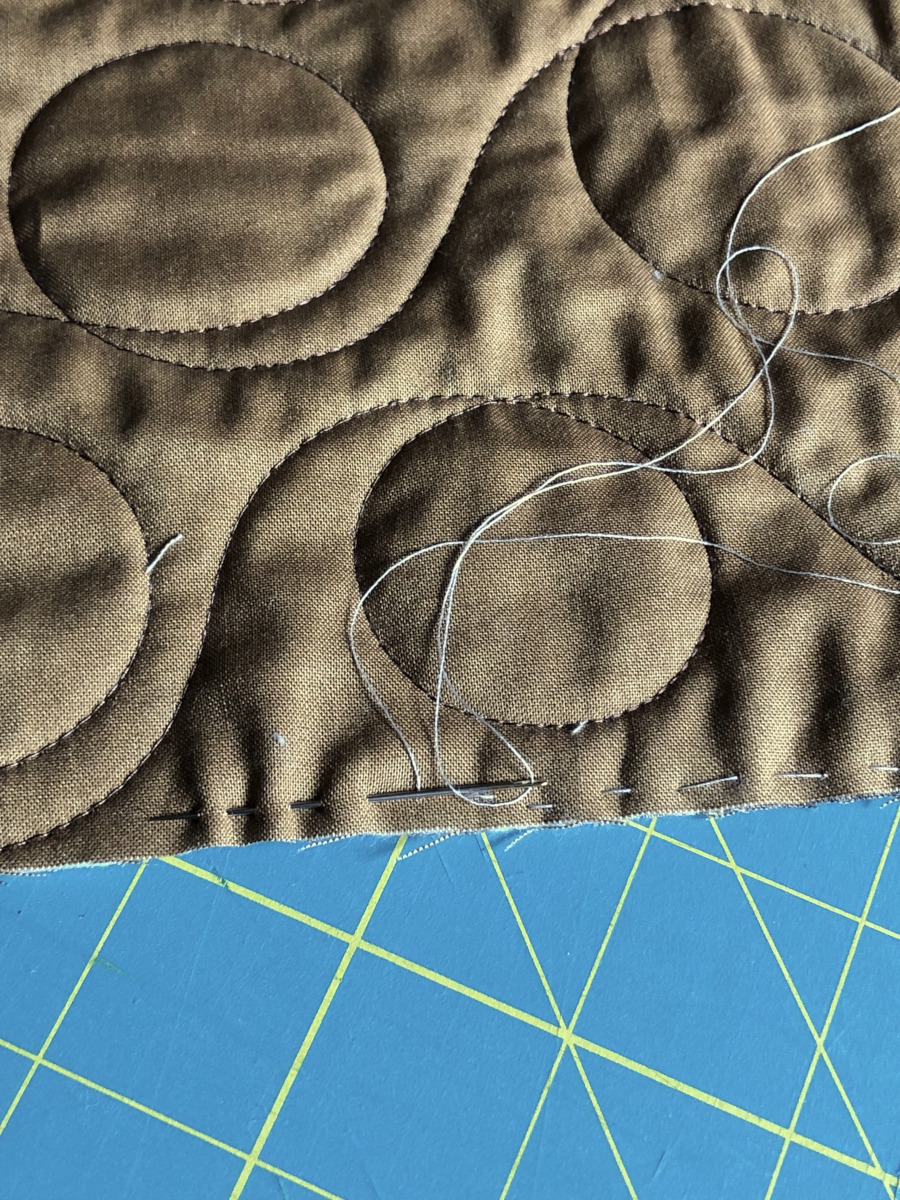
A walking foot helps ease the quilt layers under the binding as you sew it on, along with pinning the binding in place. But if you don’t have one, hand baste along the raw edge just inside the ¼-inch seam allowance to keep the quilt layers from shifting. (You can also do this step if you are NOT trimming the batting first.)
If your top does not have a border and the piecing extends to the edge, you can use the hand basting process to carefully “gather” an edge and adjust it so that it measures the same on opposite sides of the quilt.
If you machine bind your quilts by attaching the binding to the back of the quilt first, it’s difficult to know where to align the binding on the back if you haven’t already trimmed the quilt. To make that process easier, first mark the quilt top as described above.
Then stitch all around the quilt, right on top of your marked line. When you flip the quilt over to add the binding on the back, align the binding raw edge with this stitched reference line, then trim the quilt as necessary. Next, wrap the binding to the front and machine-stitch it in place. Easy peasy!