
How to label your quilts
Do you label your quilts? Quilters are on both sides of the fence when asked about adding one to their projects. Some feel that once the quilt leaves the maker’s hands, it must find its own way into history, while others argue that a label helps authenticate its history.
Many of us have quilts that have been passed down through generations, most without any label or identifying marks. We know its history because Grandma told us that “Aunt Bessie” put it together from scraps she saved from feed sacks during the Depression. We store that nugget in our long-term memory and rely on verbal storytelling to keep that information flowing to the next generation. But if my experience with the Millennials in my family are anywhere close to what all Millennials (and Gen Z’s) are like, if the info isn’t on an electronic device, they could care less!
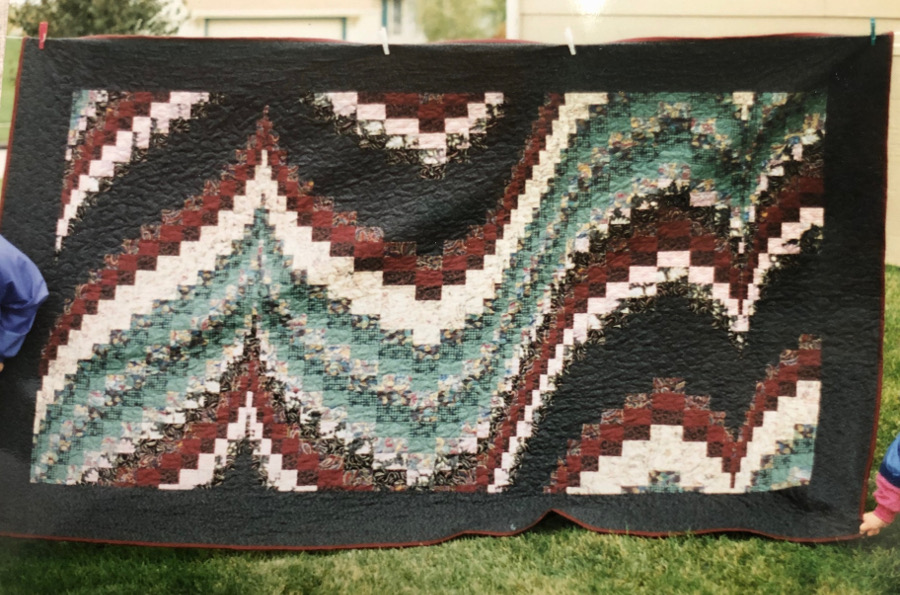
Labeling your quilt will help ensure that its provenance is accurate, which can add to its value—both sentimental as well as financial. But it can also help identify a quilt in case of loss or theft. The quilt I made for my sister below found its way on to the moving truck from Denver to Vermont in 1995 but never arrived there. Even though it’s long gone, I still hold out hope that the label is on it that describes the special reason why it was made, and someone in Denver will discover it and try to return it to its rightful owner.
The label doesn’t have to be elaborate or fancy; it can be created simply with some fabric scraps from the quilt (or even muslin) and a fine point Sharpie marker in a pinch. Those markers are permanent on most fabrics, but if you linger too long on one spot, the ink will bleed. Lots of different fabric markers are available today in a wide array of colors and styles.

To keep your fabric stable as you create, iron a piece of freezer paper to the wrong side of your fabric (waxy side toward the fabric) with a warm, dry iron. Draw guidelines on the paper if you are worried about keeping your words straight.

Then place your fabric on a light box as shown below, or tape it to a window so the guidelines are visible.

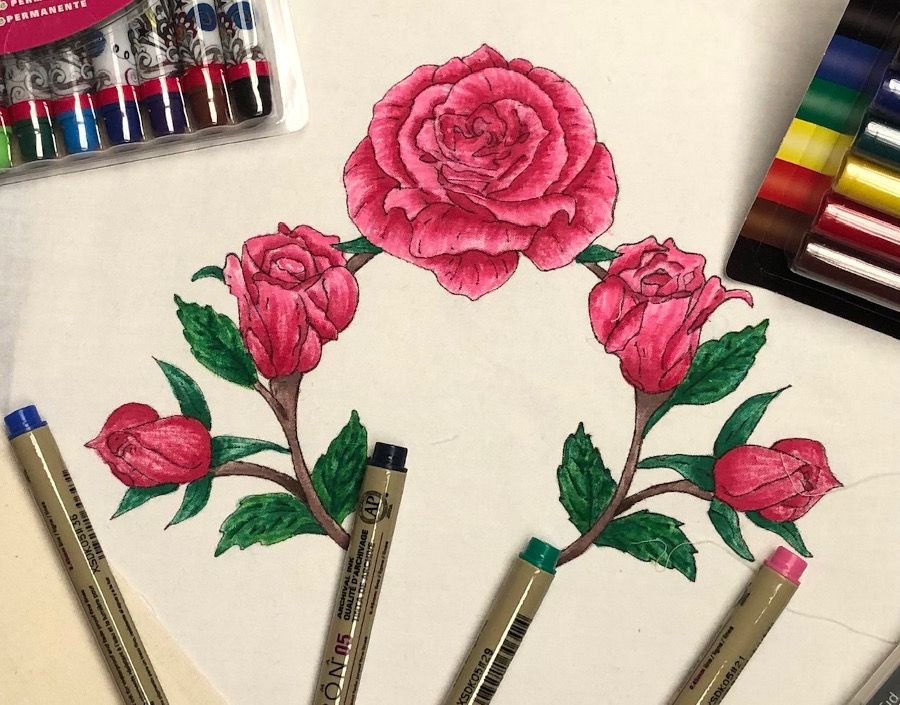
You can also use this technique to trace out designs or shapes on to your fabric for coloring, like this rose swag.
What should be on the label? Here are the basics:
- Date completed
- Quilt piecer’s name
- Quilter’s name (if different from piecer)
- Name of the quilt
- Location made
Additional info to include:
- Recipient’s name
- Occasion the quilt was made for
- Name of the pattern
- Personal message
- Care instructions
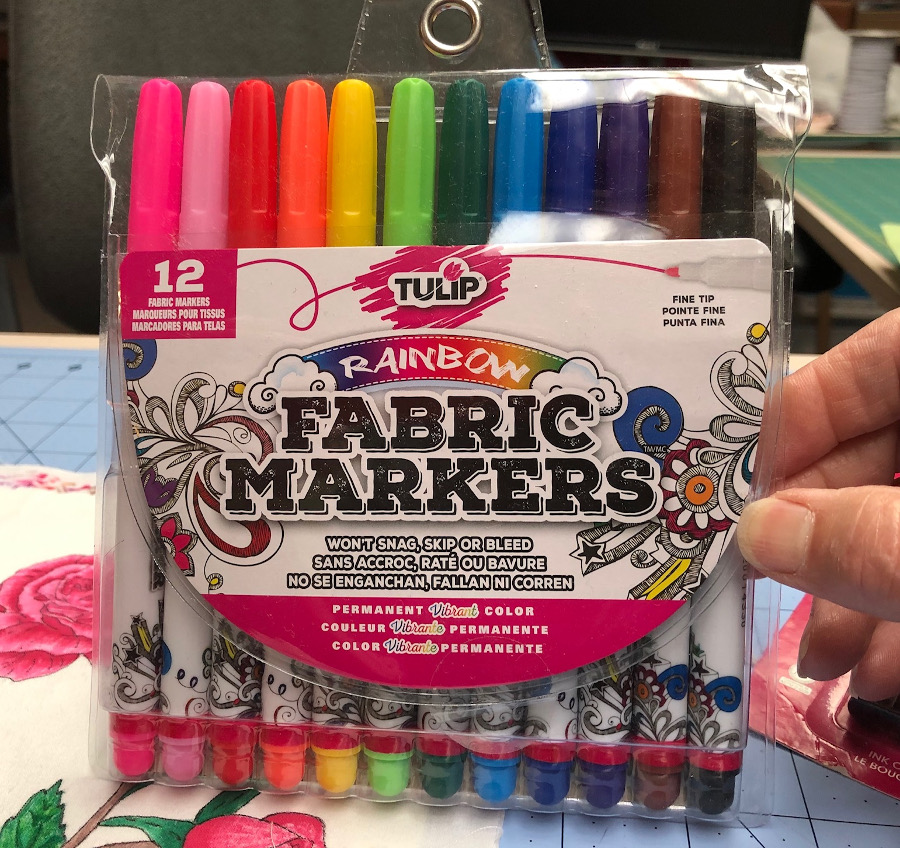
Once you’ve stabilized the fabric, it’s time to create! These fabric markers from Tulip span the rainbow. The ink is vibrant and is permanent after setting for 24 hours. This set has a tip labeled “fine”, but it is a bit wide for writing words. It’s best for coloring in design elements on the label.
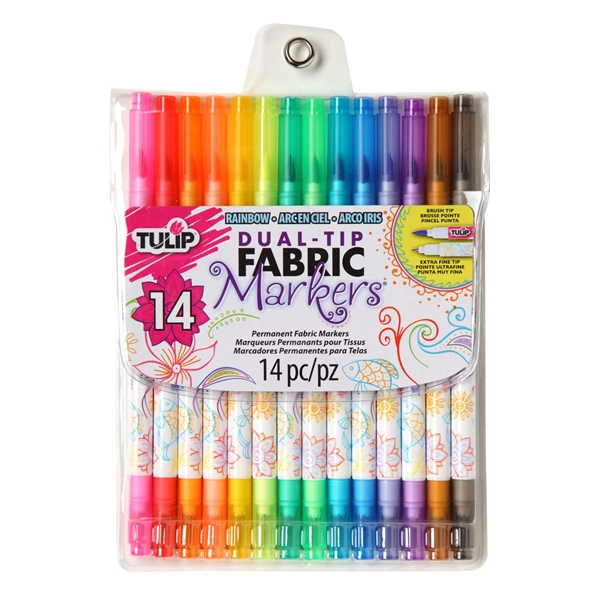
If you want ultimate flexibility, add Tulip’s Dual Tip Fabric Markers to your collection. These have an ultra-fine tip on one end, and a brush tip on the other—perfect for shading!
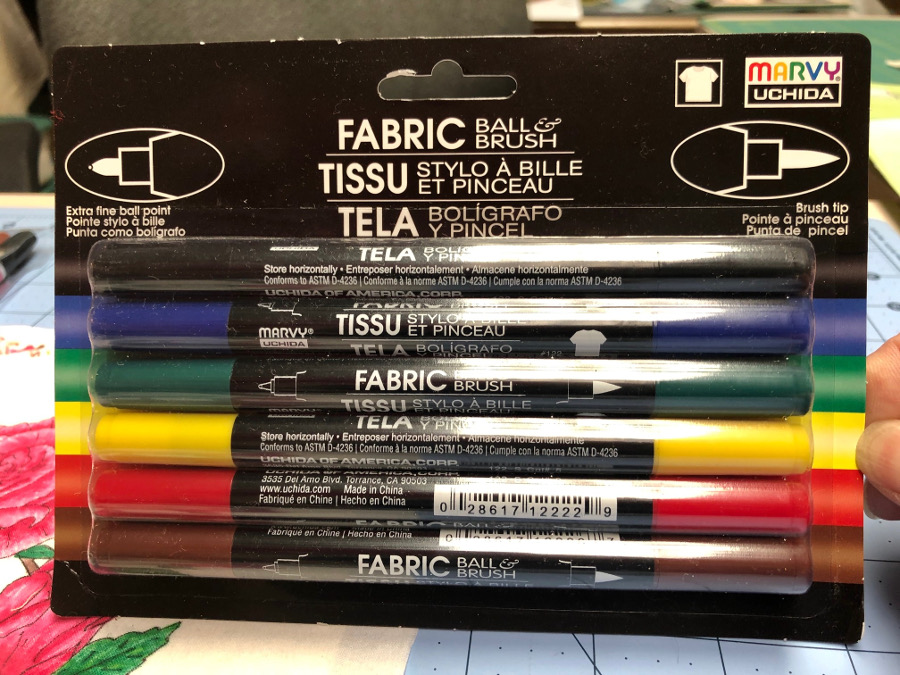
These Marvy fabric pens from Uchida are also dual-tipped pens, including a ball tip and a brush tip. The company also sells fine tip markers that are ideal for details like quilt label writing. Though the color selection is limited in this set shown, 24 different colors are available. This ink is also permanent, does not require heat to set the ink, and is dry cleanable or washable on a gentle cycle.
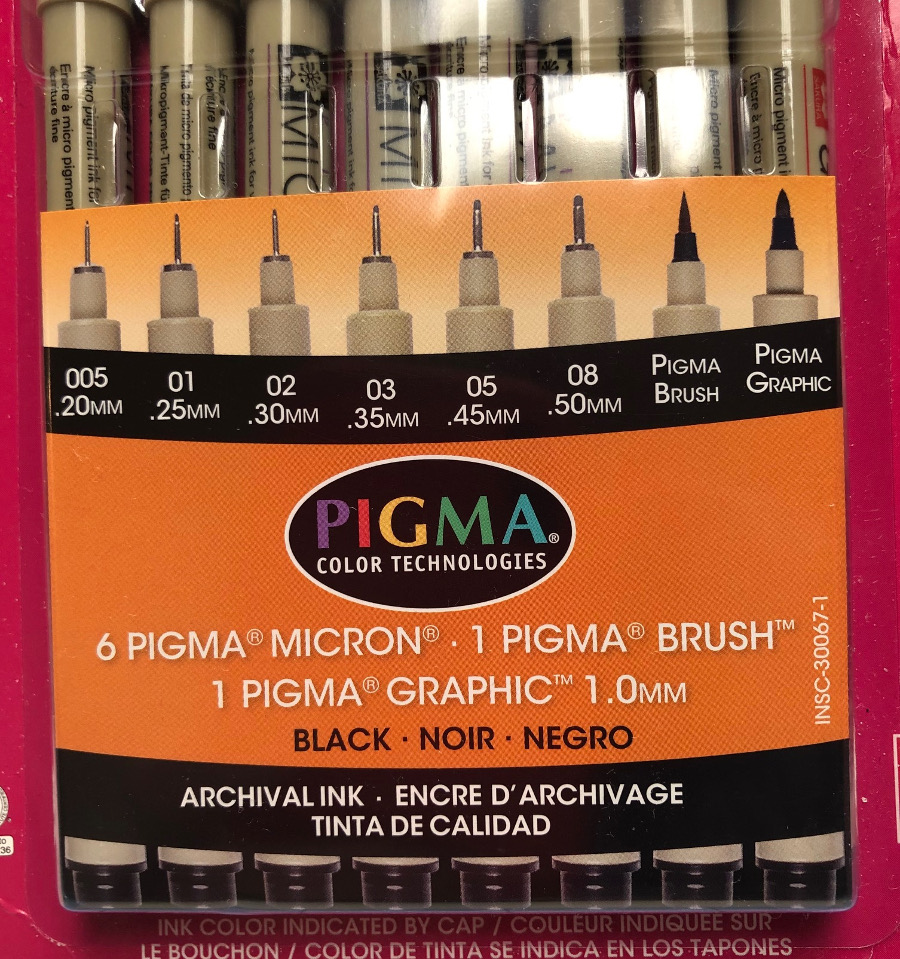
Pigma Micron markers from Sakura are very popular for quilt labels. The ink is fade resistant and chemically stable. The markers are available in 15 different colors.
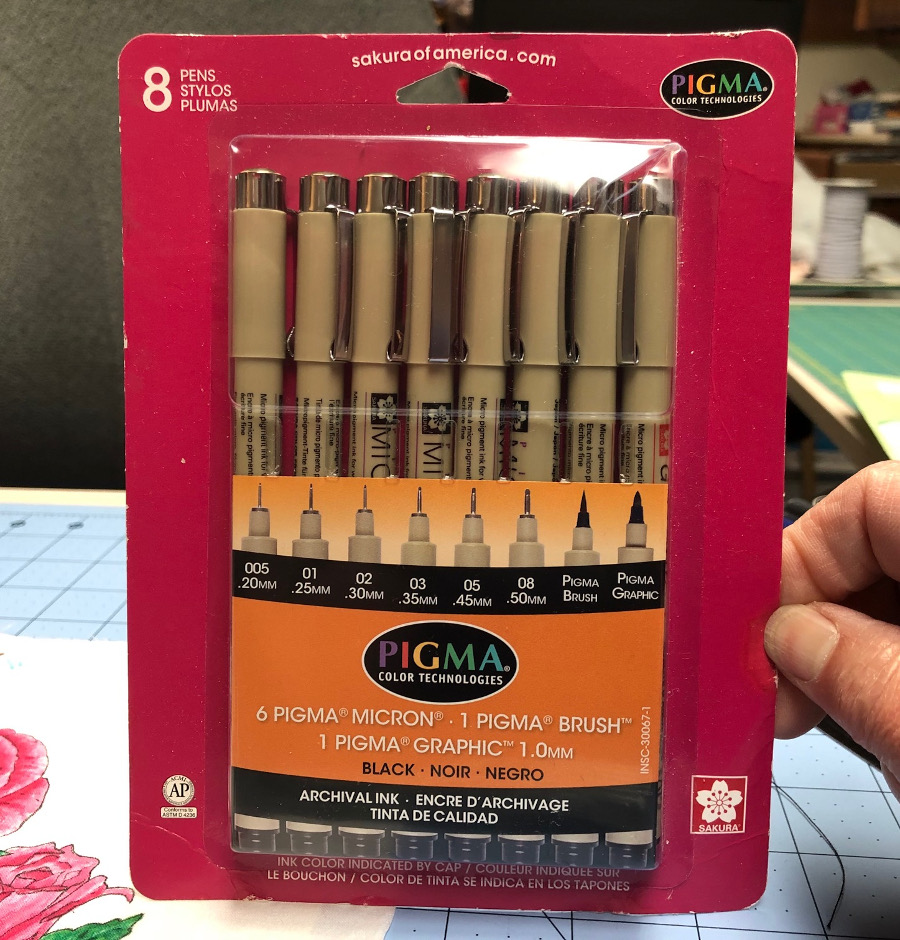
The tips range from .20 mm to .50 mm, so even the finest details can be drawn without bleeding. This set of black markers runs the gamut of sizes, and even includes a brush and graphic tip as a bonus. Not all colors are available in all sizes, however. Though the ink will not bleed when wet, Sakura does not recommend the pens for use on fabrics that will be laundered.
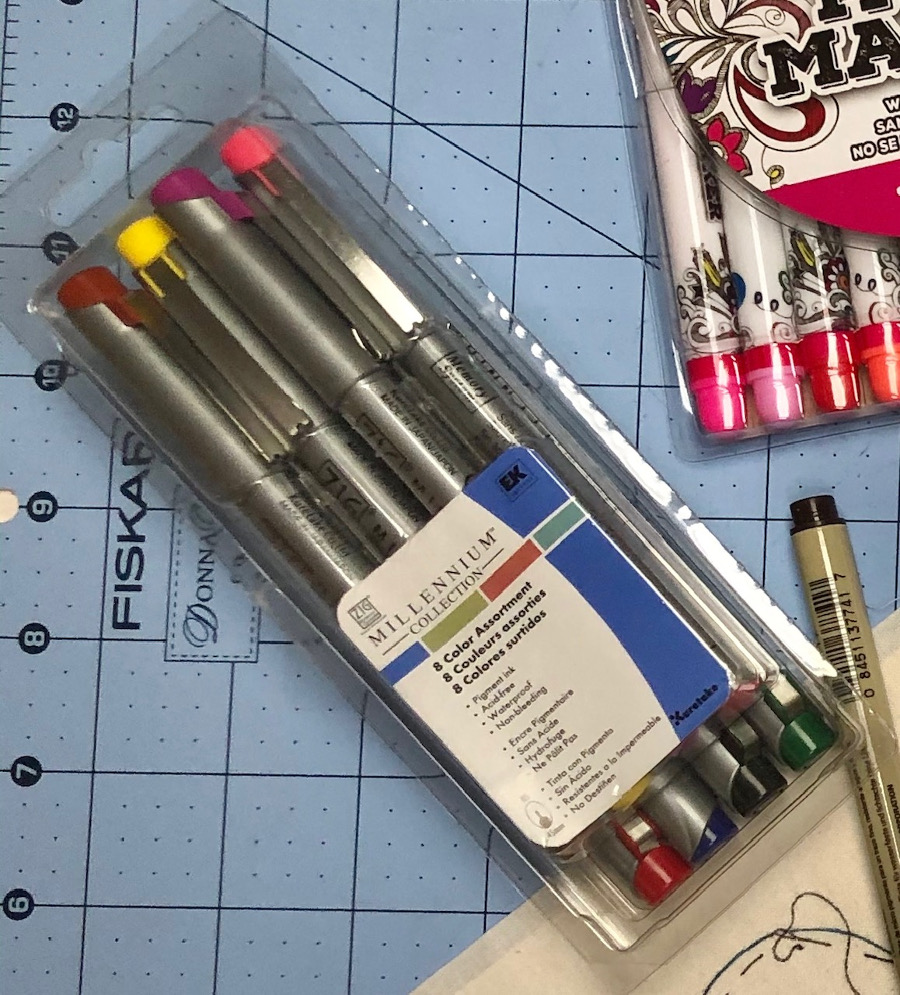
Zig markers made popular in the scrapbooking world have also found success with quilters. The Zig Fabricolor Twin Markers have dual ends that include a brush tip and a fine tip. The ink is permanent after ironing. Zig also makes Fabricolor Markers which use paint instead of ink, so you can use them on dark fabrics!
New pens and inks are being developed all the time, especially as techniques like Zentangle, manga art and coloring continue to be popular. Try them out! Just test on a scrap of fabric for bleeding and check ink permanence by washing the scrap as you would the quilt.
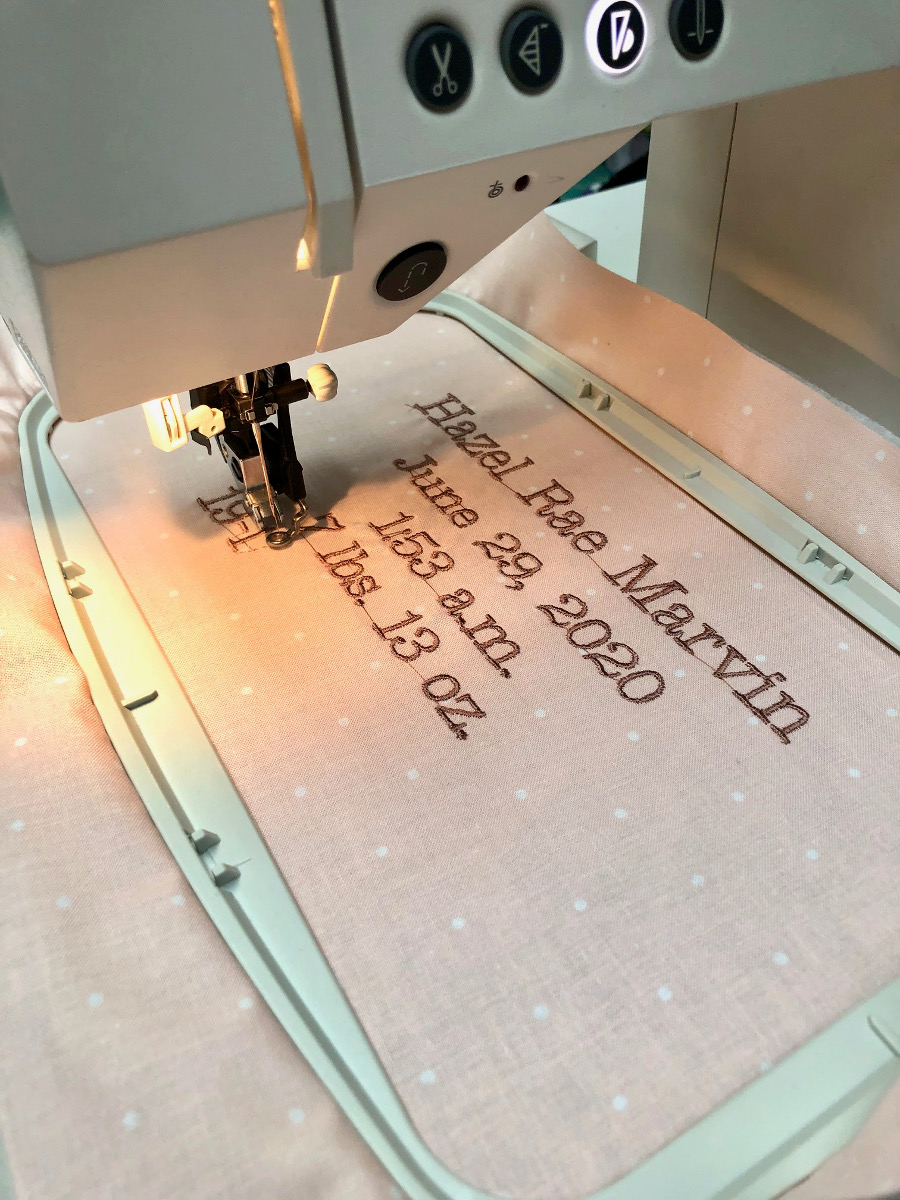
If coloring isn’t your thing or you don’t like your penmanship, machine embroidery is another option for creating a quilt label.
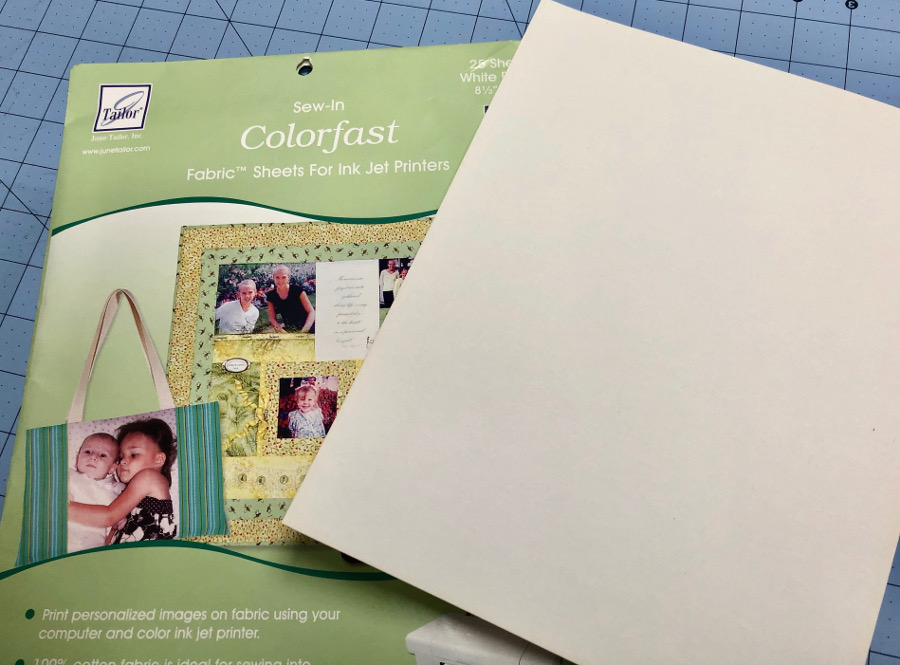
You can also create your label on your computer using a word processing program. Then print it out on fabric sheets specially prepared to run through ink jet printers. Several different products are available, including the June Tailor sheets below. Not only can you create your quilt label message with these sheets, you can add photos or clip art to personalize it even more!
Now that you’ve got the label finished, where should it go? The most common location is the lower left corner of the backing but be creative in where you place it as well as how you attach it! You might want to add it to the backing fabric before you quilt the project so that your quilting stitches it into the quilt. That can make it harder for a thief to remove since tearing out the label would damage the quilt. Otherwise, turn the raw edges under and hand stitch it to the quilt when it’s complete.
Some quilters recommend writing the label information directly on to the quilt right under the label, so that if the label comes off, the information is still there. Have fun with the label—embellish it, frame it with scraps from the top, or make it a fun shape. Make it into an envelope and include scraps of top fabric for quick repairs later!
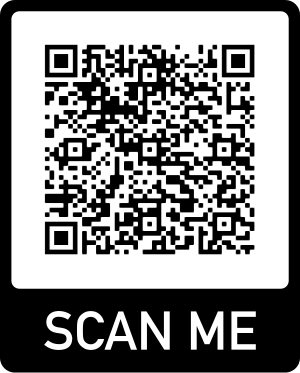
If you’re looking for a more high-tech label option that will satisfy your Gen Z quilt recipient, use one of the free QR code generators available on the internet to store static info about the quilt. A QR code can contain simple “static” info that can be read using a QR code scanner (apps are available for smart phones) or it can be more elaborate and include web links, photos, mp3 messages and more. If you have a QR reader app, try scanning the QR code below to see an example.
Even if you’re not into labeling your quilt, at least consider “signing” it and dating it somewhere. Who knows…you may be famous some day and that quilt could be like a Picasso! But even if it doesn’t command a high dollar value, to your heirs it may be priceless!


