
Labeling a quilt
“When this you see, remember me.”
Have you ever stumbled upon a quilt—maybe in an estate sale, an aunt’s cedar chest, or even a thrift store—and wondered about its history? Who made the quilt? Was it significant in some way? What is the pattern called?
When I browse through antique stores and come across an interesting piece, those questions and more pop into my mind. How would you feel if the store owner told you that Elvis once ate his famed peanut butter and banana sandwiches on the glass plate in your hand? Would you believe him without proof? I think not.
Why bother with a quilt label?
You’d expect authentic documentation of the plate’s “provenance” to prove the guy’s claim. Provenance is an antique or work of art’s earliest known history and record of ownership, used as a guide to authenticity or quality.
As works of art (including quilts) are passed down through generations or sold, the ownership history and documentation—provenance—should accompany them. A quilt label is the first step in providing authenticity for your quilt. You may not think that the quilts you make will ever become a valuable treasure…but your great-granddaughter might think otherwise!
What should a quilt label say?
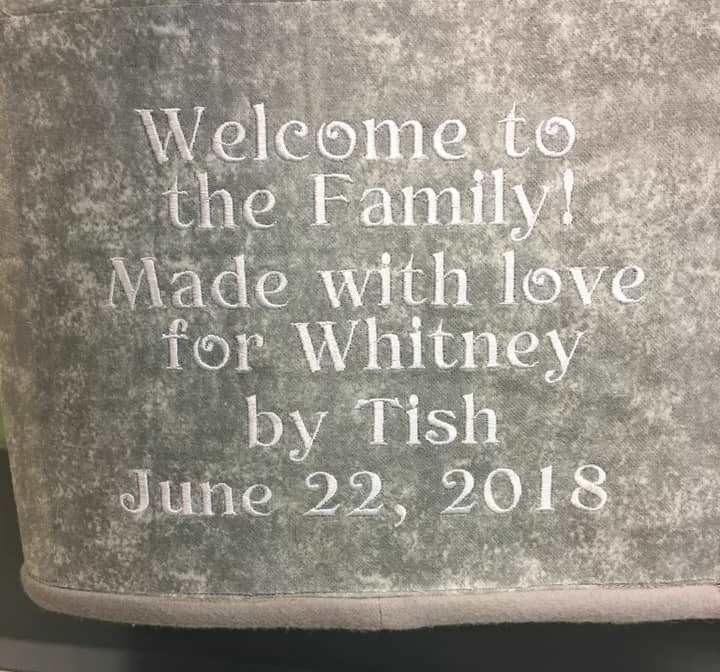
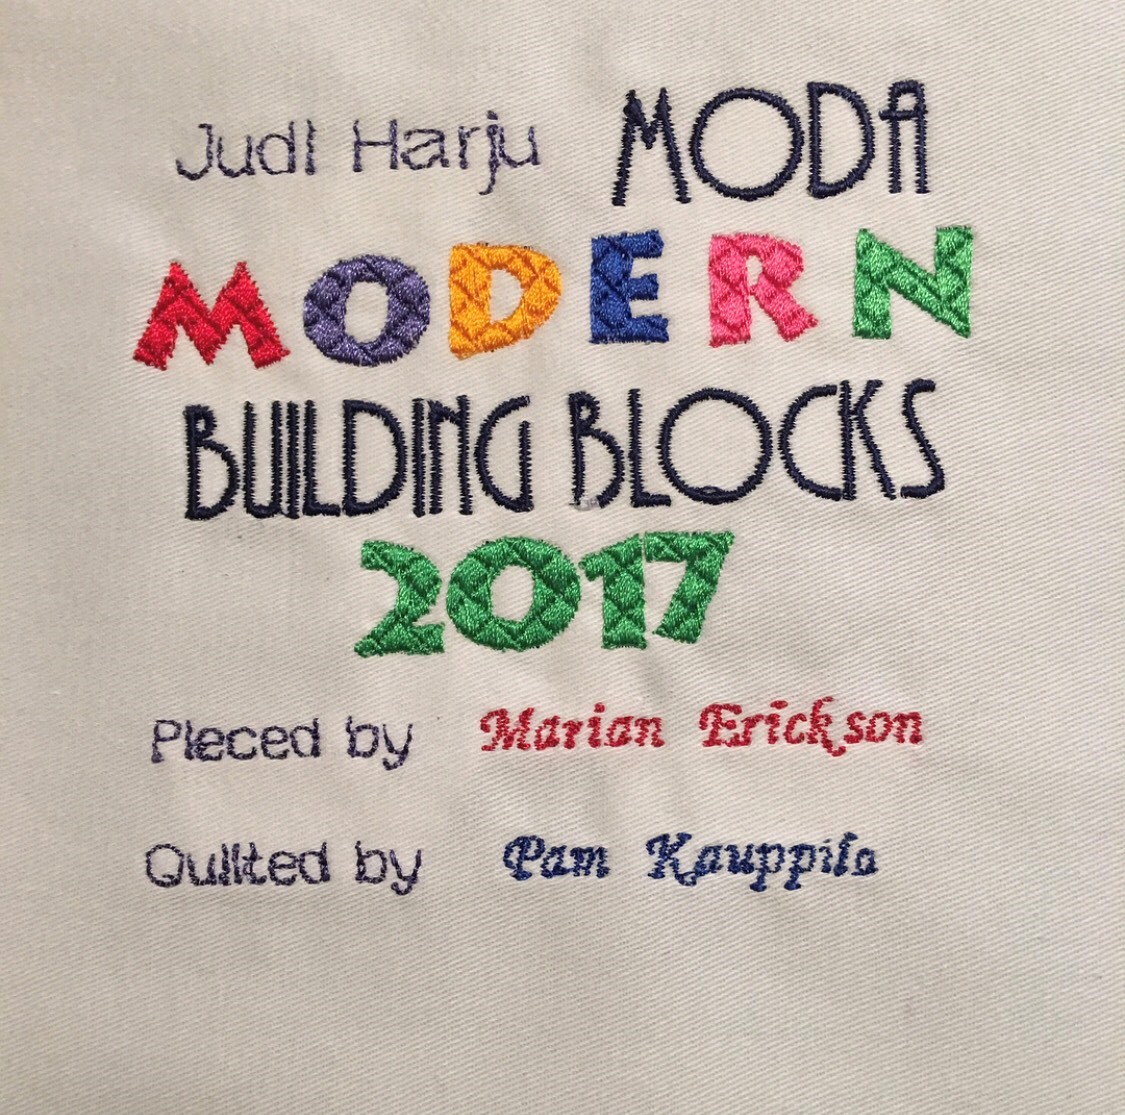
To authenticate your quilt’s provenance, your quilt label should at least include your full name as the maker, and the date the quilt was completed. Ideally, the label would identify these additional items:
- Name of anyone else involved in the quilt’s completion
- Location where the quilt was completed
- The piecing pattern used (and designer unless original design)
Quilt labels can also include the recipient’s name if presented as a gift, along with the occasion. Once you have the basics down, you can wax poetic with a quote that expresses your feelings like a Hallmark card, or embellish it any way you like!
How should the label be created?
Women practiced their penmanship and used indelible ink in the 19th century when album and friendship quilts were all the rage to autograph their quilts. These days, cursive writing is barely being taught to the next generation! (Ah, but that’s a conversation for another day.) You don’t need an ink well to make your quilt label. Today’s quilters have easy-to-use permanent markers in different colors and even tip sizes to enhance their writing skills.
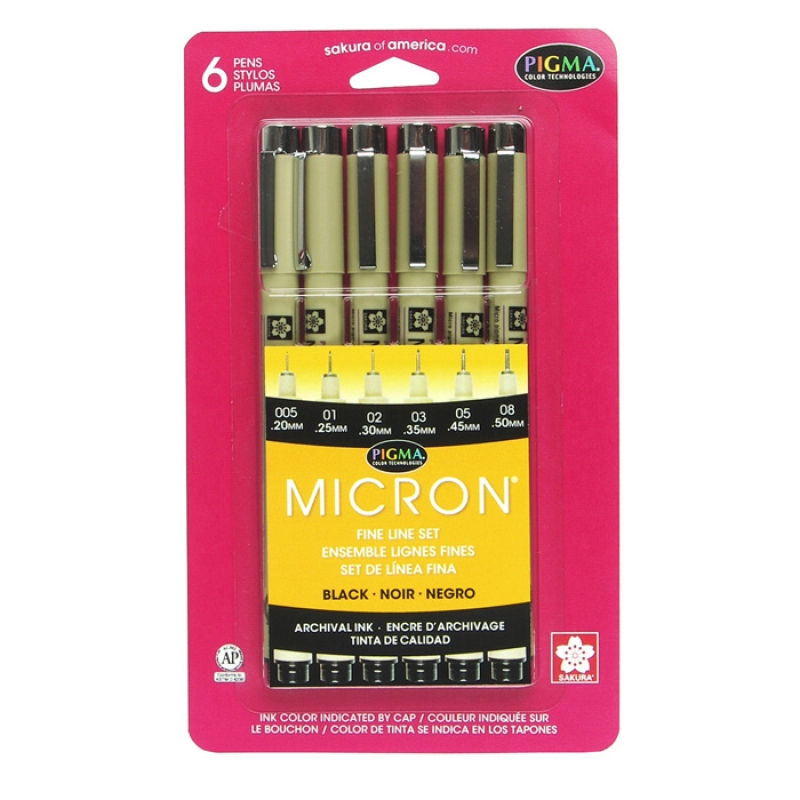
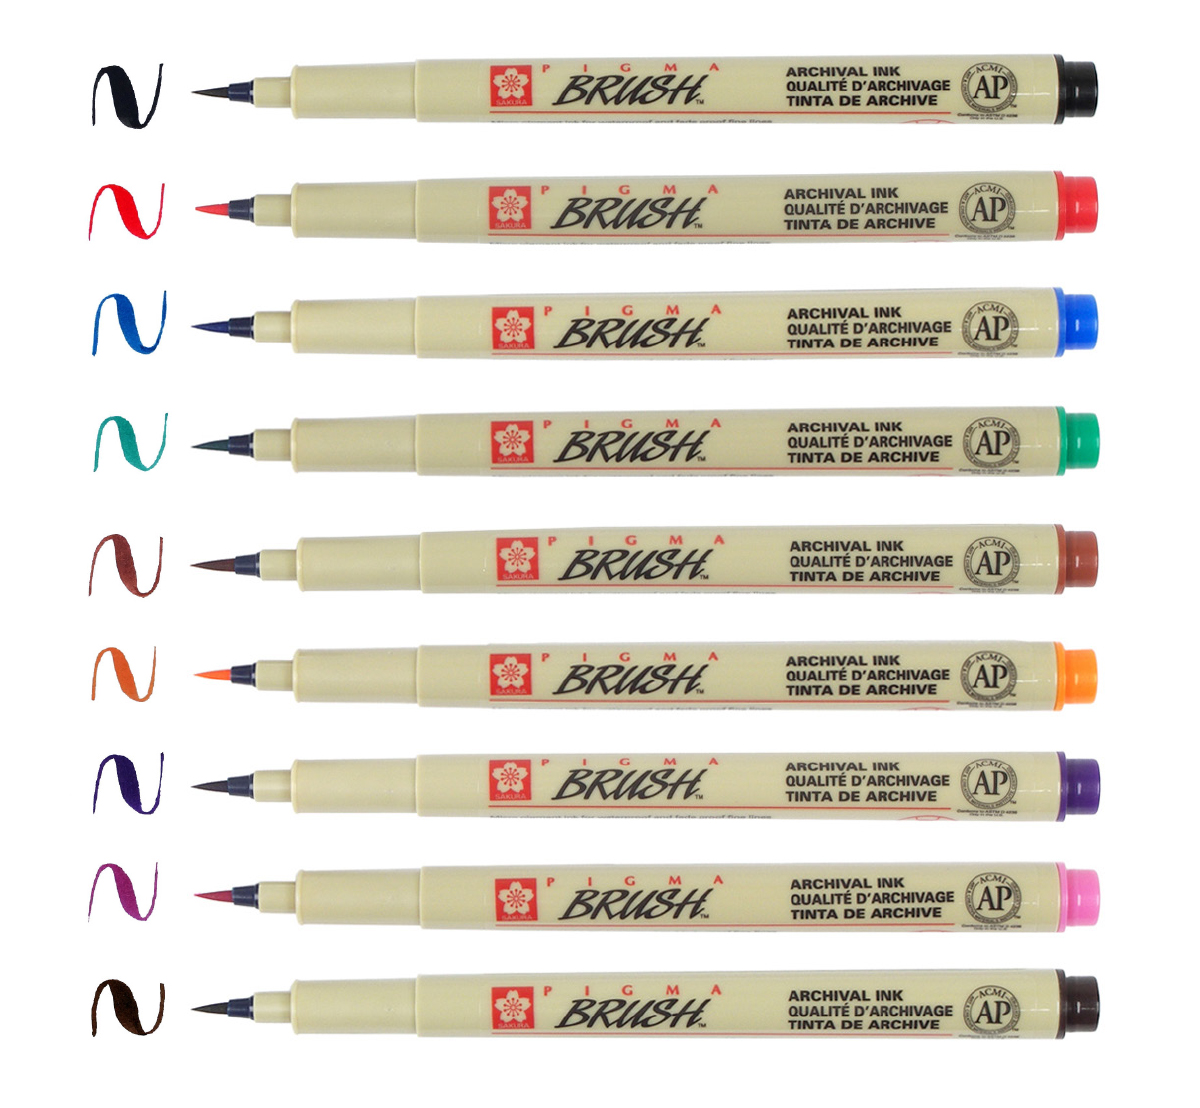
Pigma Micron Pens work wonderfully for fabric labels. The archival ink is waterproof, chemical and fade resistant, quick-drying, and—most importantly—bleed free. Available in many quilt shops and craft stores, these pens come in 7 point sizes and 15 different colors as well as brush tips for blending and shading.
Embroidery machines offer another option for making quilt labels. If people complain that your writing looks like a doctor’s signature (who can read those?) then this might be a great option for you. With thousands of digitized designs and fonts available, your label can be as unique as your quilt and your heirs will actually be able to read it!
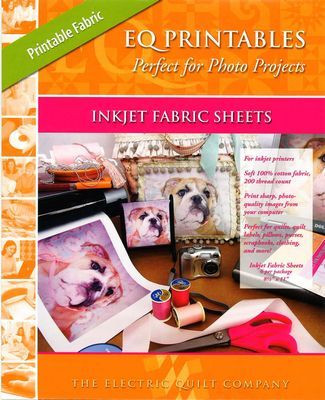
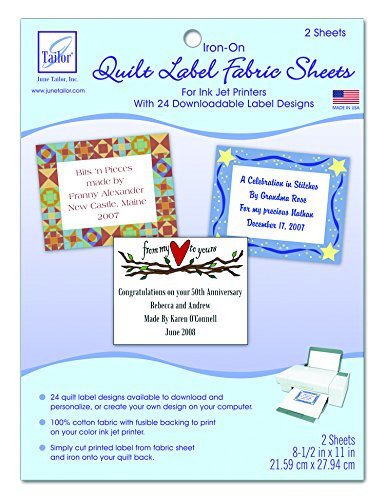
If you’ve got an inkjet printer and a simple word-processing program, your label-making just got even faster! You can prepare your own fabric to run right through your printer (instructions below) or you can simply buy 8-1/2” x 11” sheets that are ready to print. Several companies make ready-to-print inkjet fabric, including Printed Treasures, The Electric Quilt Company and more. June Tailor, Inc. makes iron-on Quilt Label Fabric Sheets that include 24 quilt label designs available for downloading and printing.
Quilters are often multi-crafters, dabbling in other creative arts. If you own a cutting machine such as a Cricut® or Silhouette®, most models will also allow you to use pens to draw on surfaces instead of cutting. Thousands of digitized sketching designs and fonts are available through software programs included with a cutting machine. Use your particular machine’s instructions to learn how to use sketch pens and stabilize the fabric to pass through the machine. Follow instructions on setting the ink with heat if necessary.
How Can I Stabilize the Fabric Label?
Freezer paper to the rescue! You know it’s handy for applique, but it’s also great for stabilizing your fabric to run through your ink jet printer like a piece of paper. It also keeps your fabric steady if you’re hand-drawing your label.
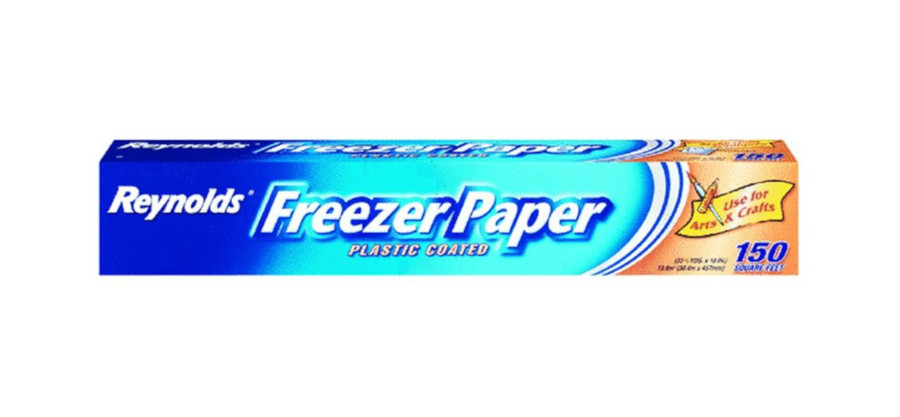
To make your own stabilized fabric for inkjet printing, cut a piece of freezer paper into a rectangle measuring 9” x 12”. This gives you room to trim the final piece to the correct size. Using a dry iron set to cotton, press the waxy side of the freezer paper to the wrong side of your label fabric for 5-10 seconds, lifting and re-positioning it on the paper until the entire piece is fused to the fabric. Allow it to cool.
Trim the paper-back fabric to 8-1/2” x 11” with a rotary cutter, mat and ruler. Feed this sheet through your inkjet printer so that the ink will print on the fabric side. If you aren’t running your fabric through a printer and are hand-drawing, you can make the freezer paper-fabric combination any size you want.
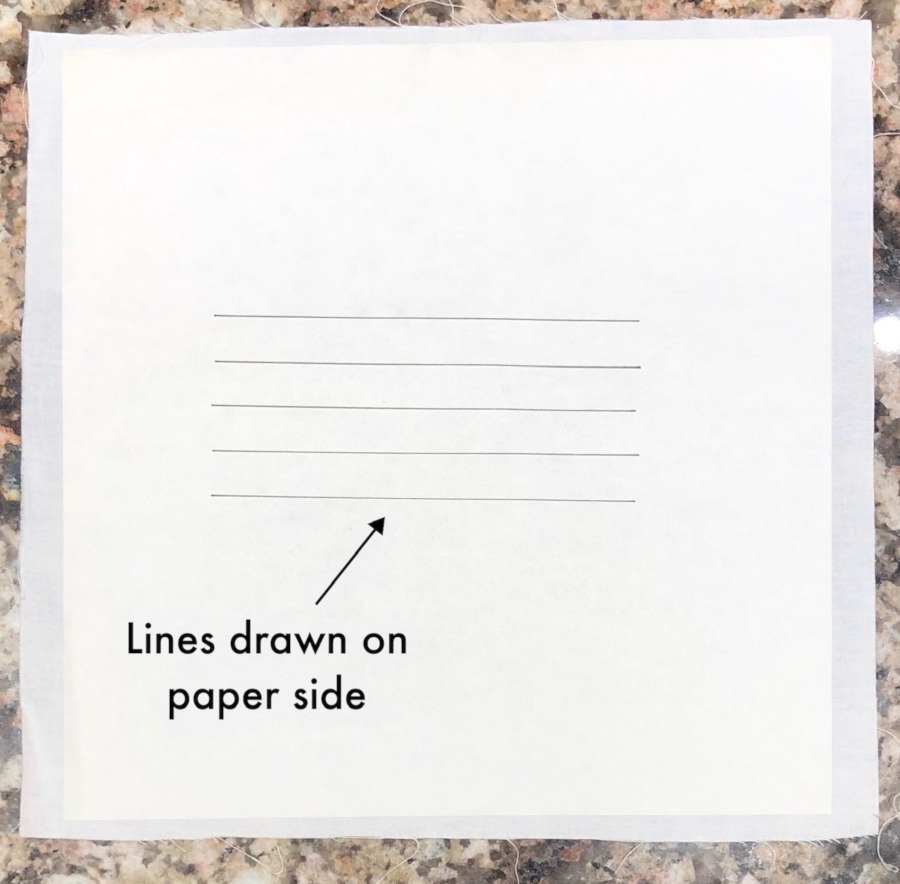
What are Freezer Paper Drawing Guides?
If you’re drawing your label by hand, or do better tracing an image, you can create reference lines on the paper side of the freezer paper. Use a fine-tip marker to make dark, evenly-spaced lines for your labels or poetry on that paper side. Then hold the paper-backed fabric up to a window or over a light box and write your sentiment on the label—the dark lines will shadow through on the fabric to give you nice, straight writing guidelines.
You can even cut your freezer paper into 8-1/2” x 11” inch sheets that can feed into your printer. Create a design you’d like to draw in your favorite drawing or sketching software. (Be sure to mirror the image before printing.) Print your image on to the paper side of the freezer paper, then press it to the wrong side of the fabric. Use your favorite marking medium to recreate the design, again using a lightbox or a window to help you see the design through the fabric.
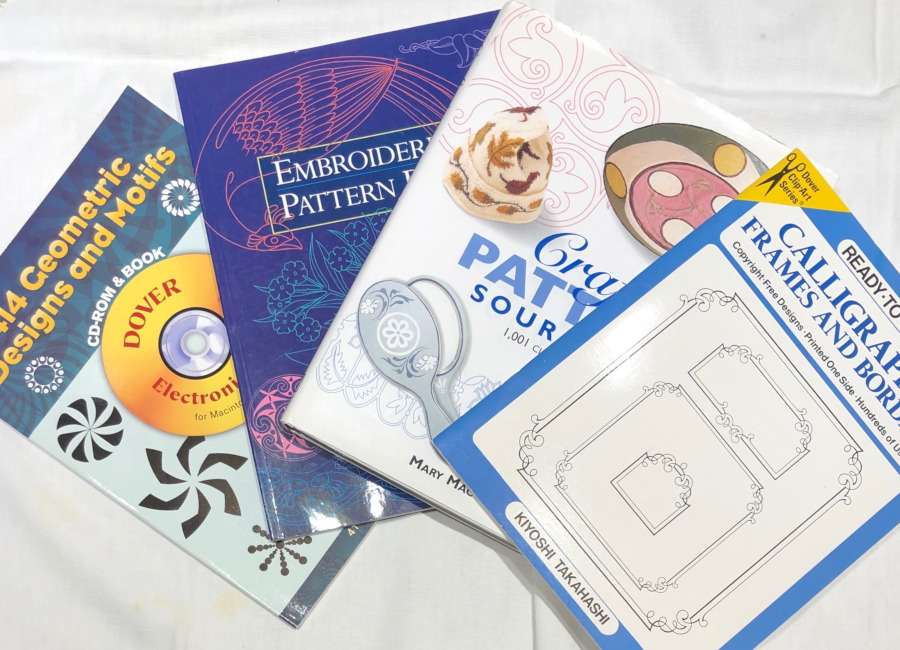
Where can I get design ideas?
Not great at creating designs from thin air? You’re not alone. If I try to draw a horse it somehow often ends up with 5 legs! But I can do a mean tracing job. Check out Dover Publications, a company that specializes in books filled with ideas and inspiration for artists of all types. Many Dover books allow you to use designs copyright free! A book titled “Friendship’s Offering” by Susan McKelvey contains lots of tips and neat sentiments to inspire you to write on your quilts.
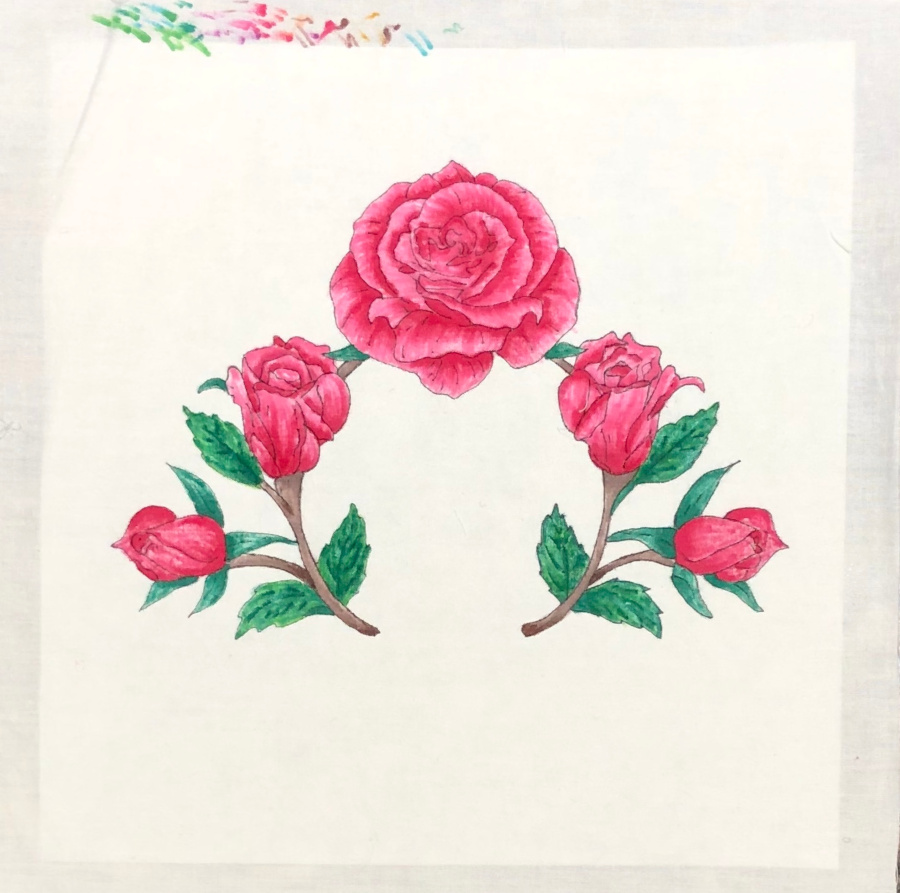
Inspiration can come from anywhere—a photo of your flower garden, an interesting pattern in an antique metal ceiling, even a wrought-iron gate.
If you use an inspirational quote or image, be sure to credit the original source (and get permission if necessary).
Where does the label go?
That’s a tricky question! The most common location for a quilt label is on the quilt back, in the lower right-hand corner but in a few inches from either straight edge. But creativity reigns supreme—put the label wherever you like! Sign the front of your quilt like Vincent van Gogh if that’s your thing—just add the date too.
To reduce the chance of theft and to make it more difficult to remove a label without damaging the quilt, many quilters attach the label to the quilt back BEFORE the quilt is quilted. Then the quilting lines pass right through the label, firmly securing it to the quilt. If that’s not your thing, you can fuse the label in place with a product like Wonder-Under® Fusible Web, or you can turn the raw edges under and hand-stitch the label to the quilt.
No matter which method you use, put labels on your quilts and your spirit will live on–as long as someone reads your name on the back of it!


