Top 5 tips to get a quilted wall hanging to hang square and flat
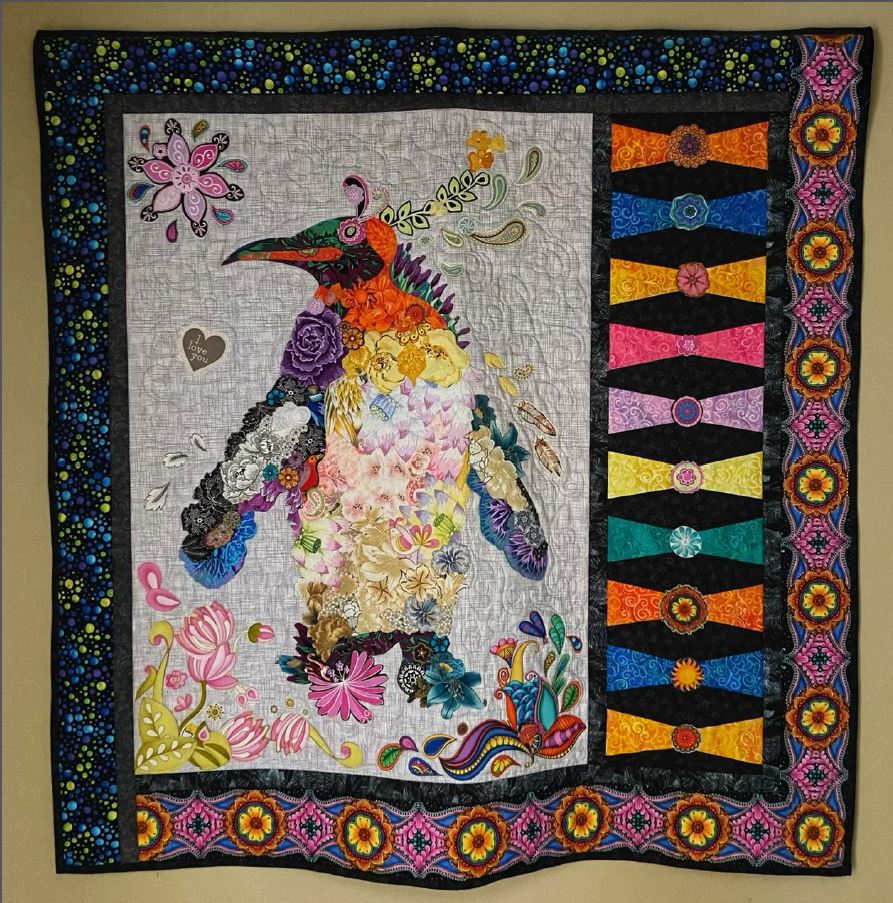
Have you ever worked really hard on a quilt and decided to hang it on your wall? But, once you get it up there you find that it looks more like a 3D sculpture as it protrudes, ripples and waves at you as it hangs? Yep. I’ve been there, too.

For a quilt to hang flat and square on a wall there is some preplanning necessary.
1) Attach all borders by measuring carefully.
You’ll want to be sure you take some precautions when applying the borders of your quilt. It is important that you measure the main body of your quilt so you can determine the exact measurement your border should be cut. Never rely on a printed pattern’s border dimensions. You, the human, may have some slight variations to your piecing seam or the way you cut fabric. You need your own personal measurement of your quilt top that you’ll use to cut your borders to size. The extra steps needed to measure and cut borders exactly will go a long way into looking amazing on your wall.
2) Carefully choose your batting.
Gravity is not going to be your friend if you choose a thin batting that will easily distort over time as gravity pulls it down. Some battings have a grain and will stand up better if you place the grain perpendicular to the floor. Test your batting by pulling on it a bit. Is it more stable in one direction over the other? Position your batting so the most stable side is running north/south on your quilt as it hangs on the wall.
3) Match the density level of your quilting across your top.
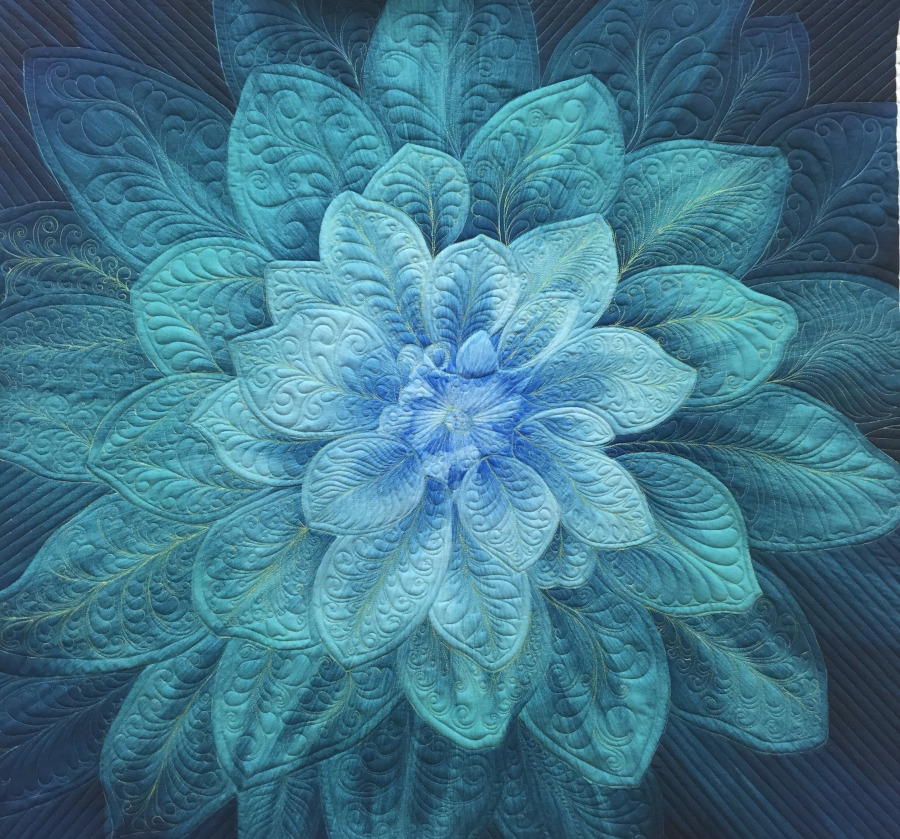
Consider how much quilting you’ll have in the main area of your quilt versus the borders. Try to balance out that density so it is even across the quilt. If you have very open, loose quilting in the borders but tight, compact quilting in the center… your quilt is going to have a very difficult looking flat on the wall.
4) Square up the quilt and bind the quilt without pulling.
We have a great article on how to square a quilt up prior to applying the binding. By ensuring the quilt is square prior to binding you are more likely to wind up with a square quilt after binding. Be very cautious about the amount of tugging or pulling you are doing when applying the binding by machine. It is very easy to distort a quilts outside edge during the binding process. Some folks like to baste the outside edge with a large running stitch and use the threads of the running stitch to pull, gather or ease in areas so that the binding will go on square.
5) Weigh down the bottom edge
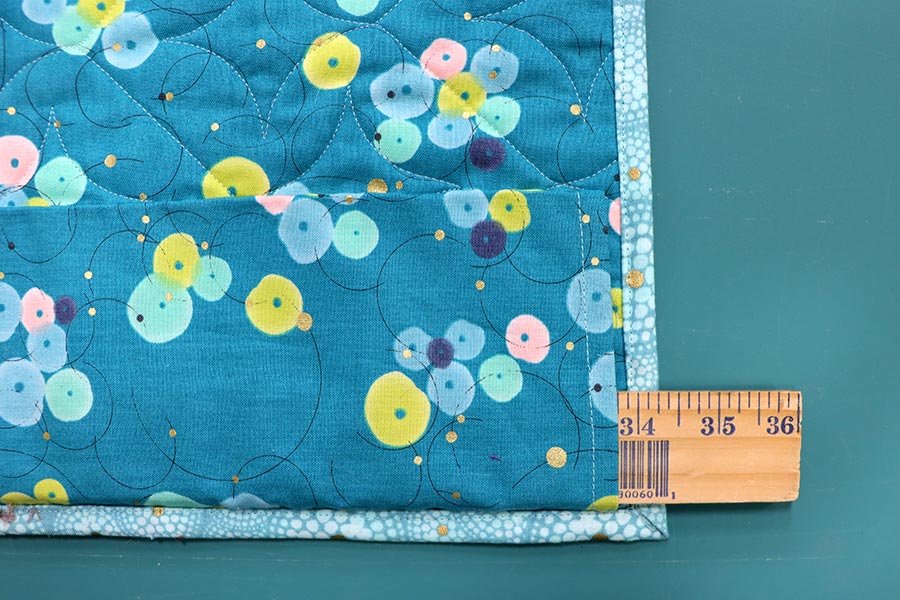
Consider harnessing the power of gravity instead of fighting it by adding an extra hanging sleeve to the bottom of the quilt. Slip in a couple of yard sticks and let the weight of the yard sticks pull the quilt down which will encourage it to lay flat on the wall.

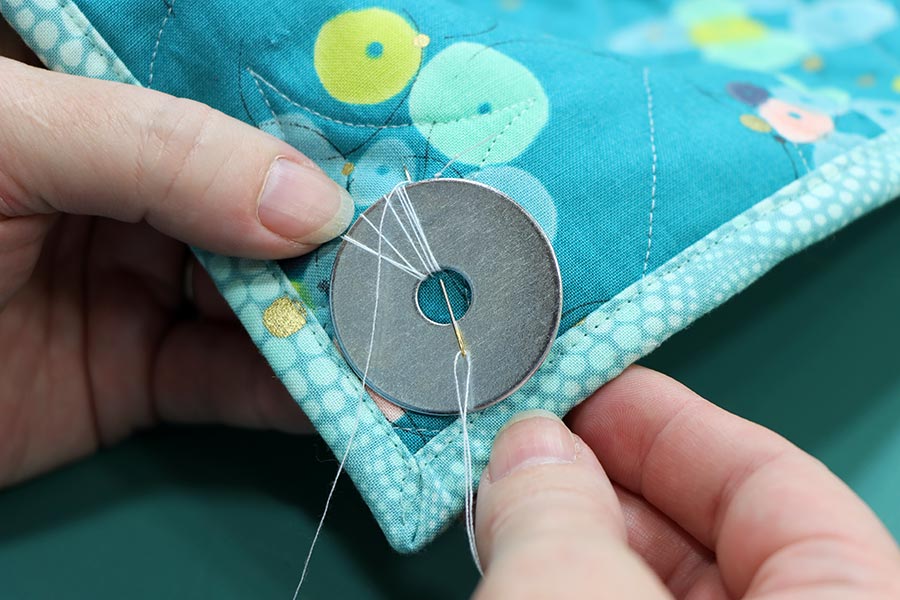
Or, take a clue from your Living Room drapes. High end draperies have specially made drapery weights sewn into the bottom hem to help gravity pull the fabric down allowing them to hang nicely. The same thing can be replicated with your wall hangings. Use 2-3 washers from the hardware store and sew them by hand into the bottom edge of your quilt. Sew a couple every six inches or so along the bottom edge of the quilt. The extra weight will pull just enough to keep your quilt laying flat.

With these tips all of your quilty creations are going to look wonderful adorning your home’s walls. Quilt art is the best art, after all!
We’d love to see your wall hangings! Post a photo over on our Facebook page or in our forum section.


