
Quilting the Quilt: The ins and outs of loading a quilt
…a longarm frame! I squeezed a half-dozen full-size quilts through the tiny throat of my sewing machine to quilt them before I realized I would need at least a dozen lifetimes to get all my quilts done if I had to do them all that way, and hand quilting would require an eternity for me!
I hated having to baste my quilts, and forcing all that fabric through that little opening made it very hard to make smooth, graceful designs. So I took a leap and bought an APQS longarm. Soon I was able to quickly finish all of my quilts, and even start a business quilting for others who were also struggling to get their quilts done— more than 3,000 of them!
Quilters are finding out what I’ve known for years as a longarm owner—it’s so much more fun to quilt when you don’t have to constrict your design or your brain to a teensy throat space! I love being able to see and quilt an entire border, or stitch a row of blocks without stopping. It opens up a world of creativity and freedom when I don’t have to stop every few minutes to reposition fabric in a sewing machine or give my shoulders a rub from hunching over it.
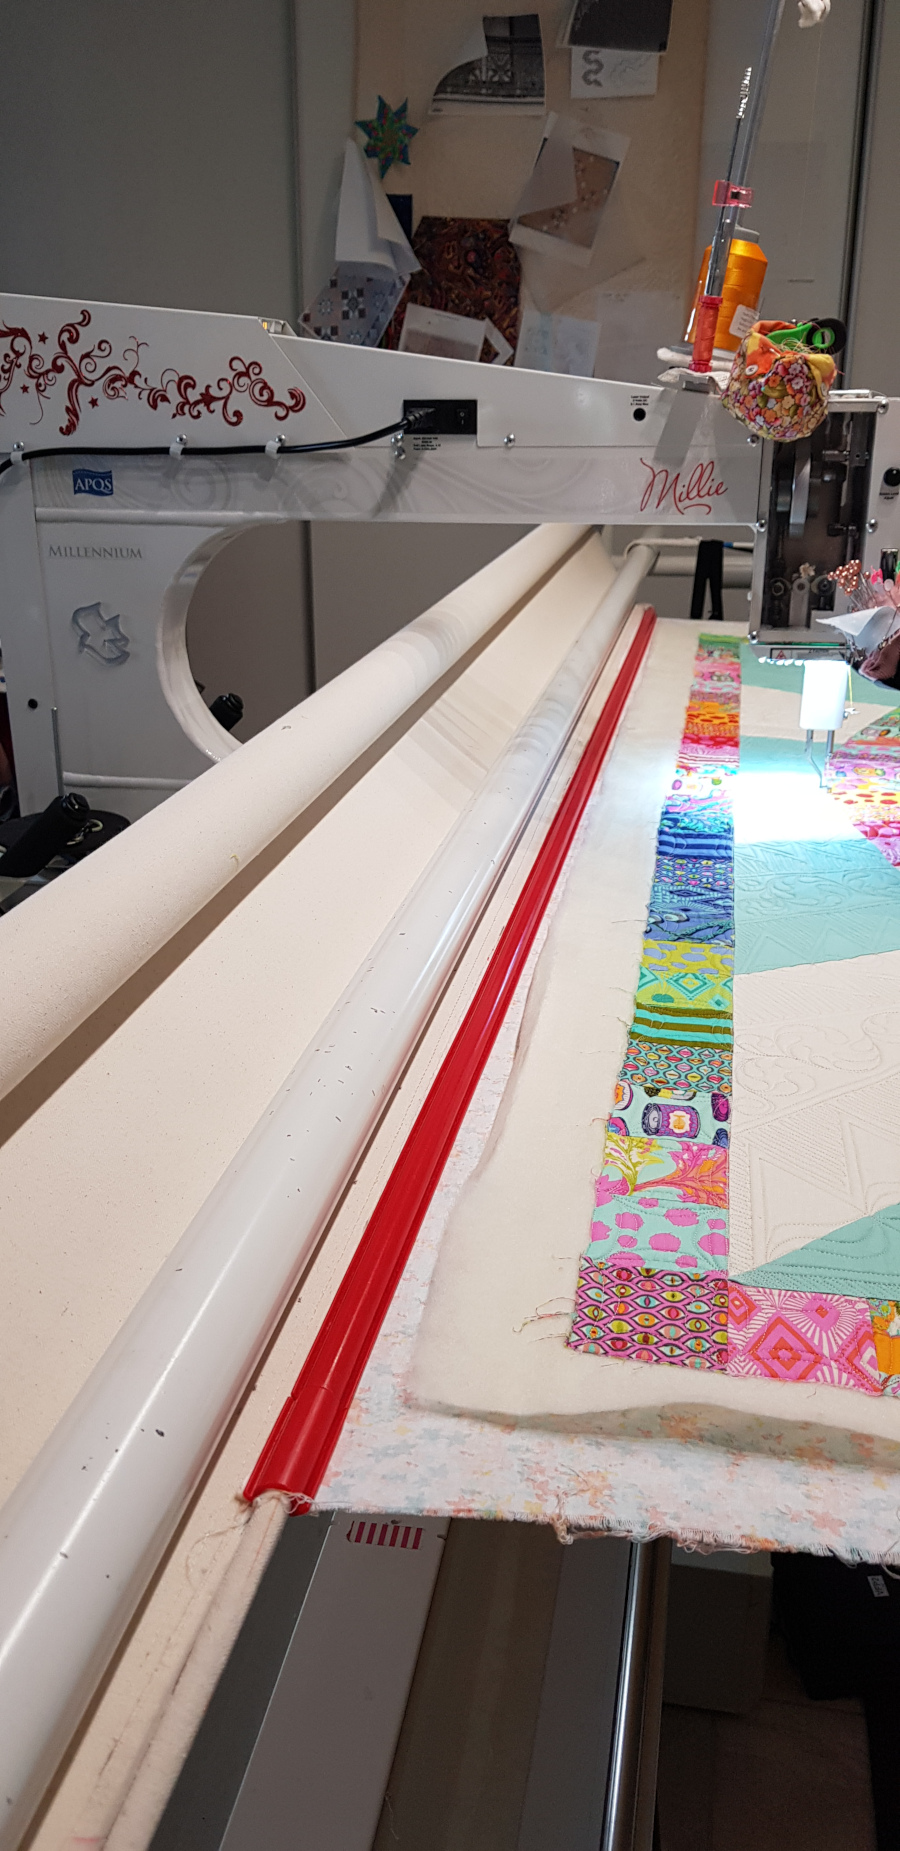
A longarm system eliminates basting the quilt layers so you don’t need to crawl around on the floor, which really speeds things up. Instead, the quilt layers attach to the longarm frame independently. Whether you “quilt by check,” rent time on a longarm, or plan to buy one, it’s helpful to understand how the quilt gets on the frame and why you need extra backing fabric to make it work.
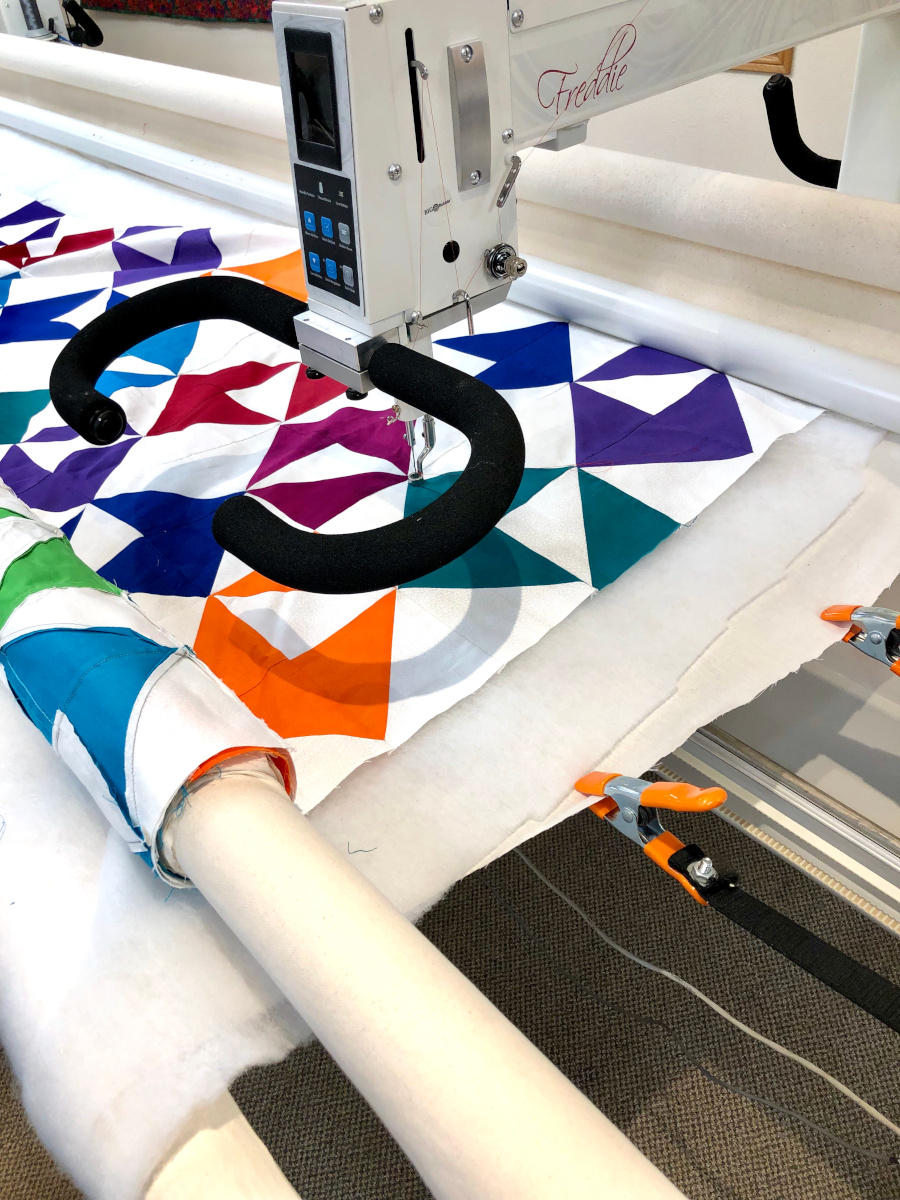
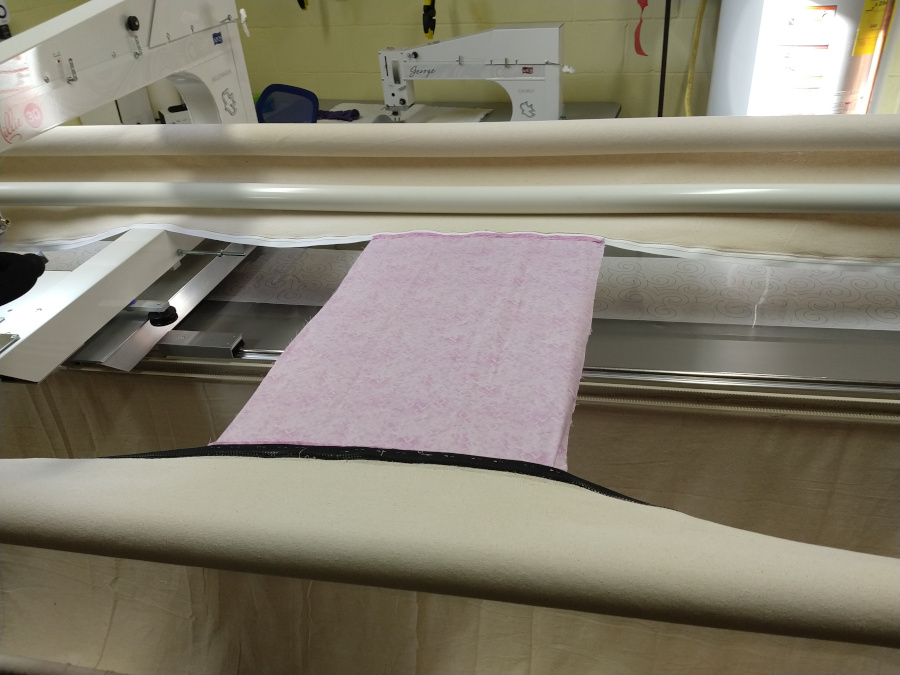
The backing attaches to the frame with its wrong side facing up. The quilt top attaches right side up, and the batting slips in between the layers. This forms a quilt “sandwich” that is stretched across the frame and mounted to a roller that collects the finished quilt. Clamps on each side of the frame hold the backing smoothly on each side. So that the longarm machine can reach all the way to the quilt’s edges, the extra backing allows the clamps ample room to secure the backing.

There isn’t truly a “right way” to attach the quilt to the frame, but quilters have created some ingenious methods and gadgets to accomplish the task. I haven’t met a quilter who doesn’t already have a pile of straight pins in her studio! Pins are a great option since they’re so readily available, but they do tend to be prickly (quilting lore holds that one’s own saliva will dissolve a pin-prick blood stain on a quilt, but so will a dab of cold water). APQS machines come with the canvases attached and labeled to make it simple to load a quilt.
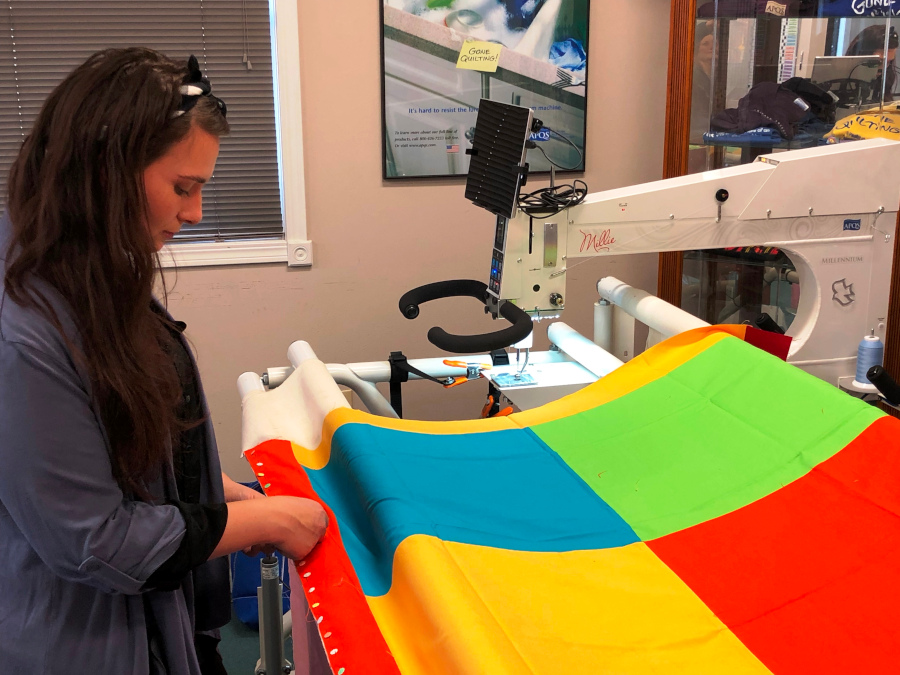
While the backing is nearly always attached to both sides of the frame so that it doesn’t pucker and shift, some quilters attach their top to the “quilt top” roller while others do not. It takes a little longer to attach the top to the frame, but it often provides more control over quilts that might not be as perfectly pieced as we wanted them to be.
A person who skips attaching their quilt to the “quilt top” roller typically “floats” the top on the batting and backing. The quilt rests over the batting and is pinbasted or machine-basted in place right to the backing fabric. This method speeds up loading, but makes managing an unruly quilt top a bit more challenging. The other edge of the backing attaches to the “pickup” roller inside the quilting machine’s throat. As the quilting progresses, the finished quilt sandwich rolls up onto the pick-up roller. APQS machines keep this roller centered in the throat to save time and preserve your quilting space. You don’t have to raise that bar up as the quilt sandwich gets bigger on that roller.
Zippers are a very convenient alternative to pins. With this technique, one half of a zipper is sewn to the backing top and another zipper half goes on the backing bottom. The mates to each of these “half zippers” are attached to the quilt backing and pick-up rollers. When it’s time to attach the backing to the frame, you simply zip it on like you would a jacket! Adding a zipper to one edge of the quilt top (to attach it to the quilt top roller) is optional.
If you share your machine with someone, or you simply get bored with your current project and want to do something else, zippers let you remove the quilt almost instantly and then put it back on…with all the layers still properly aligned with each other! You still have to take time to attach the zippers to your quilt layers, but if you have to “unsew” any mistakes on the quilt, it’s a lot easier to unzip the quilt and pick out stitches in your easy chair, then zip it right back on again.
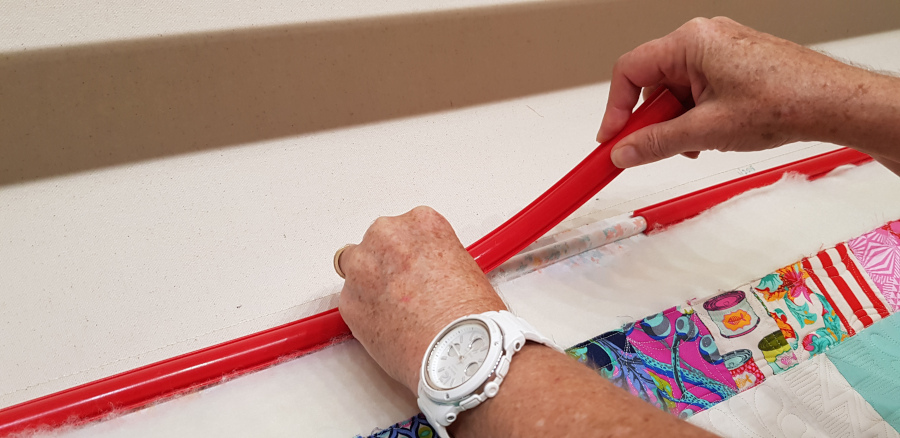
Another clever quilt loading method uses plastic “snap on” clamps that hold the fabric layers over a dowel or rod inserted into a sleeve formed at each canvas edge.
Lyn Crump from Queensland, Australia, has her own approach to loading. She no longer worries if her backing doesn’t have a straight edge at the bottom when she uses the snap-on system.
“As I roll the back onto the pick-up roller, I straighten the remainder until I approach the bottom of the backing, then ‘snap’ the bottom as it comes to the quilt back roller, ragged edges and all. I then re-roll my backing onto the quilt back roller, smoothing as I go, so no nasty, saggy, baggy backs, pleats or creases! Plus the quilt comes off lightning-fast when I’m done!”
The quilt top can also be secured the same way. The downside to using a snap-on system is needing about four extra inches of backing fabric on the top and bottom so the dowels don’t bump into the needle.
Loading a quilt is super simple on an APQS machine. The free beginner class included with each new machine helps you explore all the possibilities and find a method that works best for you. Whether you pin, zip, snap, staple, float, or duct tape the quilt to the rollers (well, maybe not duct tape!), as long as you like the quilt when you’re done, it doesn’t matter!


