Quilting the Quilt: My piecer gave me a wedgie
Download a PDF of this article
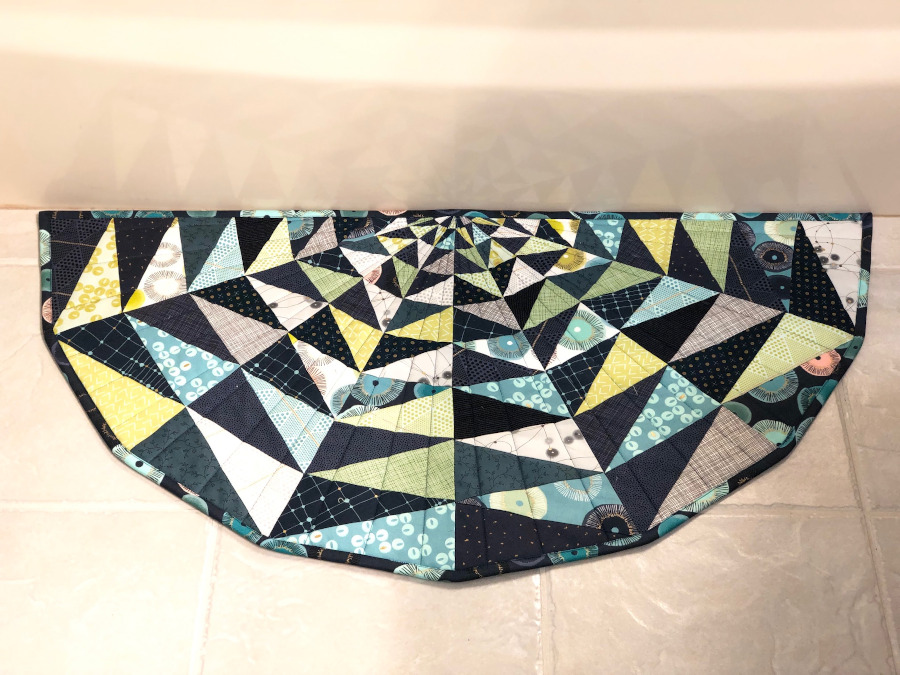
When I conjure up mental picture of a quilt, I see a 4-sided shape. It might be a square, a rectangle, or even a trapezoid if my piecing didn’t go quite as well as I’d planned! But when my daughter asked me to quilt a wedge-shaped rug for her bathroom, it meant getting out of my 4-sided box with my thinking.
Loading quilts with four sides on an APQS longarm frame is simple. The canvases are clearly labeled with “Quilt Back” and “Quilt Top” to make it easy. I attach the other end of the backing to a third roller called the “Pick-up Roller,” which holds the finished part of the quilt as I work from top to bottom. The fourth roller on the frame keeps the entire quilt nice and level no matter how much finished quilt collects on the Pick-up Roller so I don’t have to stop and adjust it as I work.
To finish unusual shapes without straight opposite edges, I use a method called “floating” a quilt top. This means that the top simply rests or “floats” on top of the backing and batting. Its top edge is basted to the batting and backing with stitching or pins.
Quilts can be fully floated or partially floated. A fully floated top drapes over the batting and backing but is not attached to any canvas on the quilting frame. A partially floated top is attached to the Quilt Top roller and wound onto it for more control, but its opposite end is still basted directly to the batting and backing. In either case, the backing fabric gets attached on two sides so that it stays smooth and wrinkle-free.
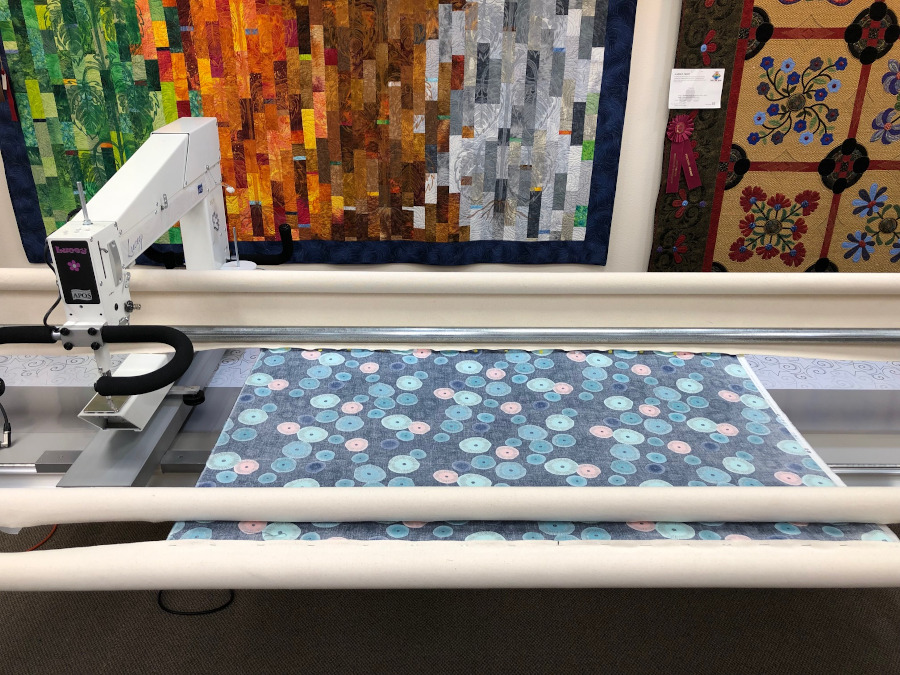
Since my daughter wanted her rug to be super absorbent yet flat, I stacked two layers of Warm & Natural batting on top of the quilt backing.

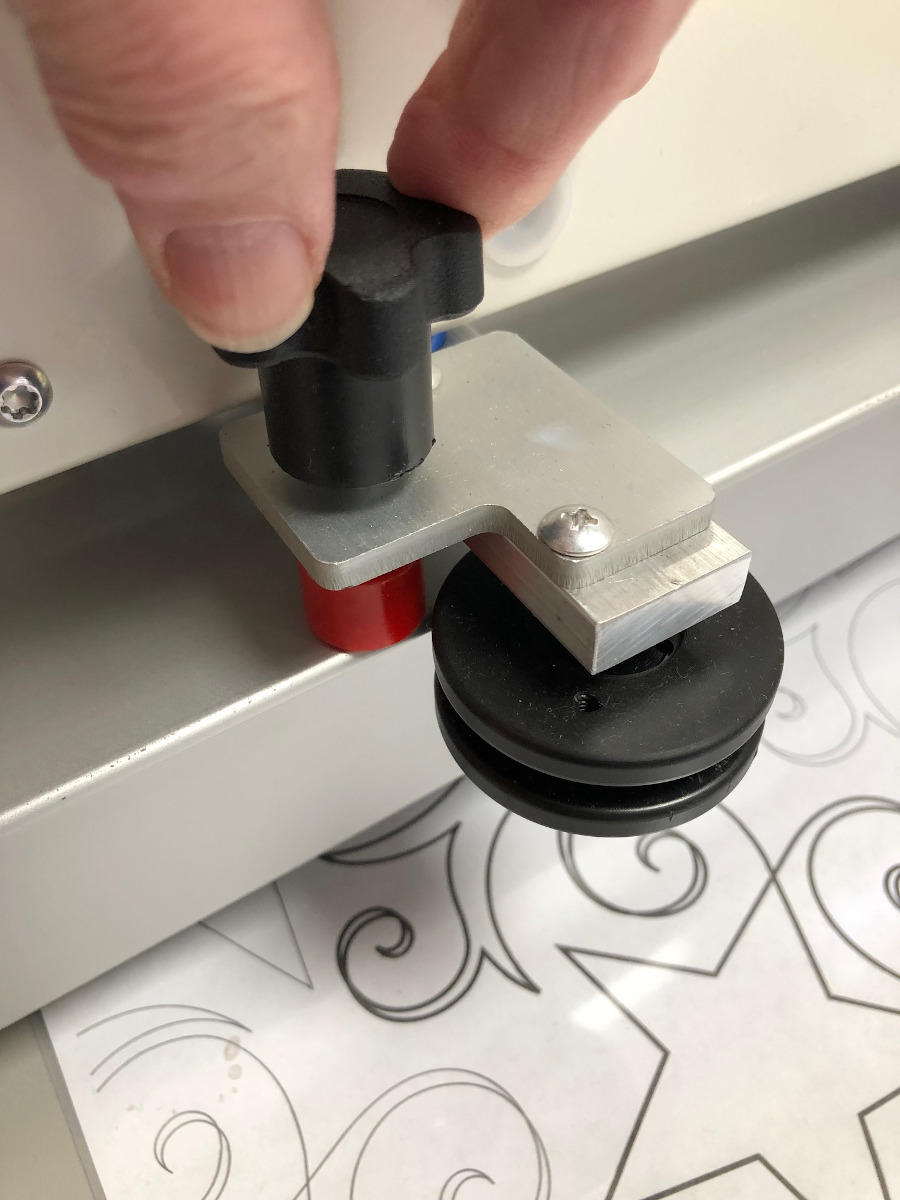
Next came the quilt top. Since her rug had one straight edge, I used the built-in horizontal lock on the APQS Lucey to stitch a nice, straight reference line through the batting and backing.
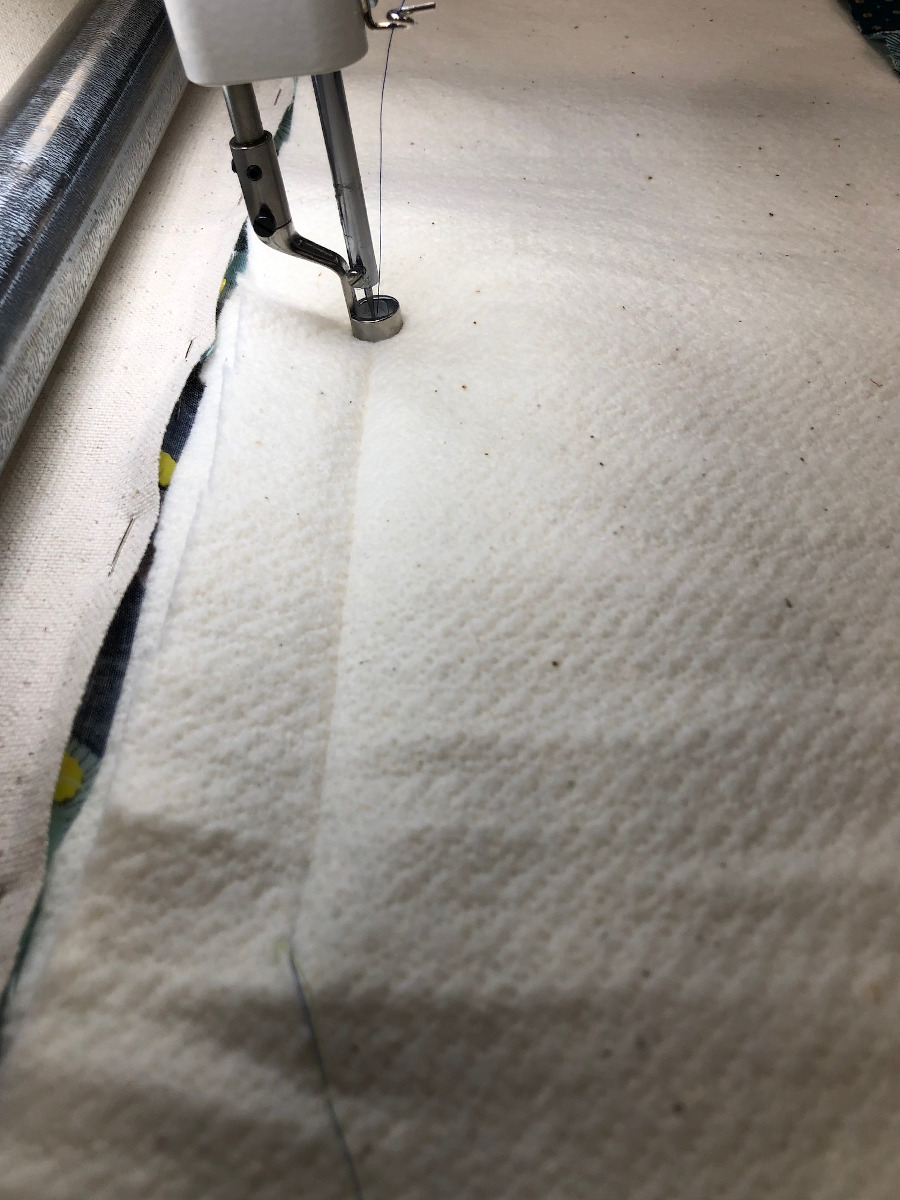
After aligning the quilt’s straight edge with this reference line, I secured it to the backing and batting with basting using the handy precision single stitch feature on Lucey. Even though my daughter stay-stitched the bias edge, the precision basting allowed me to ease in any fullness and helped keep the edge nice and straight.
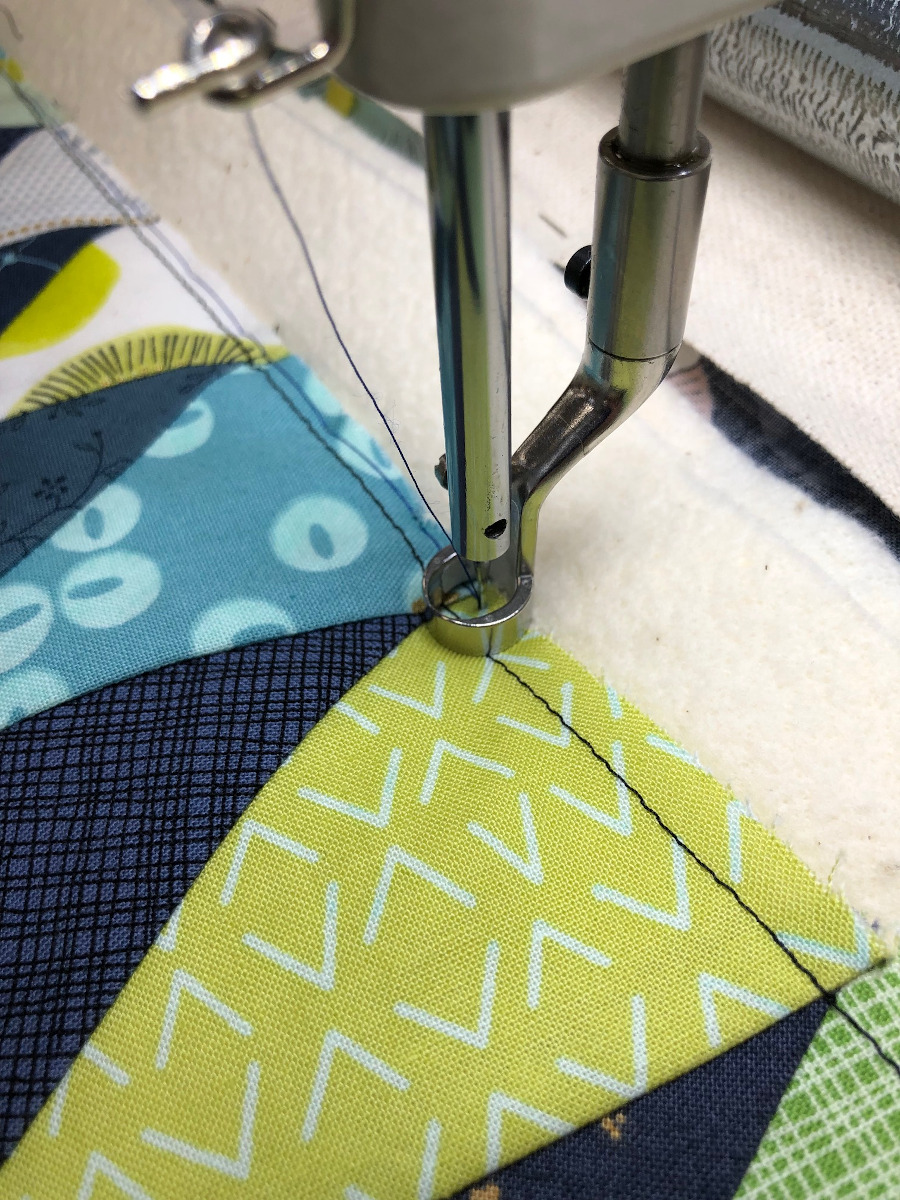
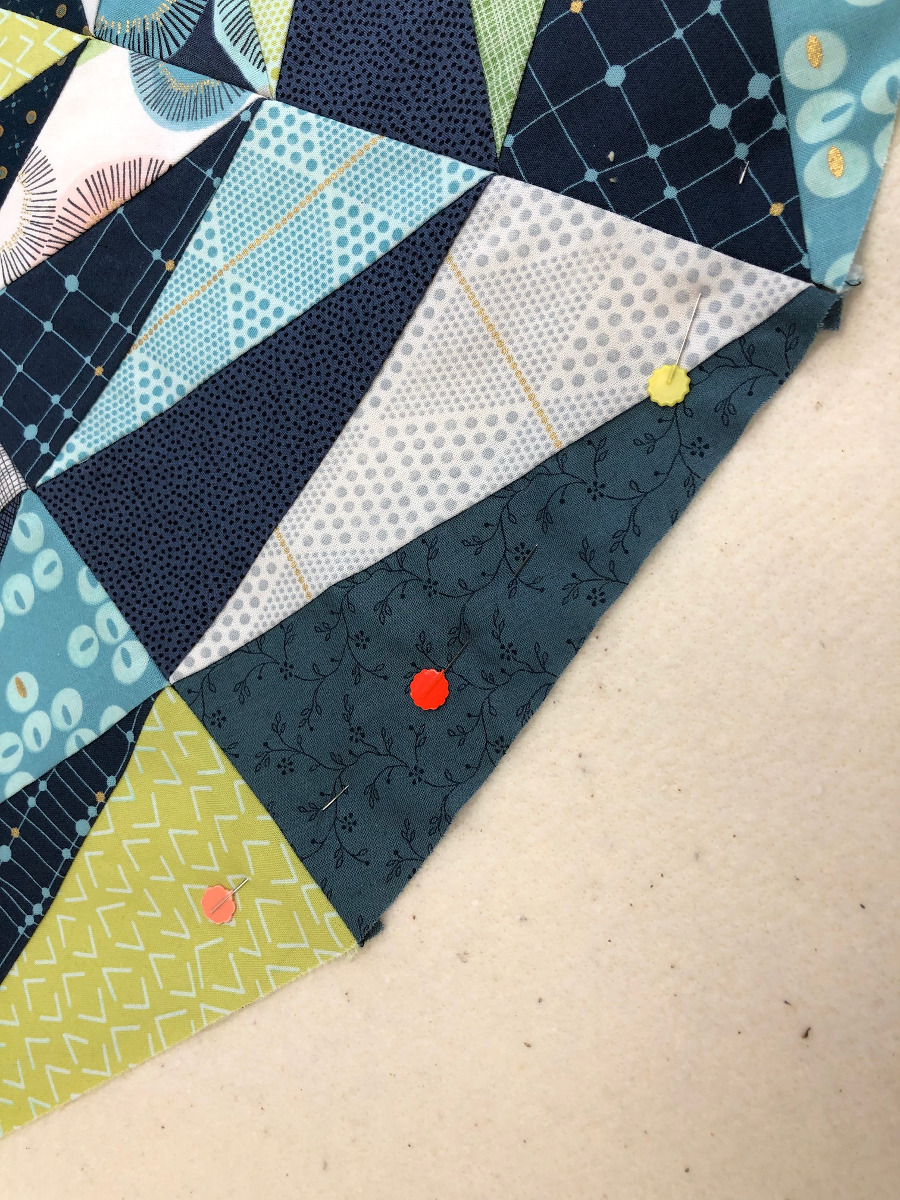
To keep the curved edge from distorting, I pinned just inside it, then used the same precision basting technique to hold the edges in place. This technique works great for quilts like double wedding rings, prairie points, or even round tree skirts.
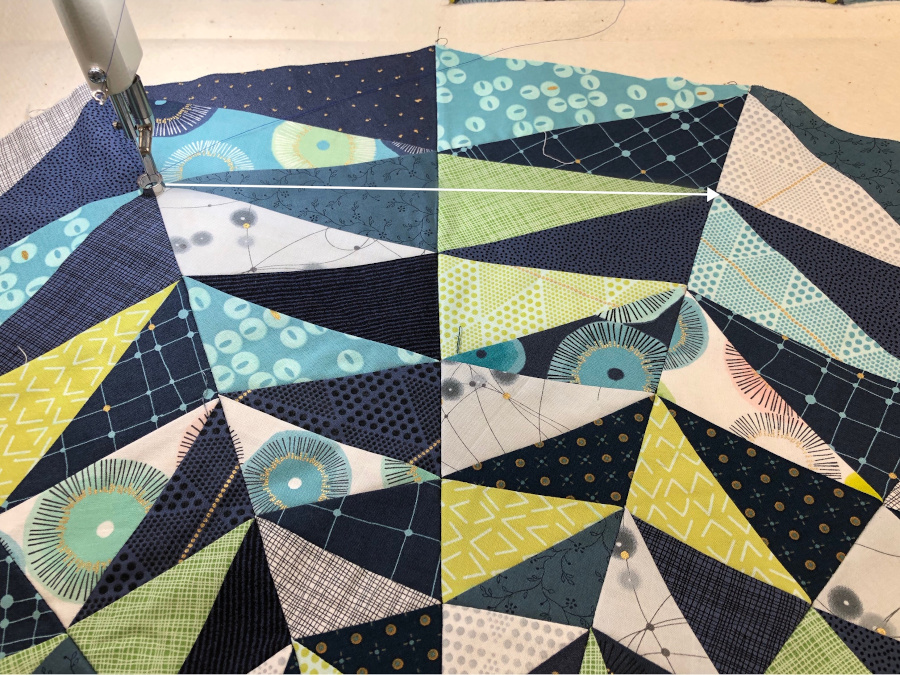
I used the machine’s directional horizontal lock to check whether I had the quilt aligned as true as I basted. For example, with the machine’s directional horizontal lock back on, the seams for this quilt section should fall in line as I move the machine left and right as illustrated.
If necessary, I could easily release the long basting stitches, smooth the top again and recheck my reference points, and then baste it in place again.
Once the quilt top’s edges were secure, the quilting could commence! I chose a simple straight-line quilting design that accentuated the wedges as they radiate from the center of the straight edge. After adding binding around the edge, my daughter’s new shower rug can tickle her toes!