How to quilt garden gate feathers
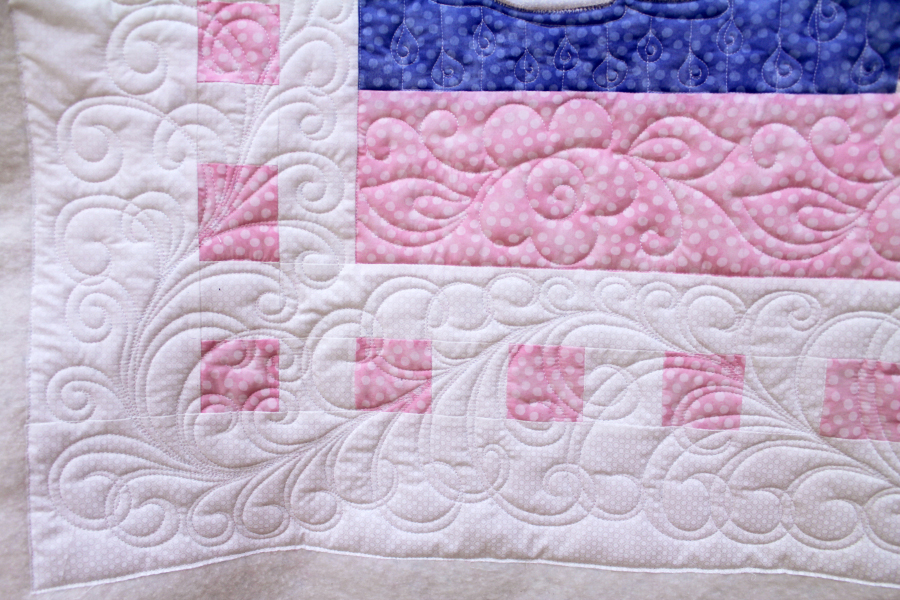
This article continues our quest to explore the many variations of the feather quilting motif. This time we are going to work on the Garden Gate Feather seen in the outside border of this adorable paper doll quilt I just finished quilting for a friend of mine, Pam S.
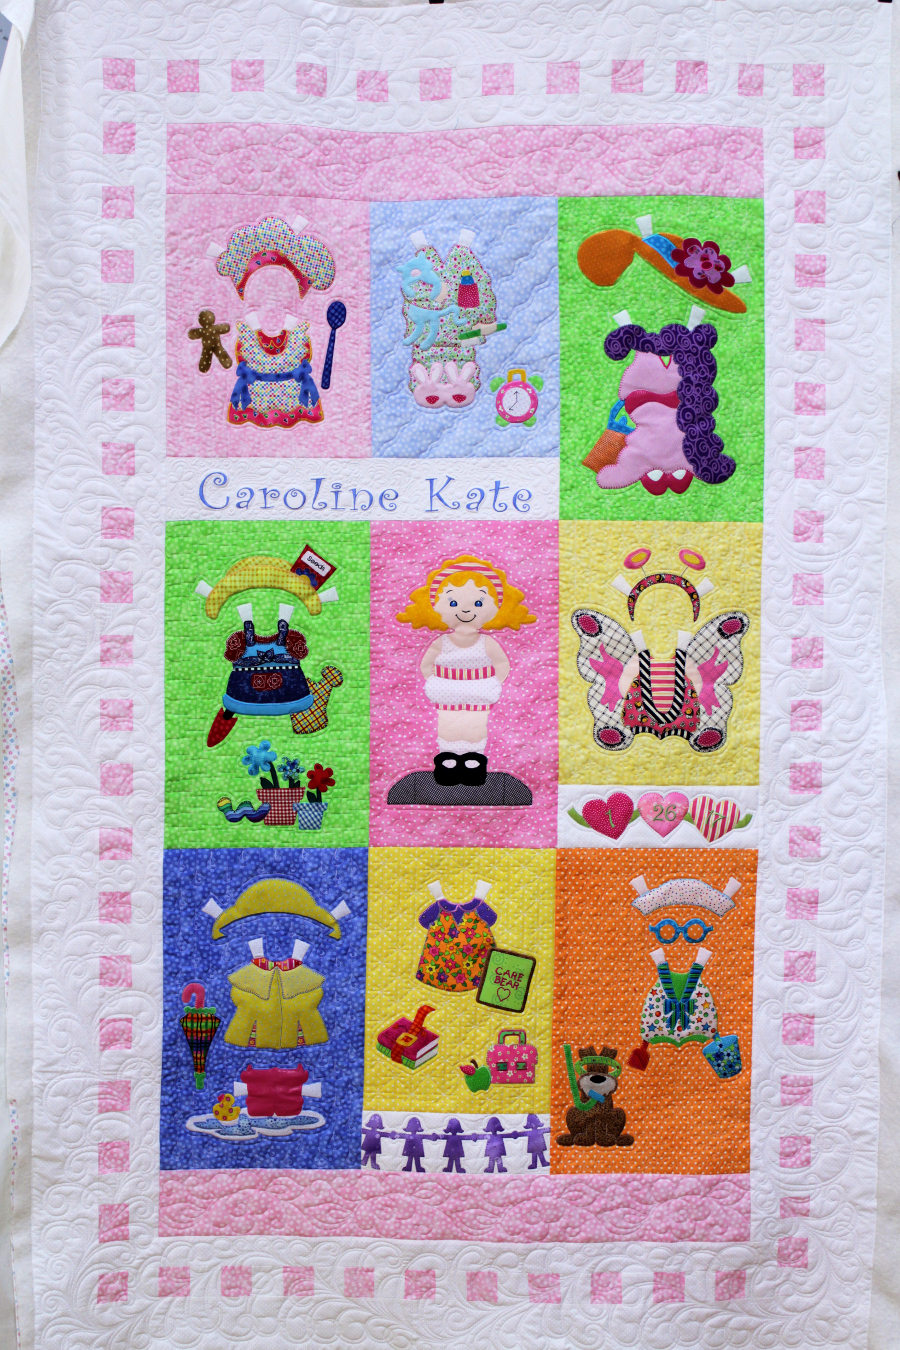
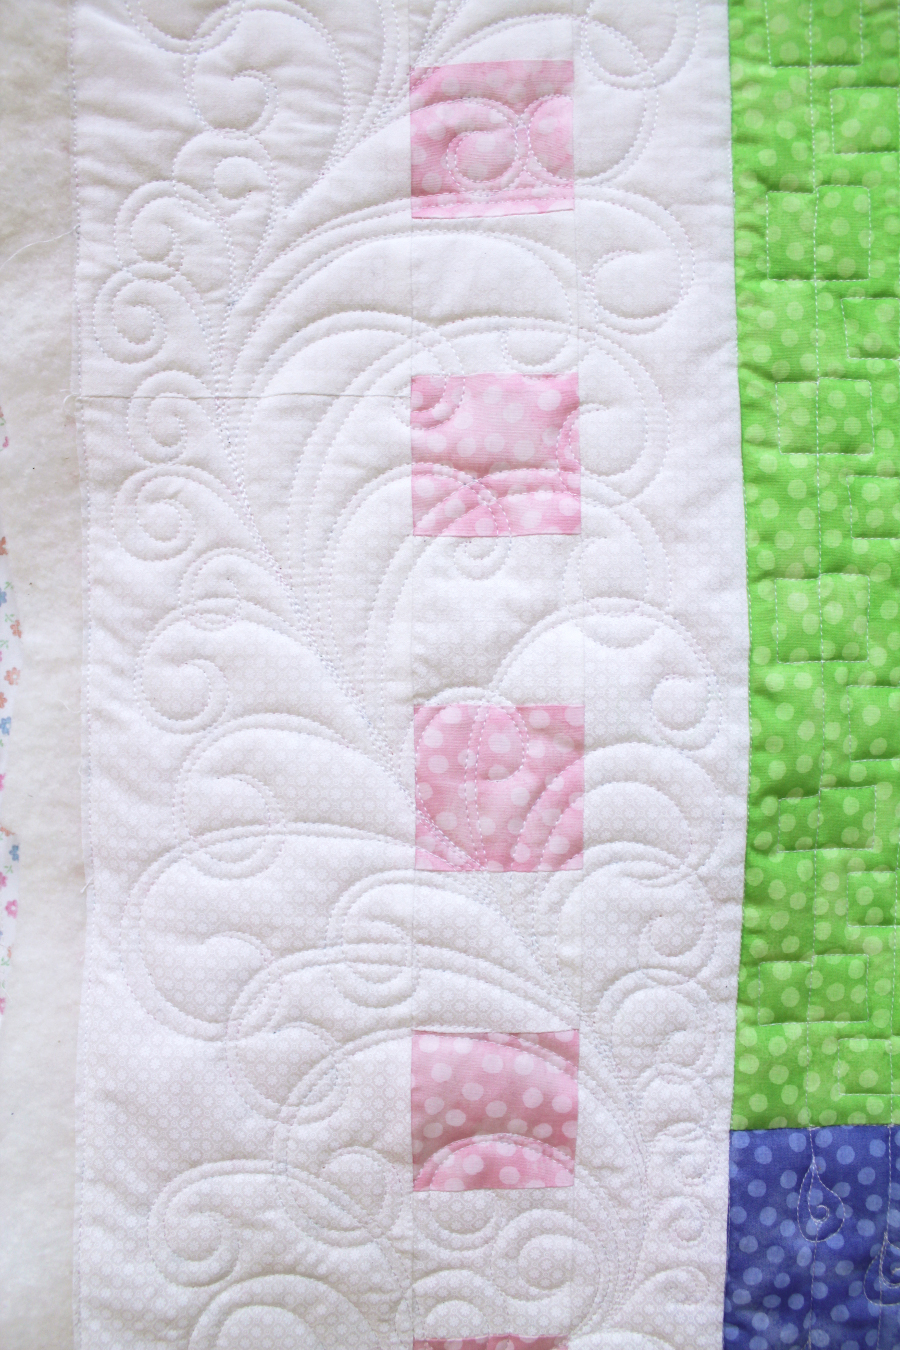
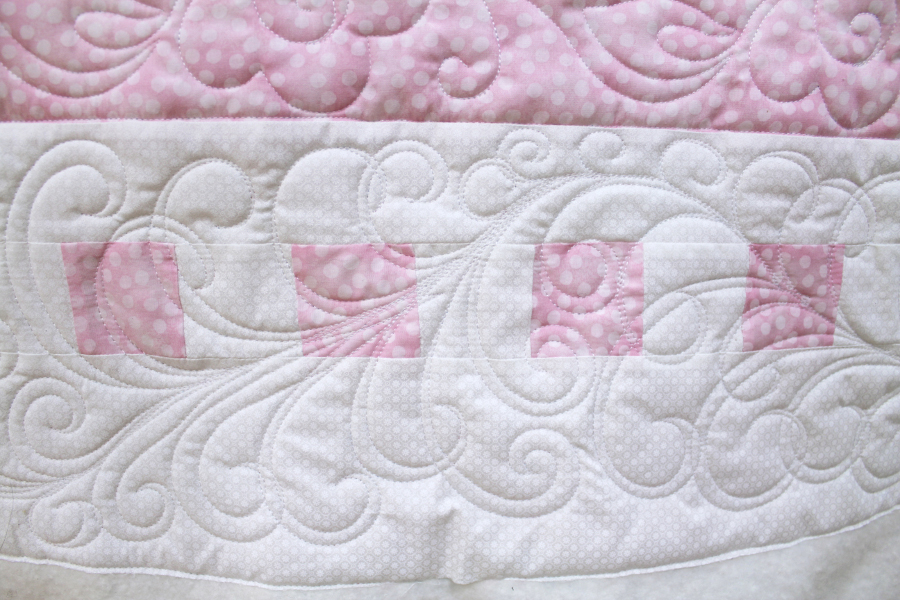
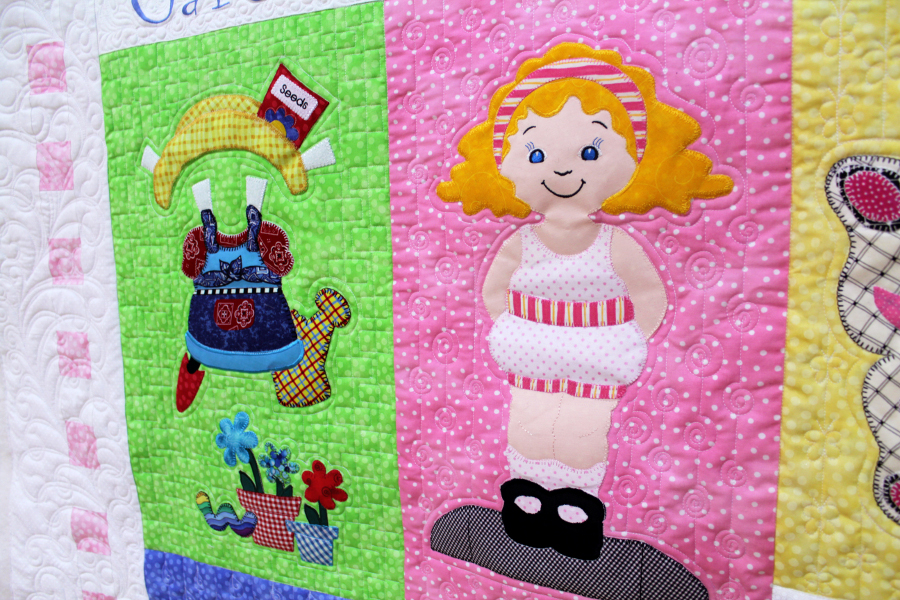
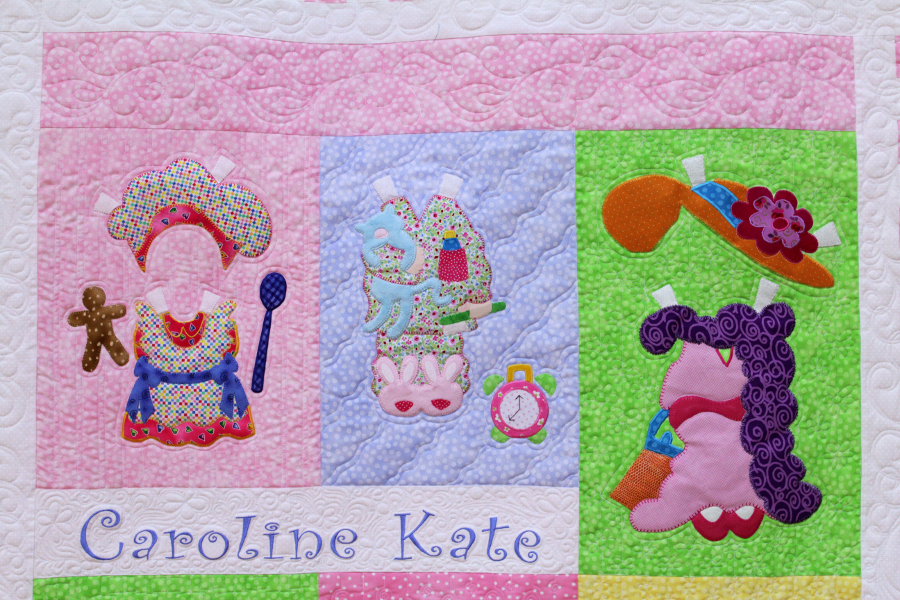
Pam made it for her granddaughter from the Sugar and Spice Paper Dolls pattern by Amy Bradley. Isn’t it precious? I fell in love with this quilt and wanted to create a fabulous border to frame out her blocks. Since the outside three borders all used the same white background fabric, I chose to treat the three borders as one unit which was a perfect spot for feathers.
In the last article of this series, we looked at how to create a “spineless” quilting feather by only marking a suggested spine on the fabric which isn’t stitched. It is much faster and it is a little more forgiving. We also looked at how to stitch out both sides of our spineless feathers in one pass, alternating from side to side in order to reduce the stops and starts found in more traditional feather motifs. I’m hopeful you’ve had some time to play with that method because we are going to build upon those ideas today.
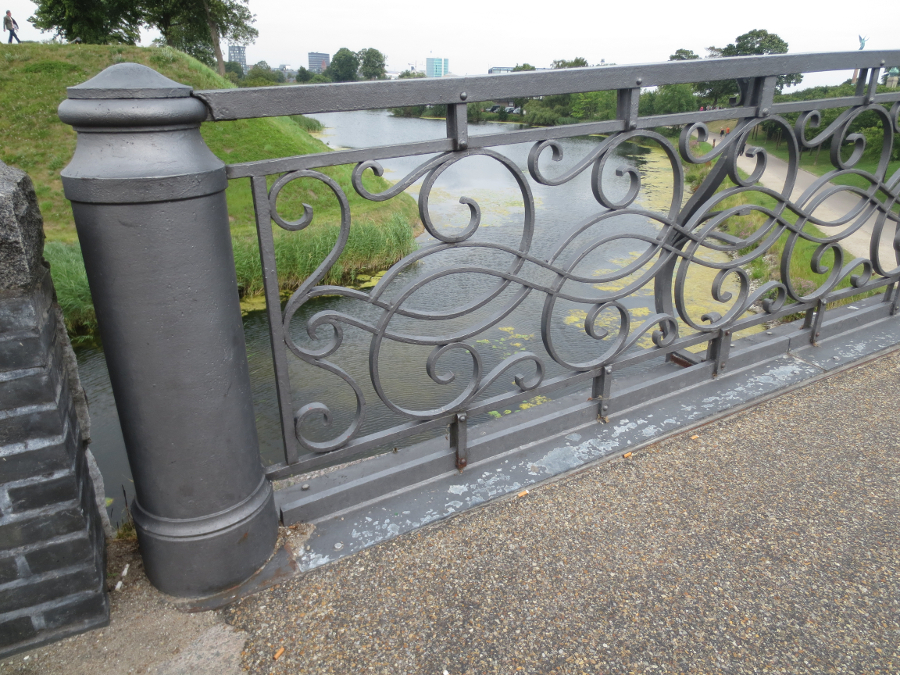
Have you ever noticed that some iron gates and iron railings look like they would make beautiful quilting motifs? The swoops and the swirls remind me of the wonderful curvy lines I can stitch with my APQS Millie. While visiting one of my best friends in Copenhagen I fell in love with this ironwork on a bridge. Isn’t it lovely? The curls! The swirls! If you are like me your vacation photos are full of architectural elements that catch your quilty eye. I can’t tell you how many photos I’ve taken of hotel carpets too! Everyone else takes photos of the Cathedral and I come home with closeup photos of a door knob or the carving on a pew.
When it comes to traditional feathers, most of my students get intimidated because of the uniformity and symmetry of the plumes. They have also heard over and over again from the Quilt Police that you should never cross over your stitching lines. Well, this feather throws all of that completely out of the window and you will love the freedom that gives you!
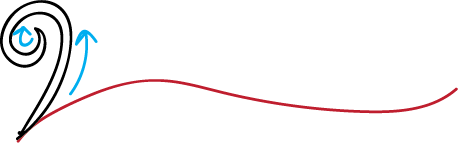
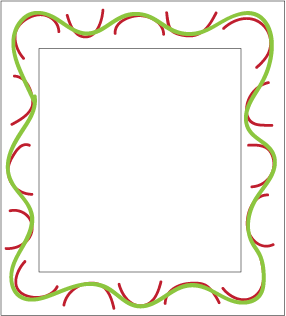
The Garden Gate feather is based on a common shape – the hook. We are going to make very skinny hooks of all sizes. To learn more about the difference between a hook and a curl, watch this video that delves into the anatomy of these shapes. First, we need to chalk out a spine that we can follow (seen here in red). Next, start at the base of the spine and swoop out to make a nice skinny hook. At the top of the plume, think of it as the face of a clock and really tuck the end point of your plume into the center of your clock face. If you don’t tuck the tail in there deep you won’t get the elegant look we are after. Echo back down to the chalked spine but don’t worry if you go slightly over the marked spine. It is just a suggestion.
Let’s do a second one on that same side and then flip over to the south side of the spine for two more.
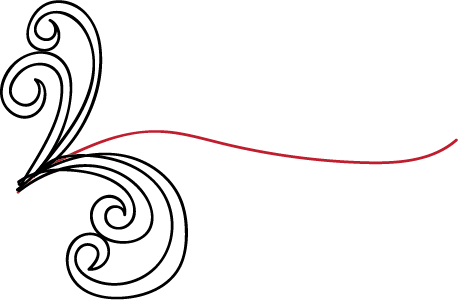
Nice, right? Very flowy and organic. Now that we have it started we will continue to make two or three plumes on one side before crossing over to the opposite side. However, as we create these lovely hooks we will occasionally cross over one of the feather plumes we’ve already stitched. That is what makes this feather variation so forgiving. You can cross over yourself to tuck in and fill the space!
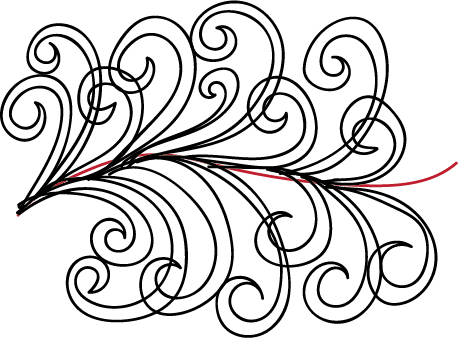
For Pam’s quilt I wanted these feathers to wrap around the entire outside border. Placing regular feathers around a ninety degree corner can be challenging but our Garden Gate feathers can swoop around a corner with ease because you can make them a variety of sizes and cross over yourself too.
In order to gracefully travel around each corner I first chalked out a circle curve in the corners that would give me a suggestion of the spine to follow. I used a circle template I had on hand but a plate or a pot lid would work too. It just needs to be round and fit comfortably in the corner.
I also marked a half circle in the middle of the border.
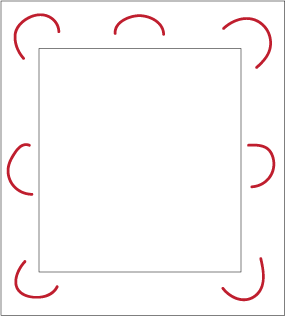
Now that I had the high side of the suggested spine marked, I marked the downward swing of the suggested spine between each of these high points.
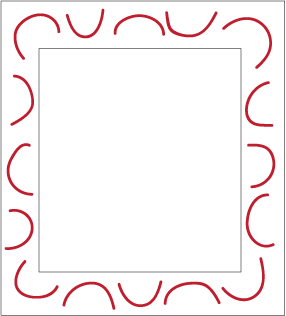
Once these high spots and low spots have been marked I used my favorite marking devise to connect them in order to make an undulating spine for my Garden Gate Feathered borders to follow.
I should note that the only thing I marked prior to loading this quilt top to my APQS Mille was only the centers of the four sides of the quilt top. I marked the spine using my circle templates after it was loaded to my machine and I only marked the space I was about to quilt as I came to it. In other words, I did not mark the entire outside border before quilting.
Because these feathers are so forgiving and because my Mille has such a large sewing space, I could quilt the border in chunks as I worked my way down the quilt top. I never turn a quilt top to do side borders. I always to them in chunks. If a motif requires me to turn my quilt- I pick a different motif! 🙂
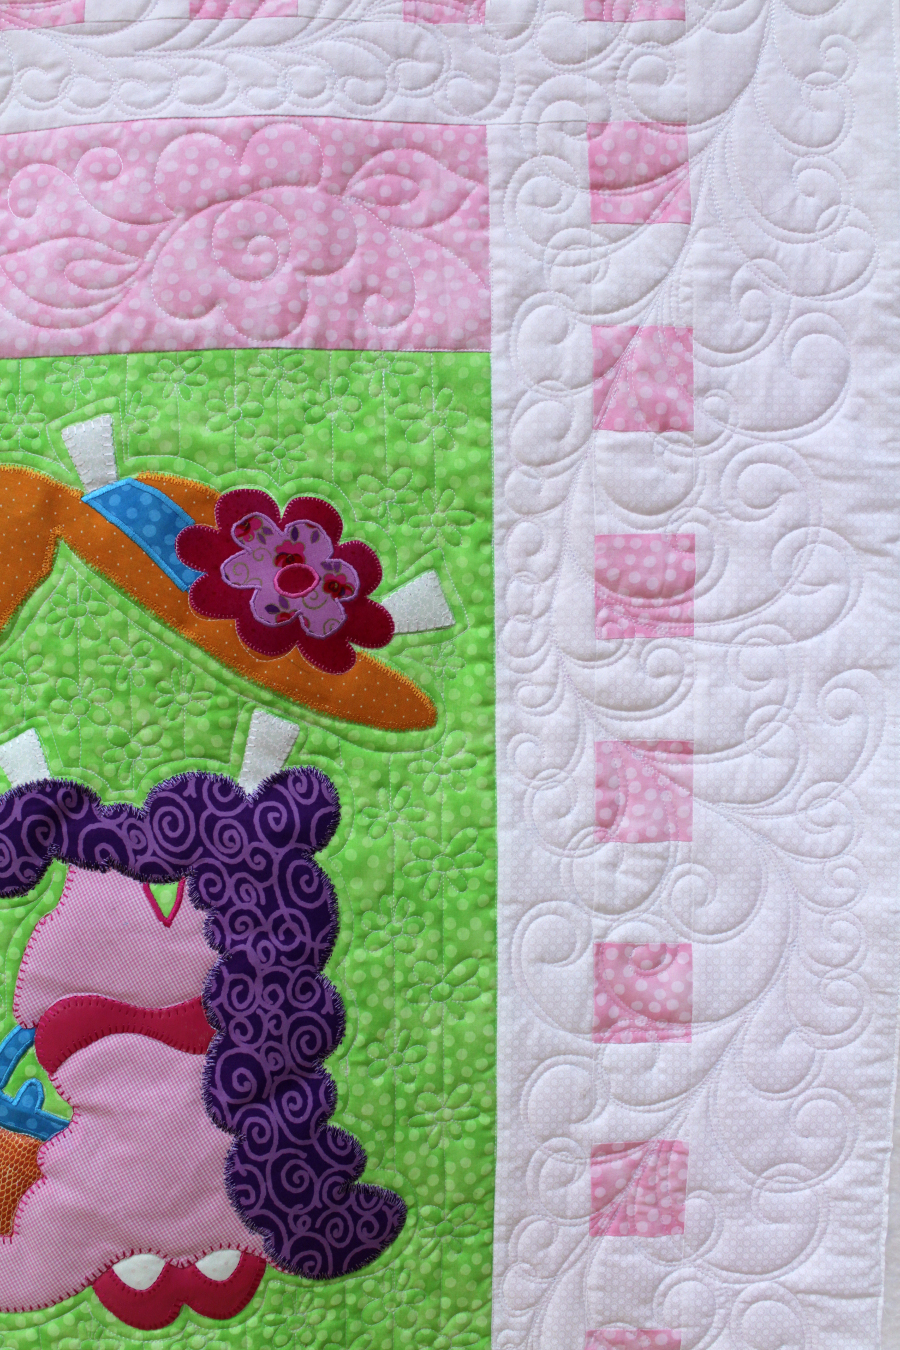
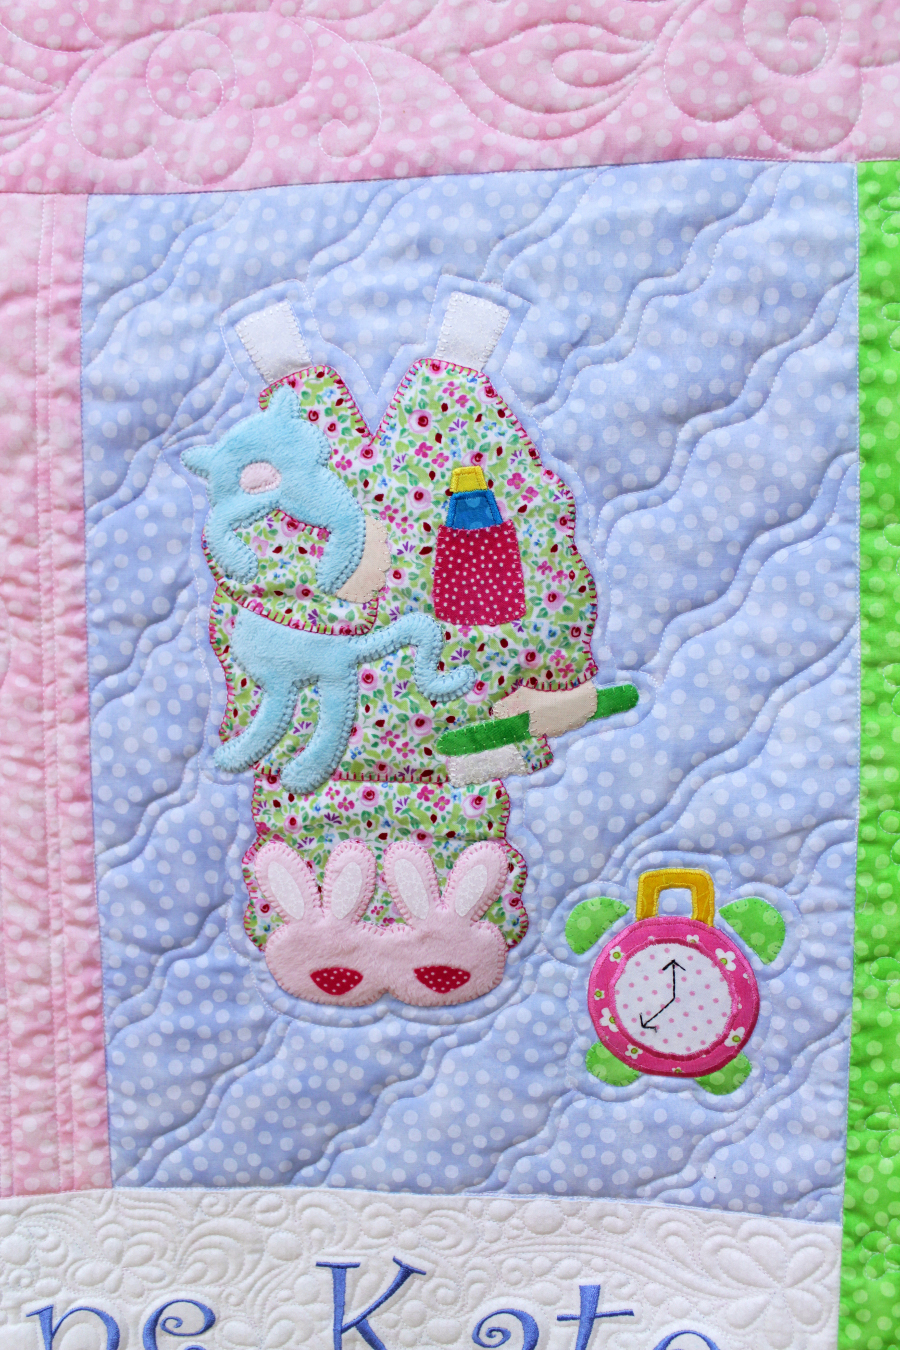
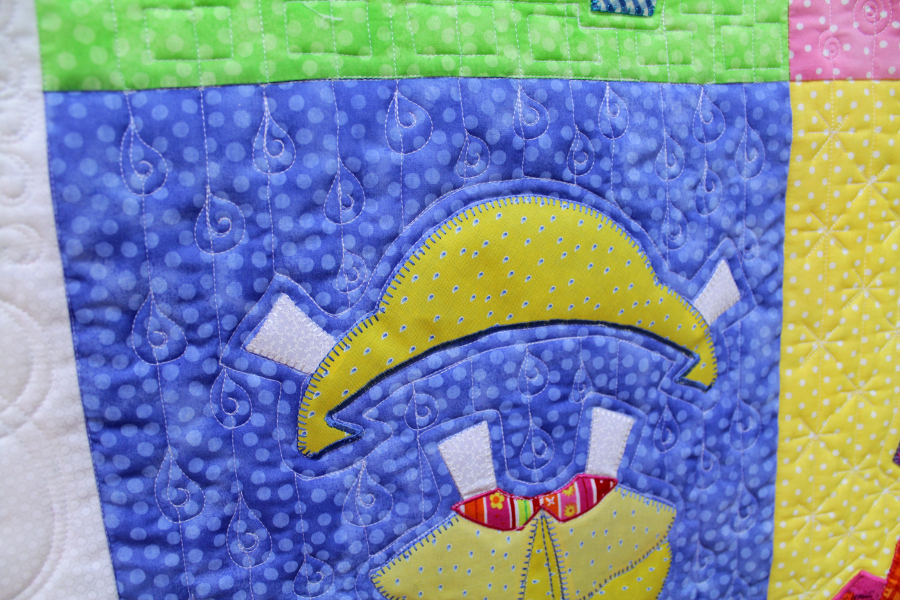
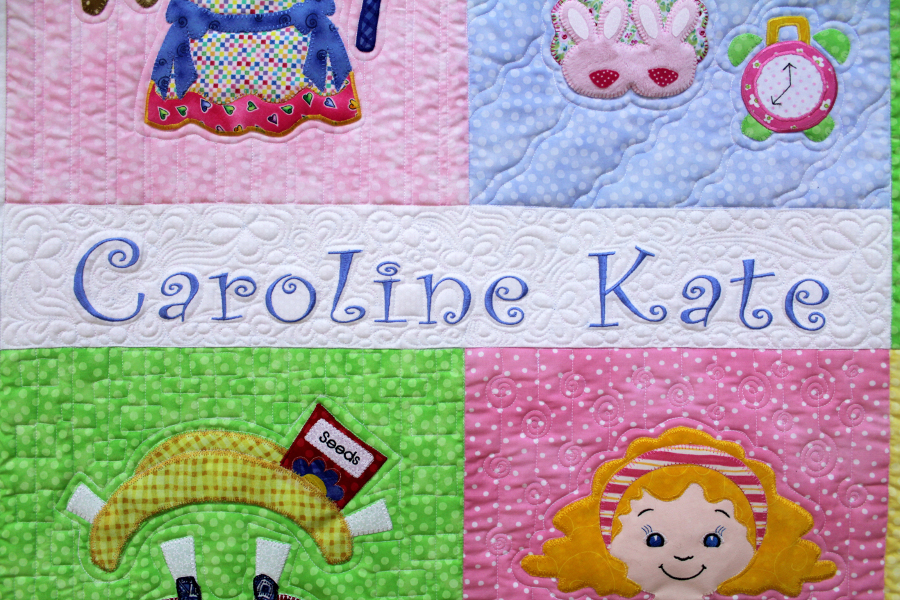
Now that you know how I created the outside border, take a look at all the other quilting elements I added to the blocks! I played with linear fillers on this quilt and each block has a different linear filler. This quilt was so much fun and I’m so happy Pam asked me to quilt it for her.
Do you think you’ll try this on your quilt? I’d love to see what you are working on! You can post a photo over on the APQS Facebook page and you can find me over at QuiltedJoy.com