Piecing quilt backs
Sometimes by the time I snip the threads after sewing on the last border of a quilt, I’m so excited to have it finished that the last thing I want to do is wrestle several more yards through the machine to seam backing fabric. How about you?
Wide backing fabric is an easy way to avoid a seam wrestling match. Over the years the selection has grown from a handful of choices to several hundred different prints and colors.
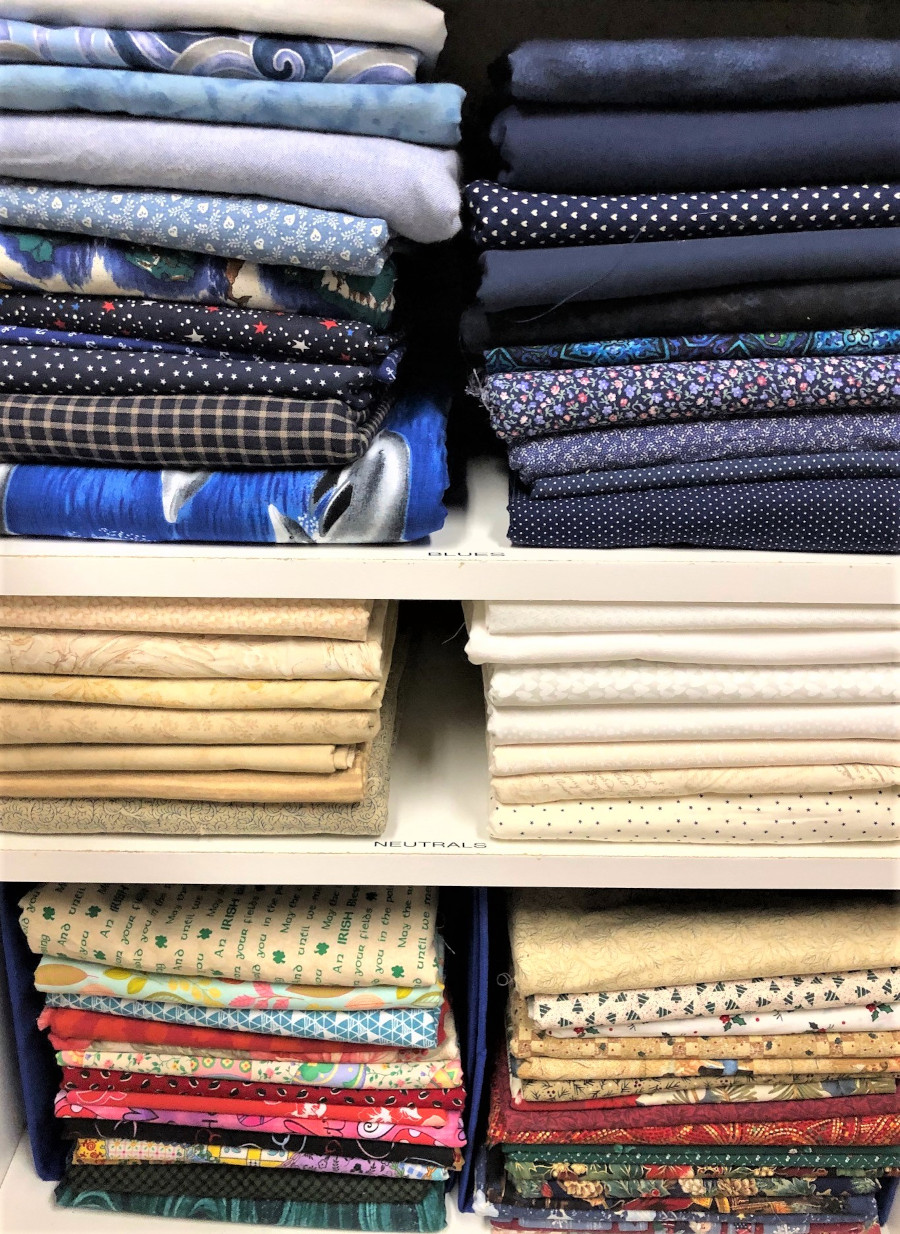
Wide backing is typically 108 inches wide, making it ideal for large, queen-size quilts. Sadly, the choices are much more limited beyond that width, so you’ll most likely still need to piece backing for a king-size quilt.
Though wide backs work for smaller quilts too, it may not be as cost effective since you’ll be left with remnants that ironically may need a seam to make them usable for another quilt.
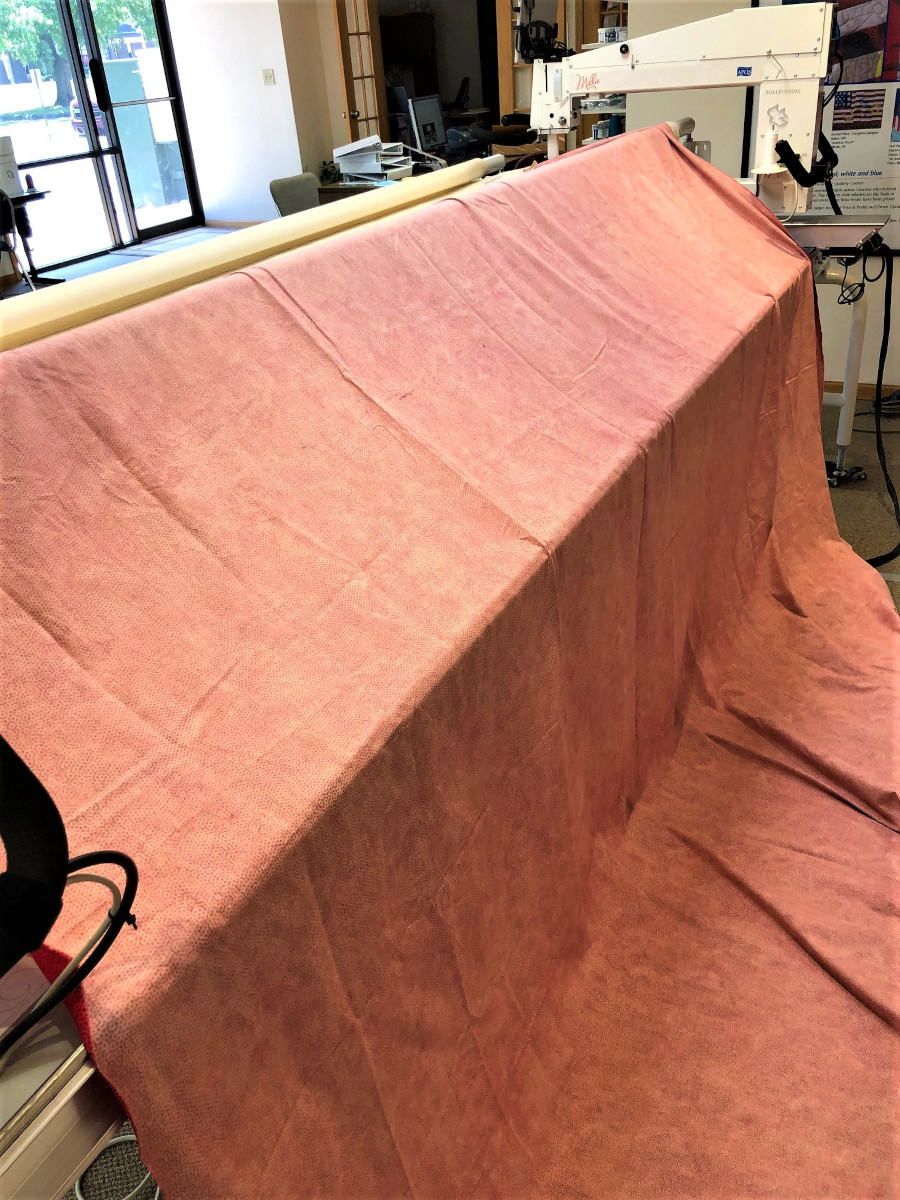
Not only do wide backs save time at the sewing machine, they can also save time at the quilting machine! When the backing doesn’t have seams, loading it on the frame is much faster–plus there’s less risk of puckers and distortion caused by multiple seams wrapping around the backing roller. Attach one straight edge to the backing roller, then toss the excess up and over the pick-up roller across the frame. This technique puts some friction on the backing as you wind it on the roller, helping to keep it smooth and straight.
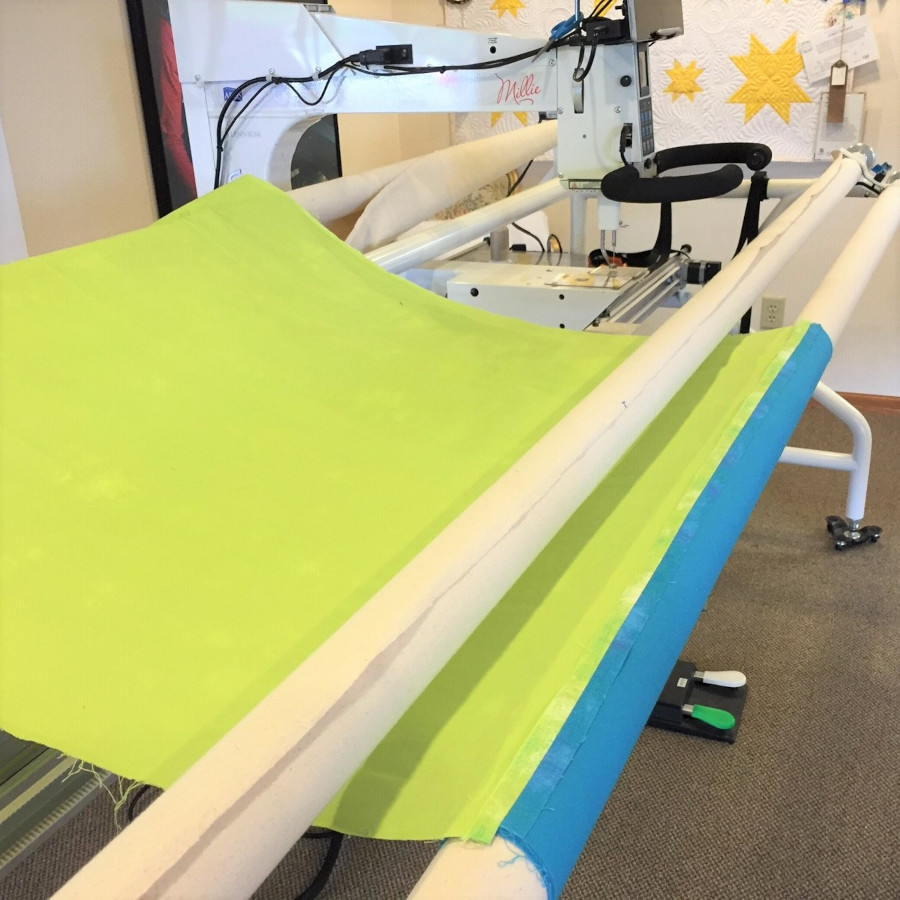
If you have to seam backing pieces together and you’re quilting on a longarm frame, a horizontal seam will be SO much easier to load! The seam will lay along the length of the backing roller, keeping the backing flat.
Press seams open to keep bulk to a minimum.
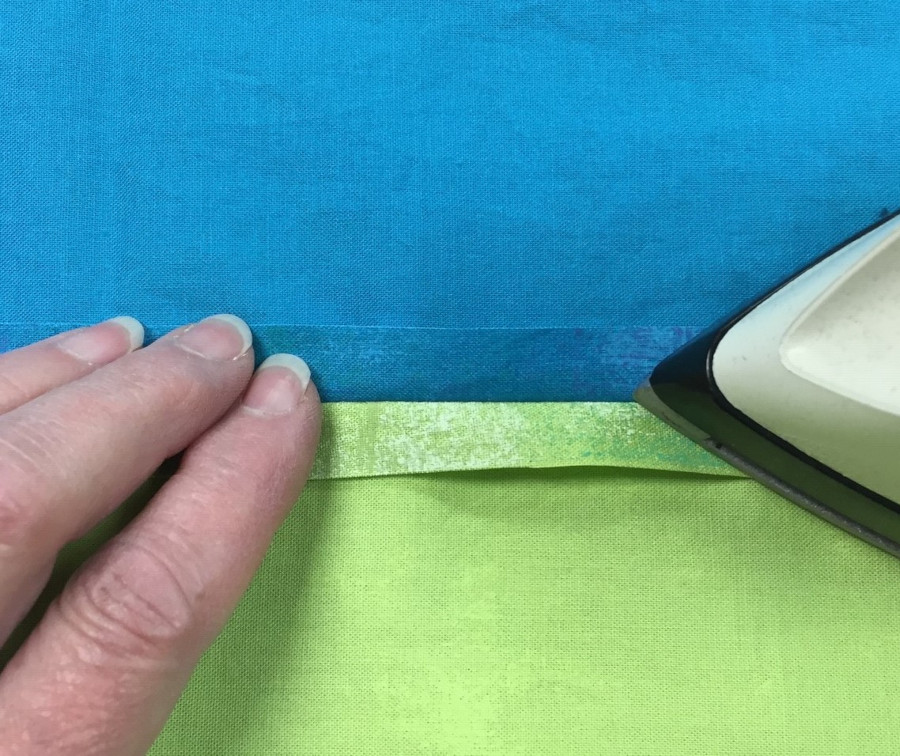
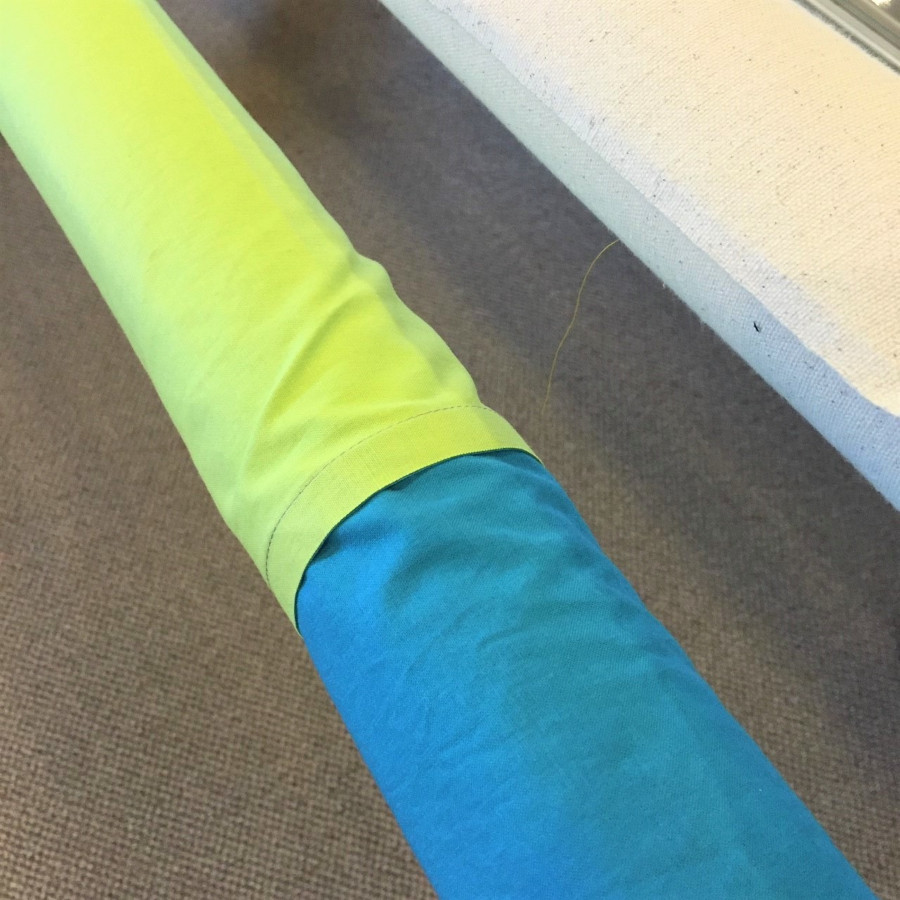
This step is important no matter which way you load the quilt, but it’s especially key when the seam is vertical. The photo below shows how quickly backing seams pressed to one side will build up on the roller, creating wrinkles and potential distortion.
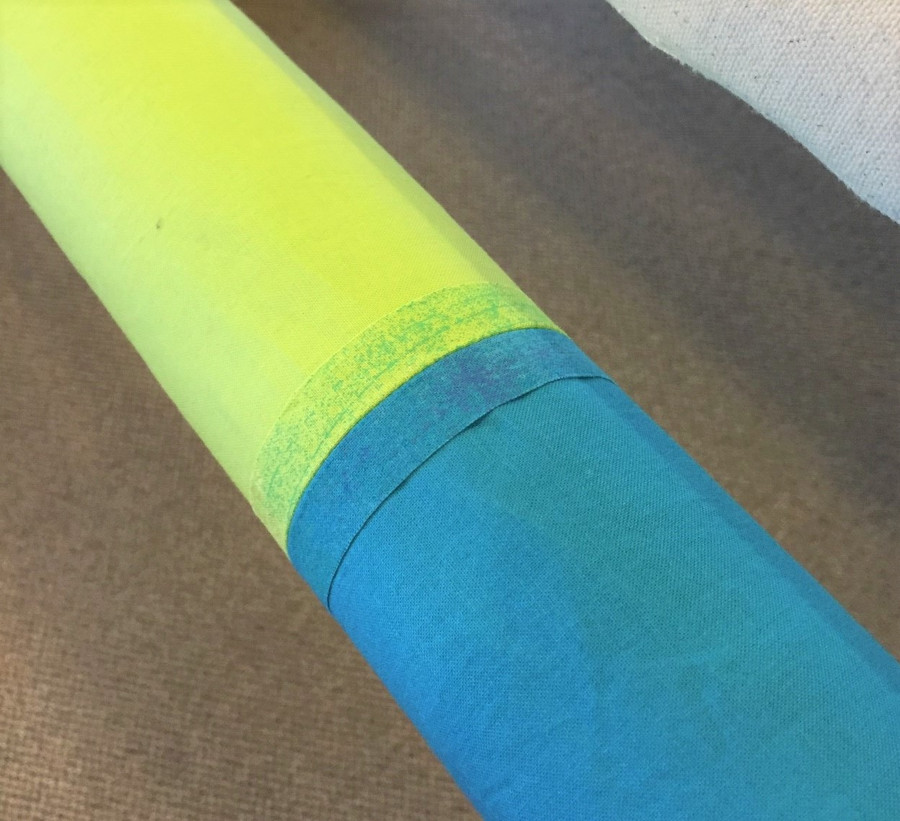
See how much nicer the seam behaves when pressed open as it wraps around the roller?
Quilt preservationists recommend that the backing seam should be offset from the center of the quilt. When most folks fold a quilt, they split it in the center in both directions. That puts a lot more stress and wear right down the middle of your quilt.
But instead of piecing two equal widths of fabric using a single seam down the backing center, use this trick to give you a full width of fabric in the center and partial widths on each side of it. You’ll end up with two seams instead of one, but you won’t have to worry about the center of the backing wearing prematurely no matter which way you load the backing on the frame.

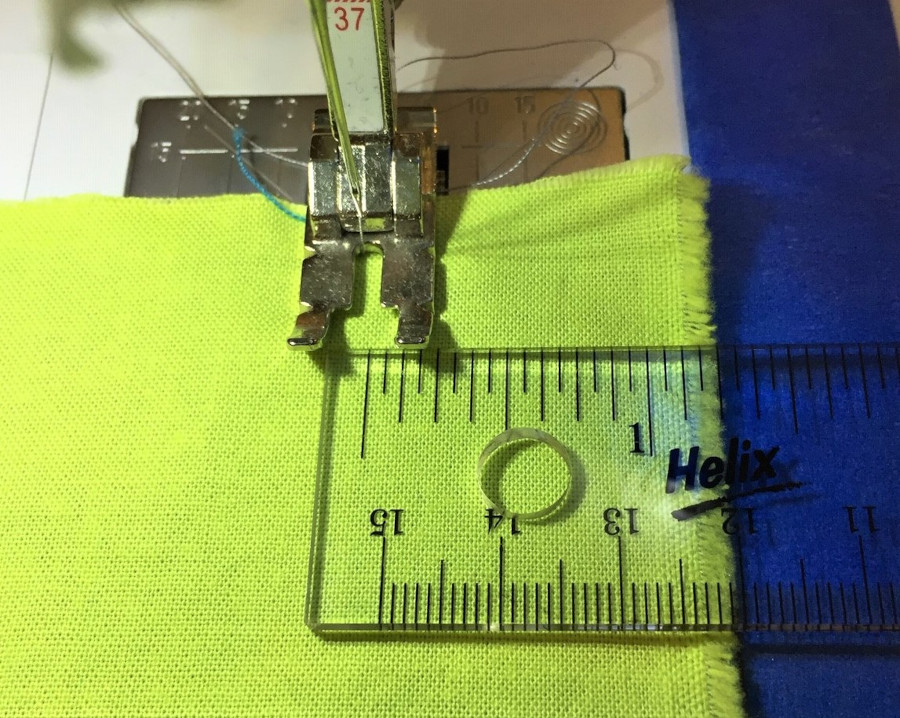
Place your two fabric lengths with right sides together and sew down EACH side along the length of the strips.
You can remove the selvedge edges before you sew, but I’ll ‘fess up–I admit that I take a shortcut and sew about one inch inside the selvedge edges. Then I trim off the selvedges and press the seams open.
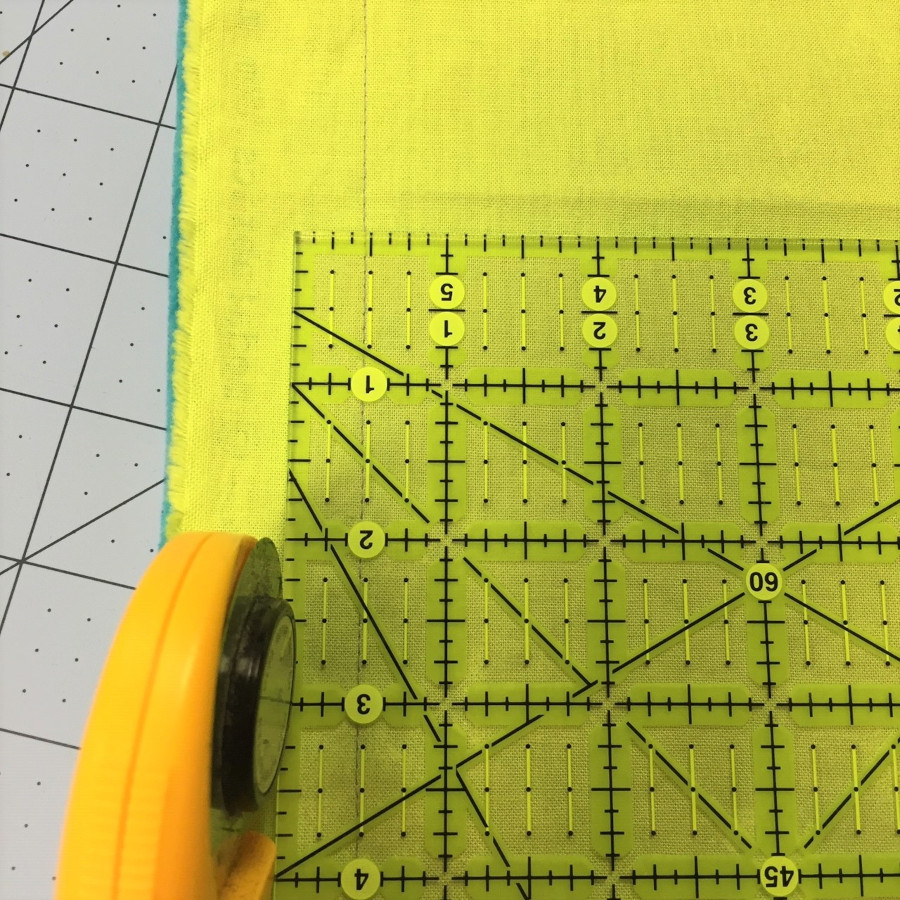
Now you’ve got a “tube” of fabric. Rotate the tube until the two seams are on top of each other; smooth out the layers to create creases on the left and right edges. Cut the tube open along ONE crease only.
Voila! Two seams, but no seam in the center to wear out your quilt before its time no matter which way you choose to load it on your longarm!