
Longarm quilting: working with flannel
It’s just the middle of September and the leaves have barely started changing colors where I live, but snowflakes have already started falling in parts of the country! As the evenings grow cooler, snuggling under a cuddly, cozy flannel quilt is the perfect way to usher in the fall and winter.
Flannel’s appeal comes from its soft, brushed texture. As it’s manufactured, fine metal brushes rub against the fabric, raising up the fibers to create a fuzzy nap. It was originally made from carded wool or yarn as early as the 17th century. But in this century, quilters typically use cotton flannel. Though all flannel is soft, it varies in quality. Better flannel typically has a higher thread count, giving it more body and more resistance to pilling. It also may be brushed on both sides for super softness.
The same characteristics that make flannel so carressible can also make it irritating to use when piecing and quilting a flannel quilt. All those brushed fibers shed more lint than regular woven cotton, creating quite a mess in the bobbin area of both sewing machines and quilting machines.
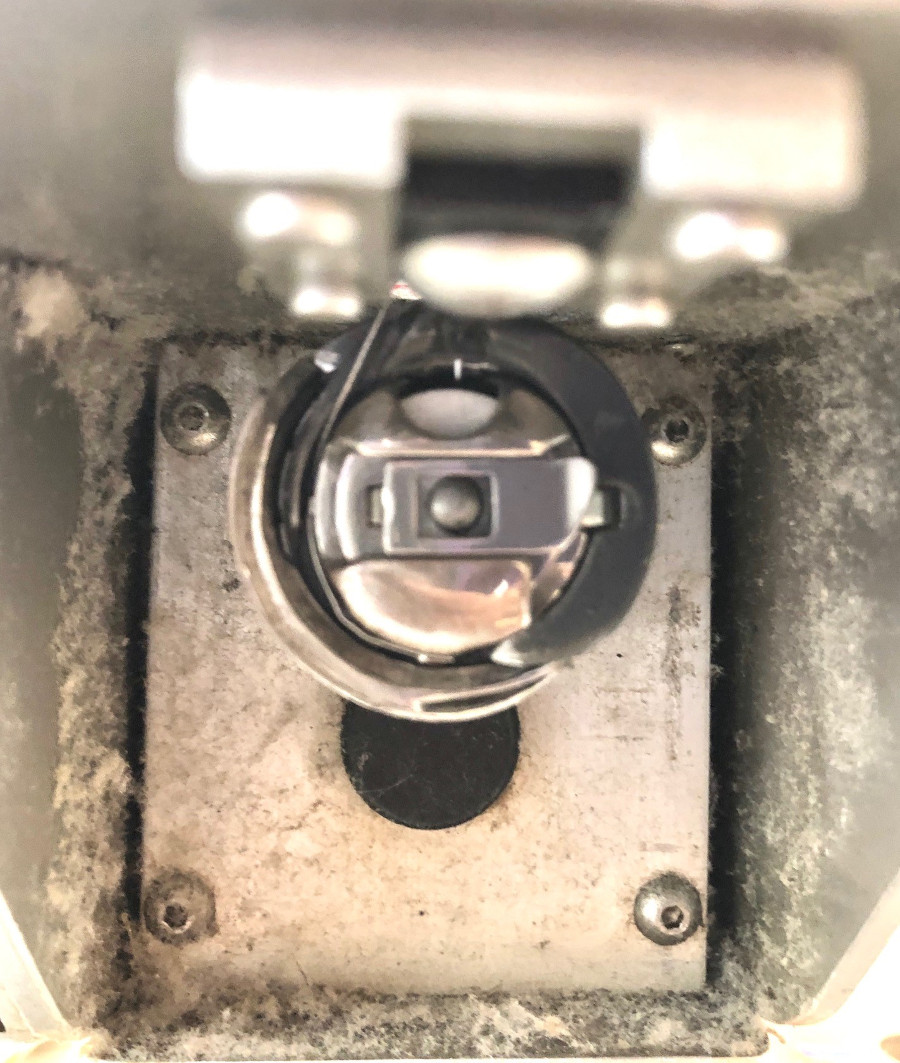
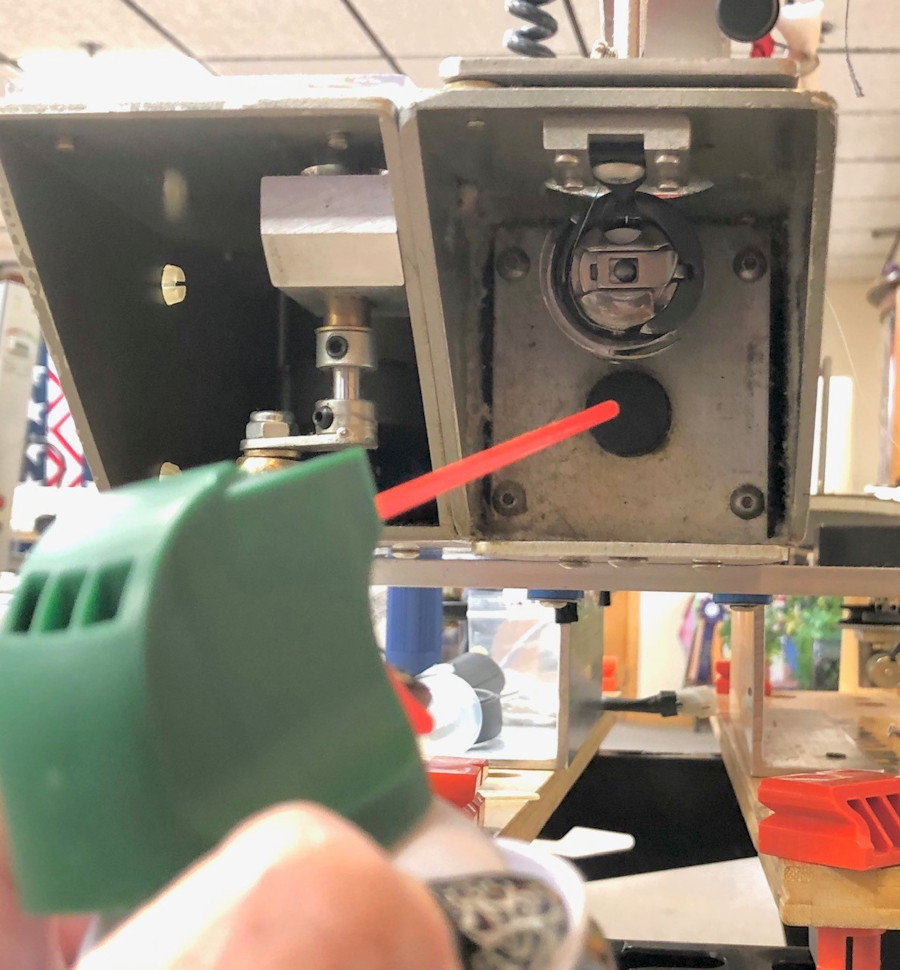
Check your bobbin area frequently and clean out any lint and dirt. On a longarm machine, the hook assembly needs frequent oiling to run properly due to the high speed at which it stitches. When that oil mixes with flannel lint, you can have quite a gooey mess! Brush out the lint on a home sewing machine or use a vacuum cleaner with a small nozzle attachment—don’t blow the lint into the machine’s housing. However, on APQS longarms, go ahead and blow out the lint with canned or compressed air.
Then follow the instructions in your manual to do a deeper clean when you’re finished so that you don’t quilt flannel lint into the back of your next quilt!
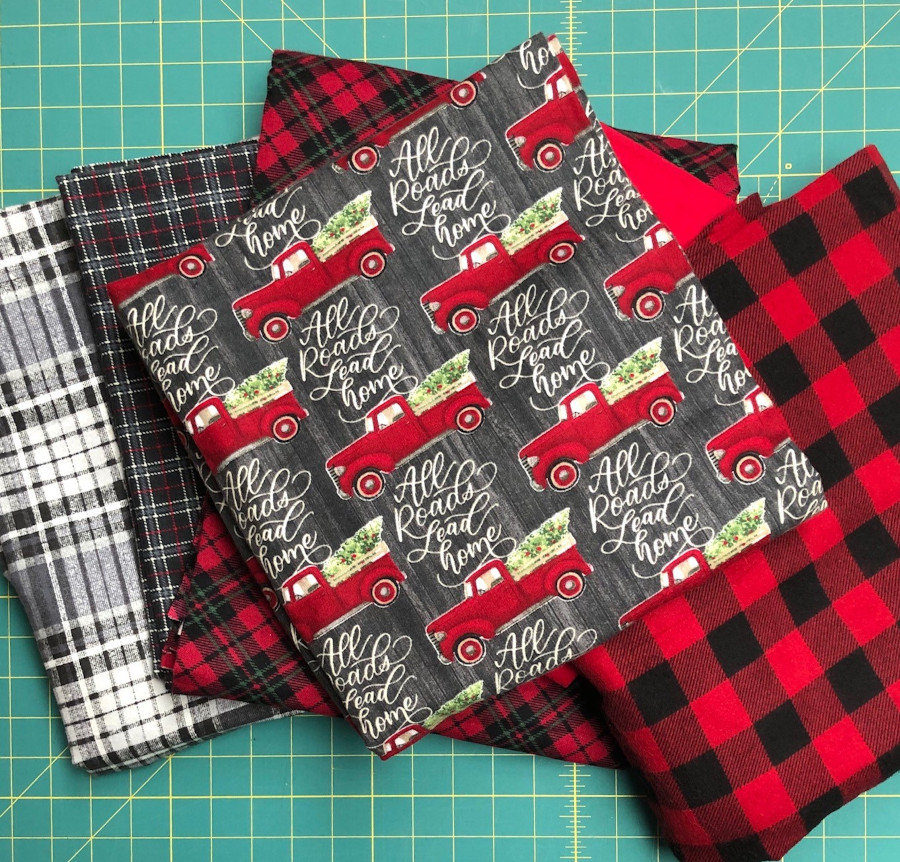
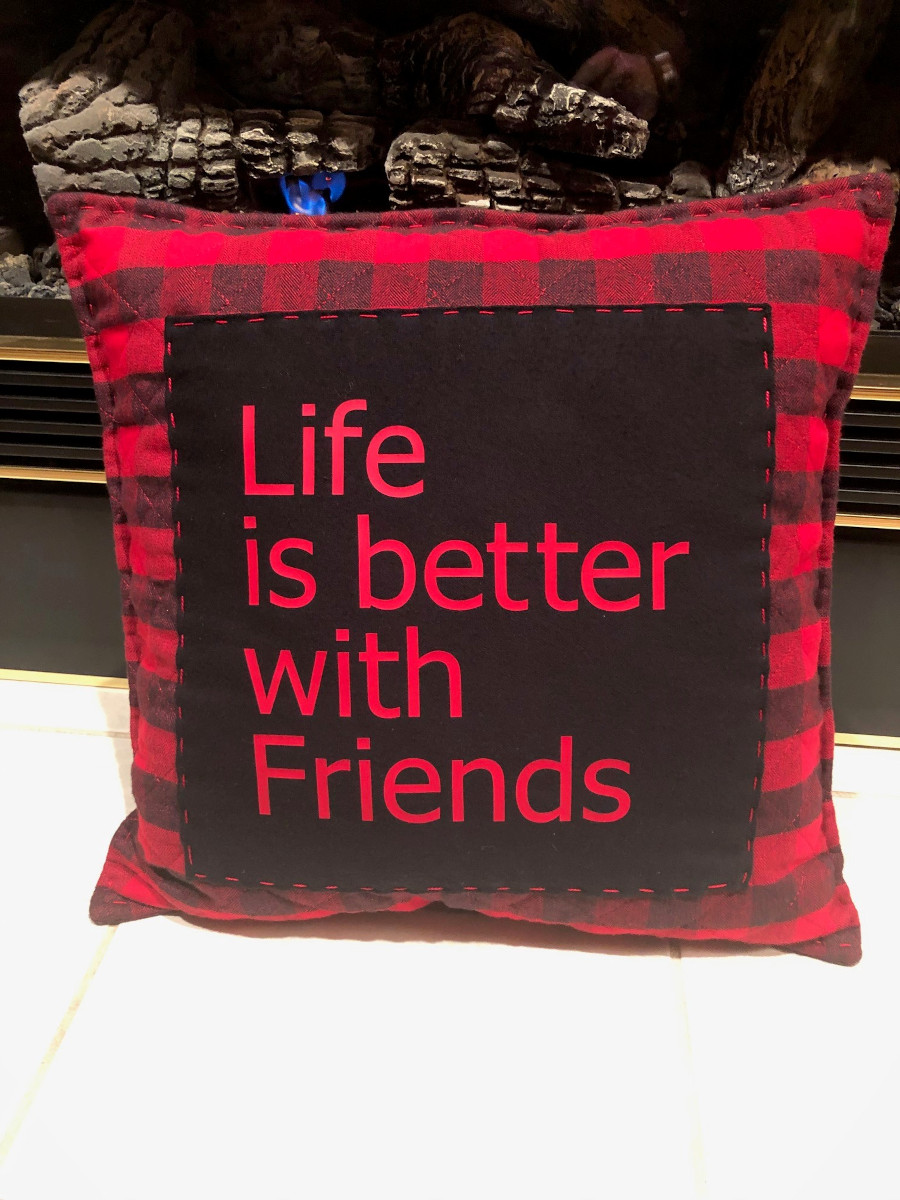
If you aren’t a quilter who typically washes fabric before you use it, you may want to make an exception with flannel. It’s notorious for shrinking—a lot! In fact, it’s a good idea to buy slightly more than what your pattern requires to allow for that. If you’re trying to match plaids (I feel so toasty snuggled up with red buffalo flannel!) plan on buying up to 25 percent more. It’s cheap insurance…and if you end up with extra, you can use it to make a cute pillow to warm up a friend.
Wash your flannel in very warm to hot water so it does all its shrinking before you put it in your project. If you’re combining it with regular cotton or other cuddly fabrics like Minky which don’t shrink, unwashed flannel can cause nasty puckering and wrinkles that aren’t nearly as nice to snuggle with.
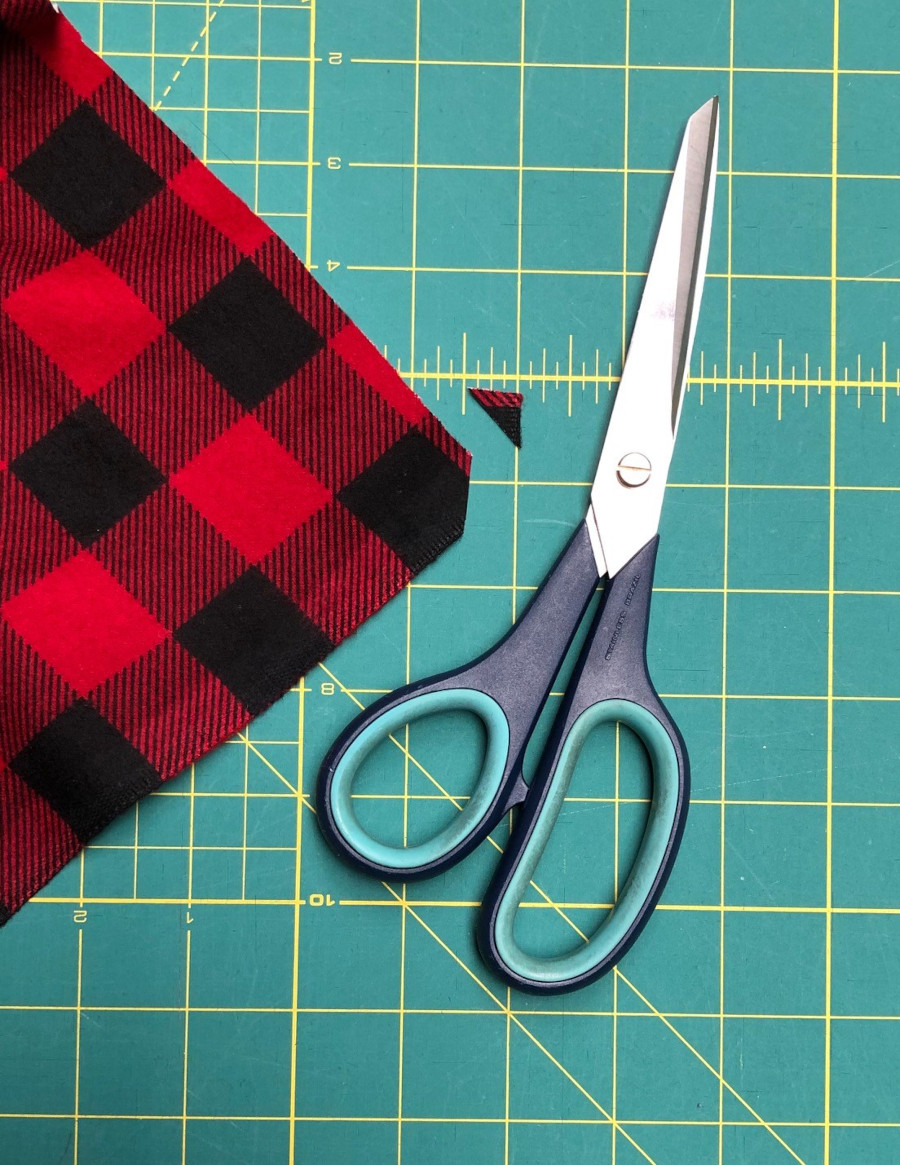
The flannel will ravel a lot along the cut edges. If they’ll fit, toss them in a lingerie bag to help control the fraying. Or snip a small triangle off the corners of the pieces first (this works for regular cotton fabrics too!)
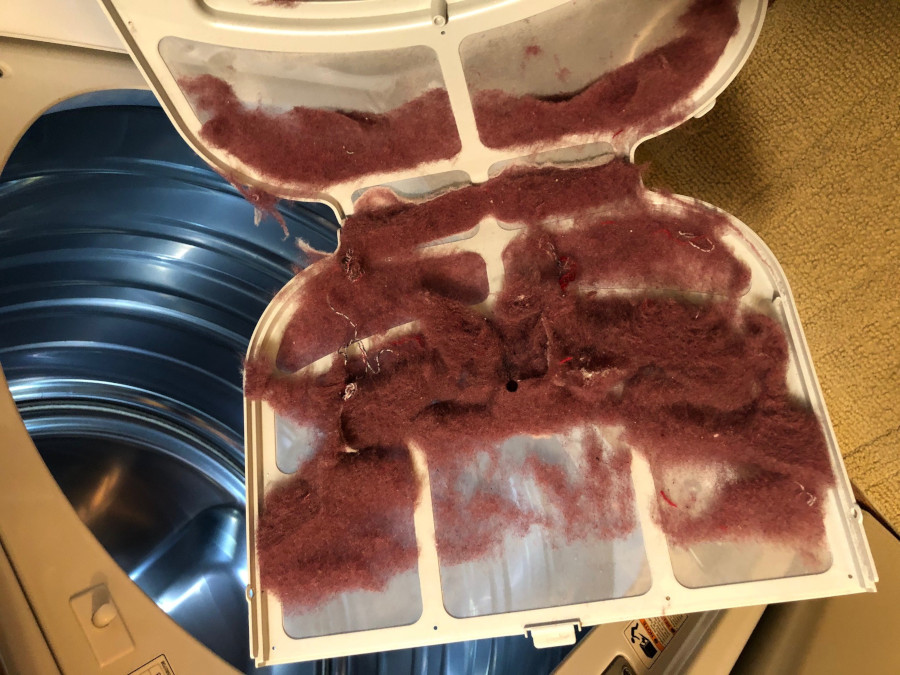
Next dry the flannel in a hot dryer. Clean the lint trap before your next load—you’ll probably have enough lint to fill a giant’s belly button!
Expect the flannel to come out wrinkly; it’s literally been through the wringer. Now it’s time for a critical step that will help your flannel project sew up much easier. Place the flannel with the right side facing down on your ironing board. Set your iron on medium heat with steam. Spray the wrong side with starch (I love Mary Ellen’s Best Press) and then PRESS the flannel with gentle pressure to reduce the wrinkles and set the starch. Notice those big, bold letters saying “press?” That means you should lift the iron and then set it down on the fabric, overlapping each placement slightly. Don’t slide the iron across the flannel!
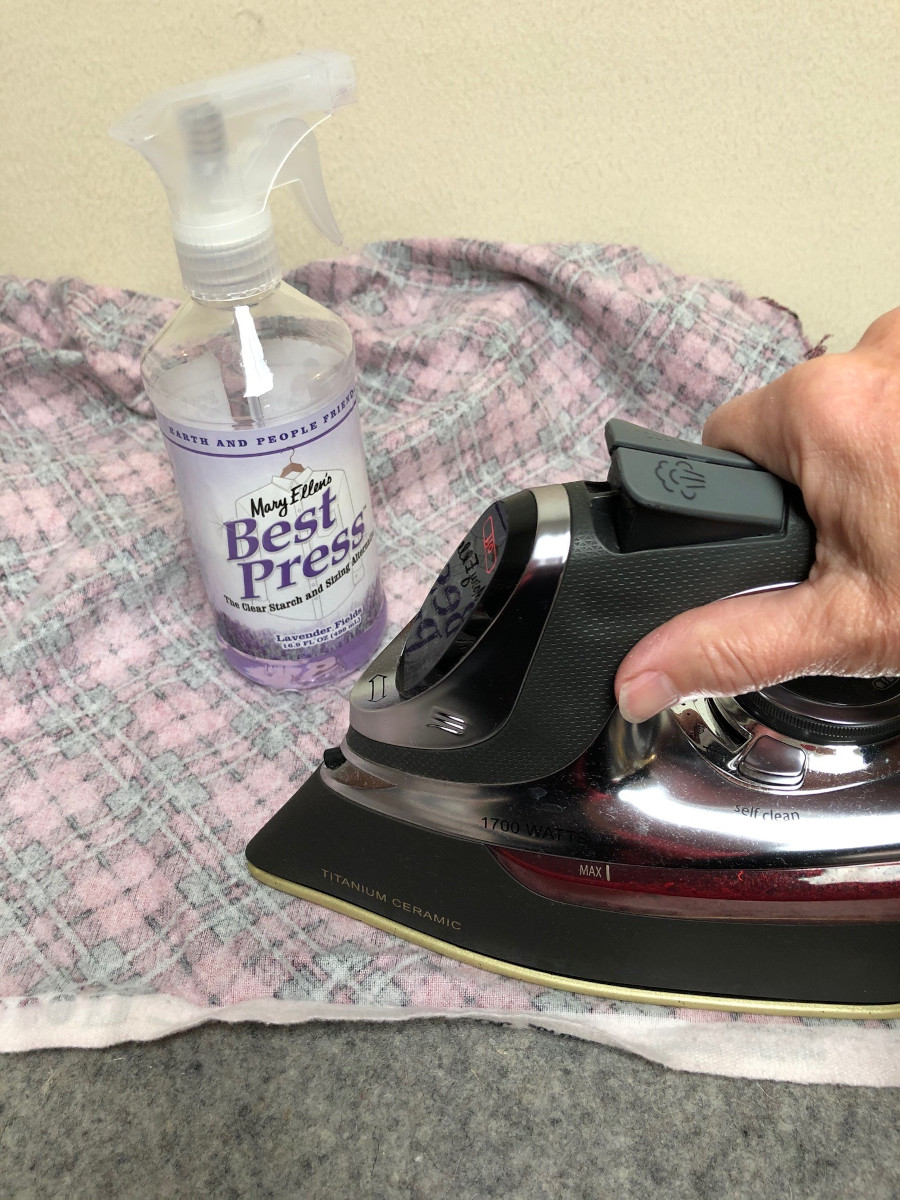
Even after shrinking, the flannel is stretchy, so you don’t want to distort it. The spray starch will help it maintain some body so it’s easier to cut and piece together. Use a burst of steam on stubborn wrinkles, but always keep the iron pressure light so that the sole plate doesn’t leave a distorted impression.
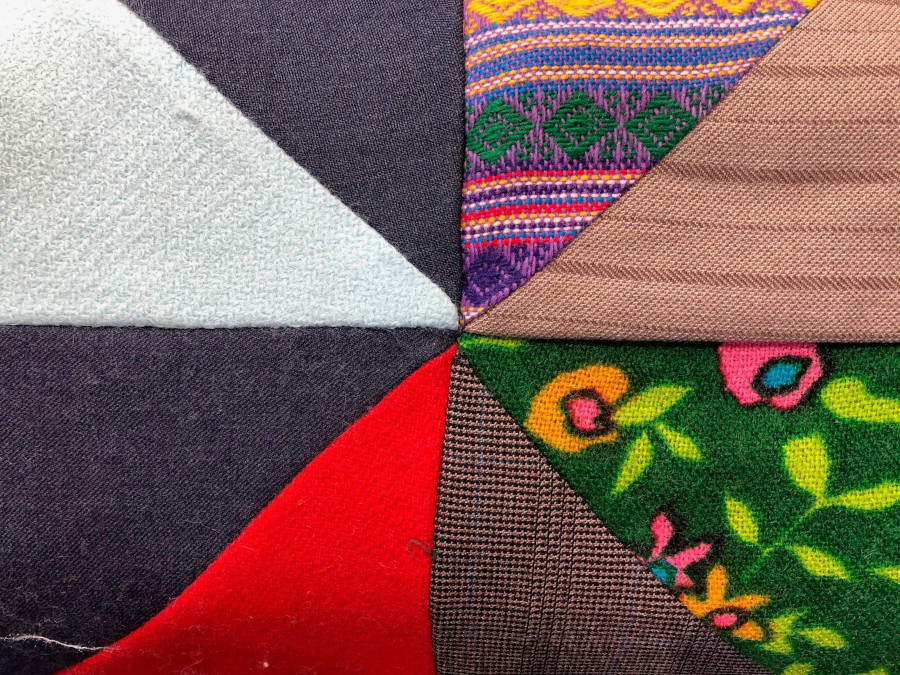
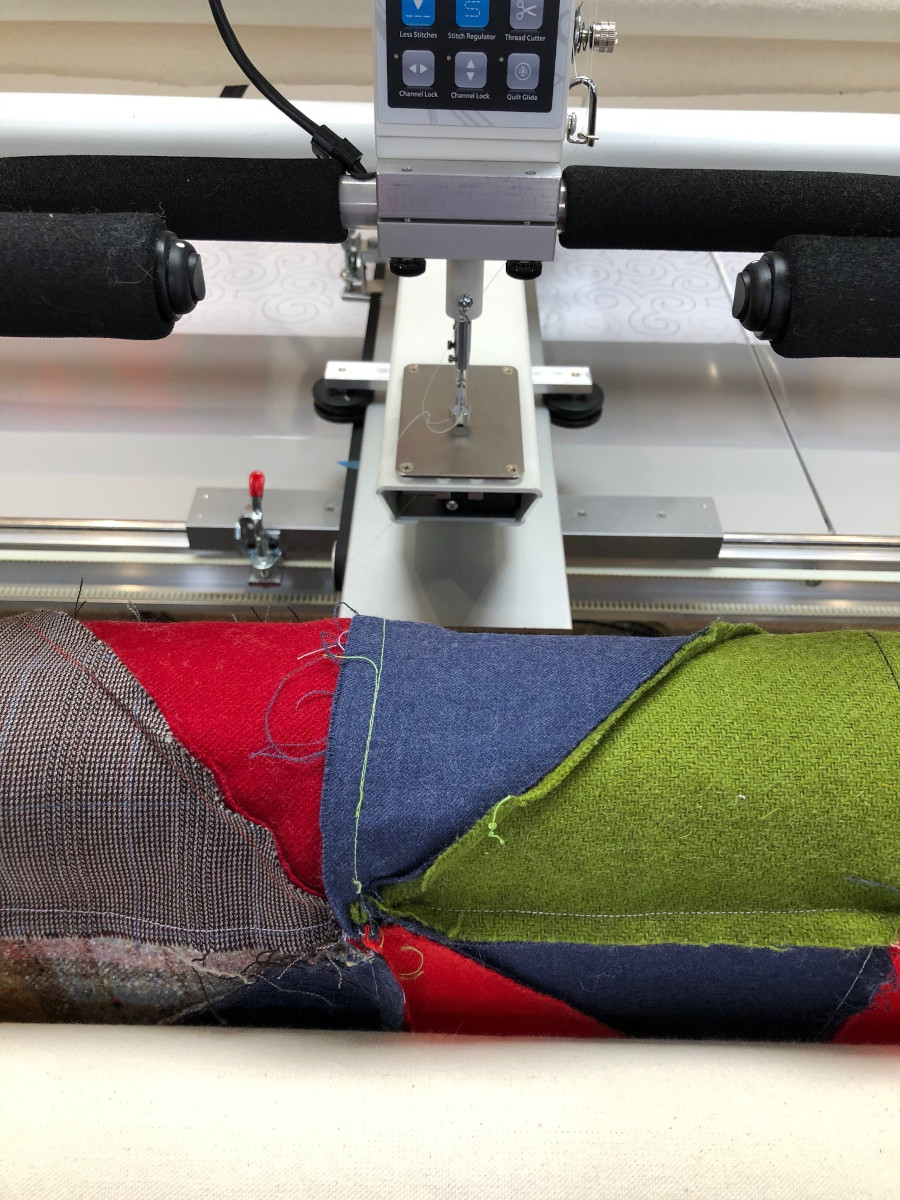
Since flannel adds so much bulk to seam allowances, save yourself some stress for both the piecing and quilting steps and choose patterns that don’t have lots of patchwork intersections. Multiple intersections are harder to line up (the quilt below has flannel, denim, twill AND knits trying to come together–yikes!) And they are harder to load and quilt on a longarm.
Try experimenting with your block layouts or construction and offset those seams—the result can be very charming! If you do have seams that meet, try to press the seam allowances in opposite directions.
When you’re ready to quilt, choose batting that has a little loft such as a cotton/poly blend to help cushion those seam intersections. The cotton in the batting will help your layers stick together better and can help keep the flannel from stretching as you quilt it.
Flannel quilts are wonderful for practicing your freehand skills because you’ll need to be careful about running into any of those bulky seams. They can be needle busters! Work from the needle side of your longarm and steer around them with your design.
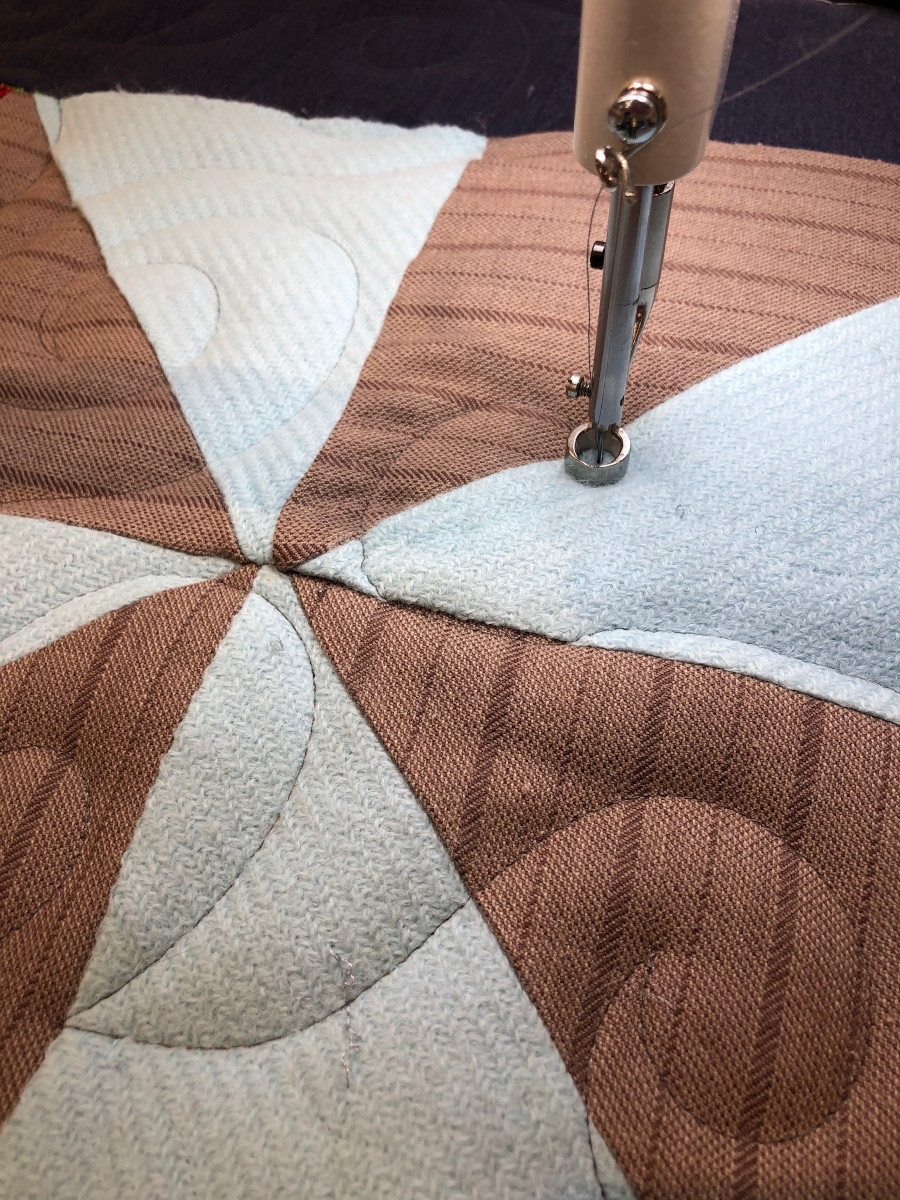
Set your stitch length a bit longer—somewhere around 9 or 10 stitches per inch. Longer stitches look nicer on nappy fabric (and they are much easier to rip out if you happen to make a mistake.) If you’re using flannel for binding, plan on cutting it about ½-inch wider than you normally do to accommodate the extra thickness as it wraps around the edge of the quilt. You may also need to use a wider seam allowance to attach it to keep the raw edges from fraying.
When you’re done, grab a cup of cocoa, throw in some fluffy marshmallows, and snuggle, snuggle, snuggle!


