How to stitch in the ditch with a longarm quilting machine
Ever wondered about stitching in the ditch on a longarm quilting machine? Follow along as we explain what stitching in the ditch means and how you can incorporate it on your next quilt.
Stitching in the ditch is done during the quilting process and involves stitching along the seam line, giving a finished, professional appearance and helping everything lay flat.
When custom quilting on a longarm, at a minimum, I stitch in the ditch along any borders and sashing before starting interior quilting. This helps keep these lines straight.
If there’s a little extra fullness in the borders, stitching along the ditch will help take in some of the fullness and nail it down in place. If you have a Quilt Path, you can set up the Quilt Path to stitch just inside the block and then stitch the block, thus mimicking stitching in the ditch without any hand guiding.
If I’m doing a lot of dense custom quilting, I will also stitch in the ditch along the applique or between the patchwork design and the background to help it lay flat and not get distorted. You could stitch in the ditch along every seam line in patchwork, but this is a personal preference; I seldom do this.
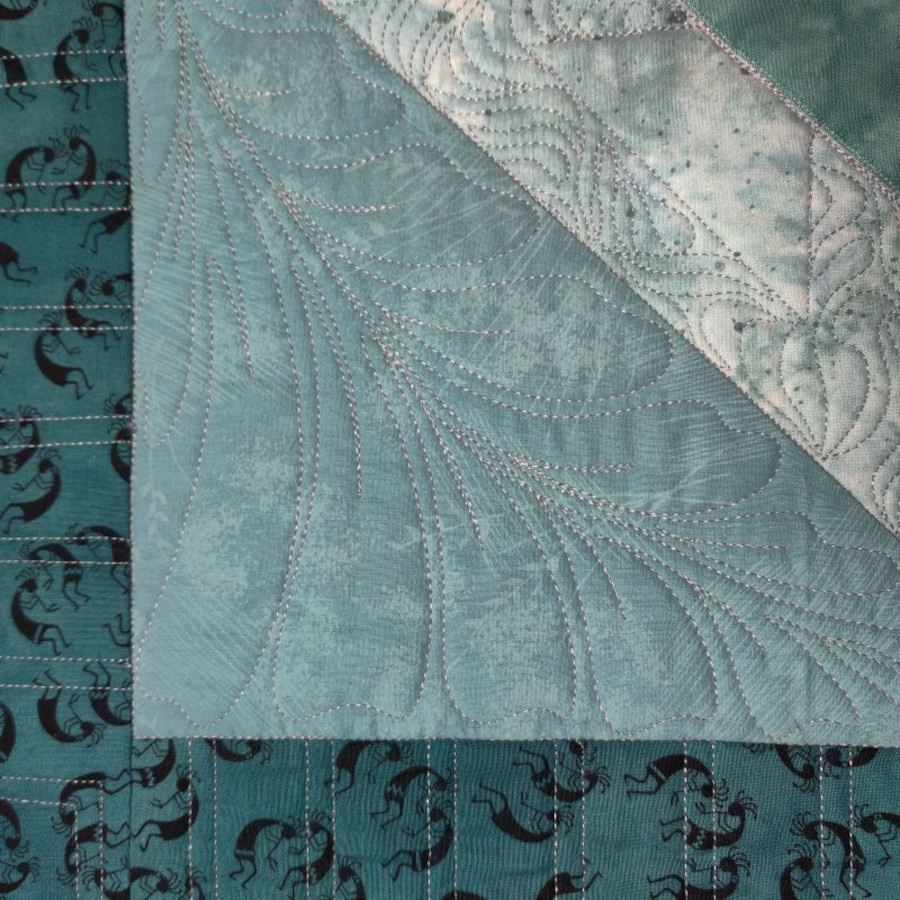
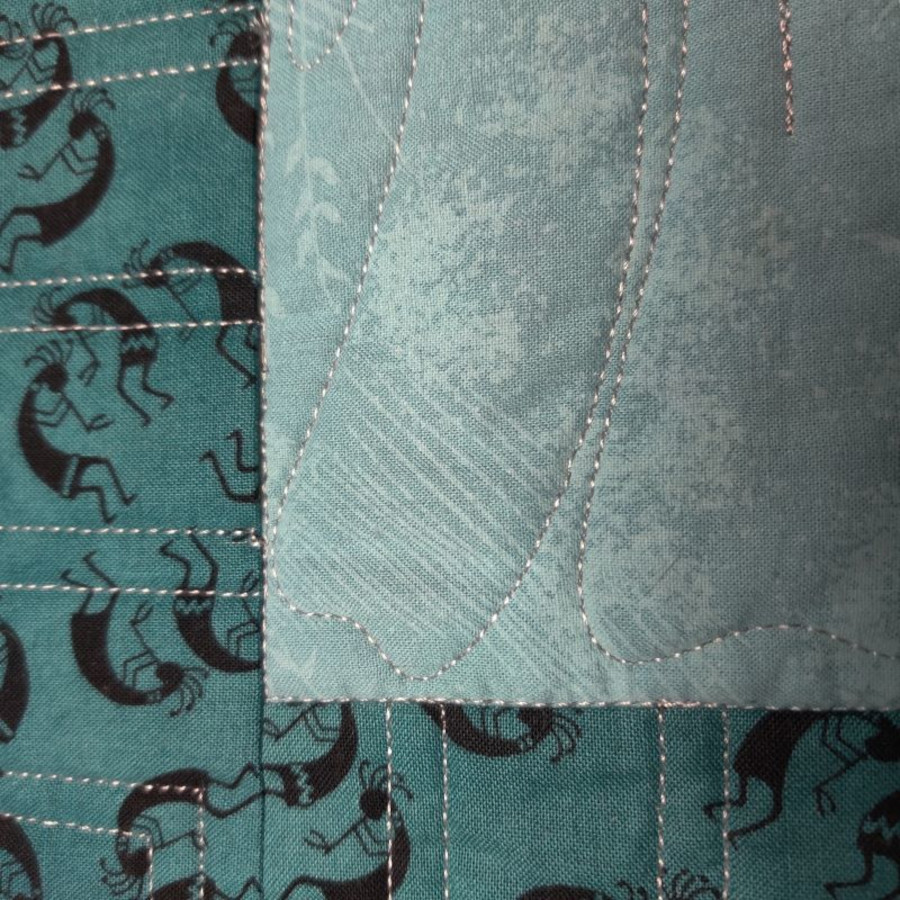
You can see in the first photo below that everything is laying very flat where I’ve stitched in the ditch but in the second photo, it is a little bubbly and loose where I haven’t stitched in the ditch.
Ideally, your stitching in the ditch will be close to the low side of the seam (where there isn’t any seam allowance). This stitching will hide in the slight shadow the fabric creates on the high side (on top of the seam allowance) lifting up.
Use a color that matches the fabric on the low side, or monofilament thread (which is clear). I like to use a thin thread, like Bottom Line by Superior Threads, as this is not very visible. If you accidentally cross over and stitch on the high side, your stitching generally becomes visible. If this bothers you, depending on the color of thread and fabrics, you can use a permanent fabric marker to color these stitches to match the fabric and hide it without having to rip and redo.
Proper pressing is also really important so that seams aren’t twisting and you don’t have to jump from one side to the other to stay in the ditch. I generally press towards borders and sashing. I don’t recommend stitching in the ditch if seams are pressed open, as you risk exposing the batting, popped seams if your stitching cuts the piecing thread and it is less sturdy, as you’re only stitching through thread and not the top fabric.
I use a ruler when stitching in the ditch, with the ruler on the high side, which helps me stay on the low side. If you have Bliss, you will notice how easy it is to maneuver the machine with one hand as you hold your ruler in the other; this is especially great when stitching diagonally. Use your needle down feature so that your machine stays put when you adjust your ruler, and never try to sew past your thumb and fingers when holding the ruler.
Stitching in the ditch does take time but the finished results are so worth it!