How to load a quilt by “fully floating” your quilt top
Editor’s note: Today’s post on loading a quilt was written by guest blogger Heidi Kaisand. Heidi is the owner of Hen & Chicks Studio in Conrad, Iowa, where she helps customers with the entire process of quilt making—from fabric and pattern selection to technique, quilting and binding. She shares her quilting stories on her blog Hen & Chicks Studio. Thank you, Heidi!
With busy family and work schedules, I need to make every minute count, even when it comes to my machine-quilting. Most of the projects I’m quilting are baby quilts and wall hangings, but every once in a while, I do get a bed-size quilt done. At Hen & Chicks Studio we use zippered leaders and fully float our quilt tops on our APQS Millennium longarm quilting machine.
“Fully floating” a quilt means that we do not use the quilt top roller at all during our loading process. In fact, that roller has been removed from my quilting machine and I have added an accessory called the “Texas Hold ‘em” bar so that my roller brake will still hold my quilt backing roller in place.
With a “full float,” the quilt’s top edge is basted to the backing and batting, but the bottom edge hangs down with the batting. I have attached a set of zippers to my quilt backing roller and my pick up roller, and use the other half of each of those zippers on my quilt backing fabric.
The alternative “partial floating” method uses the quilt top roller to secure the bottom of the quilt to the roller, but only the top edge is “floated”
Here’s how it works:
1. On my work table (or while sitting on the sofa), I pin the backing fabric top edge to the backing fabric zippers. I have a piece of fabric stapled to my zipper to help remind me which way the fabric should be facing. I use long straight pins with round heads to pin the fabric to the zipper. There is about a thumb-width between each pin.
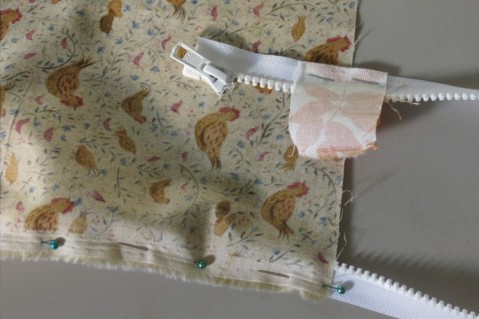
2. Next, I zip the prepared backing fabric to the pick-up roller.
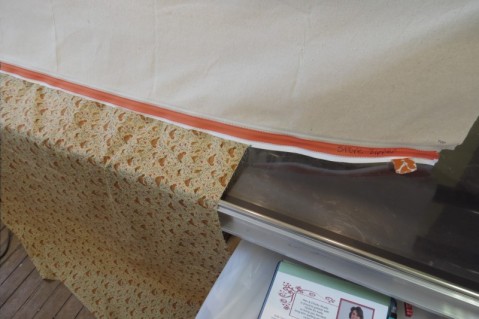
3. Once zipped, I bring the backing fabric under the leveler bar and over the quilt backing roller so that it’s hanging down about 8-10 inches.
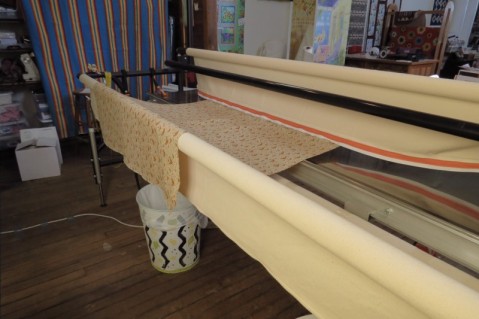
4. In the photo above you can see how my machine looks with the quilt top roller removed. Next, I zip a second zipper half to the quilt backing roller.
5. Starting in the middle of the quilt top, I pin the backing fabric to the zipper half I added to the quilt backing roller. Pins should be about a thumb-width’s apart again.
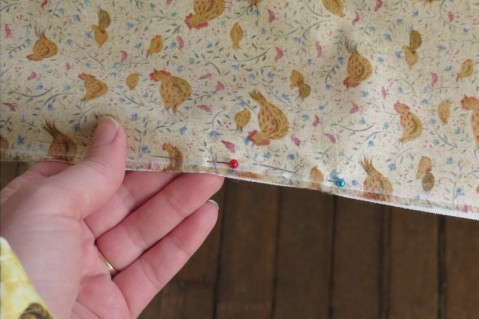
6. Next, I roll the backing fabric up on to the quilt backing roller.
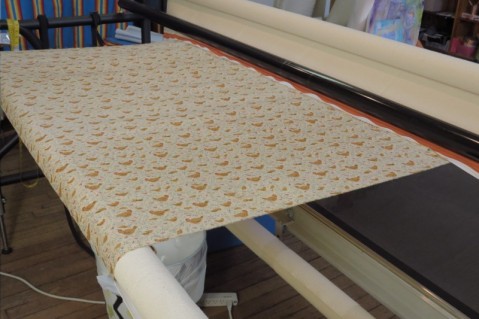
7. With the power fabric advance on, I begin rolling the backing fabric on to the pick-up roller, making sure the backing fabric is smooth.
8. Next, I lay the batting on top of the backing fabric, making sure there is no excess batting beyond the backing fabric.
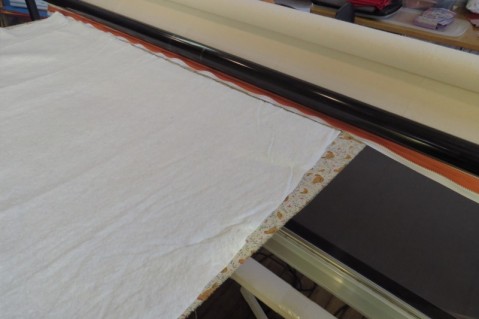
9. Once complete, I place the quilt top atop the batting, placing it a short distance away from the zipper. Make sure you don’t place it atop the zipper! Although you want to make sure your top is fairly straight along the top edge, don’t become overly concerned about having the entire top flat, as you want to be able to adjust the quilt top as you baste it in place.
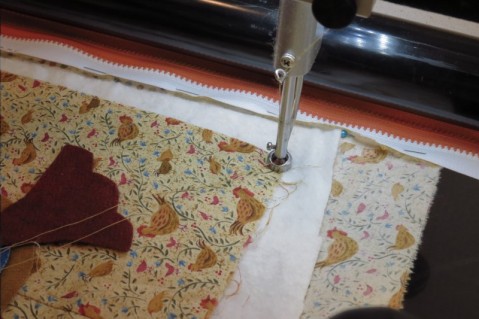
10. I start in the upper left-hand corner, bringing my bobbin thread to the top.
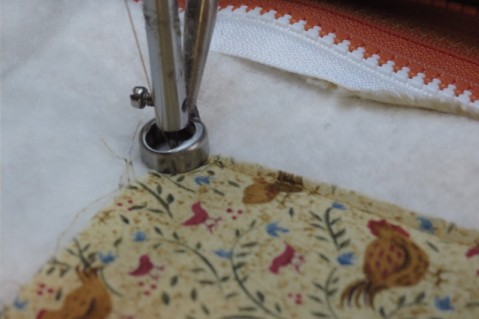
11. Turn on the vertical lock and stitch horizontally across the top of the quilt top, securing the three layers in place. I like to stitch about 1/8” away from the raw edge so that this basting stitch will be hidden by the binding. As I move from left to right, I use my right hand to guide the machine and my left hand to adjust the quilt top so that it remains even across the top. Turn off the vertical lock.
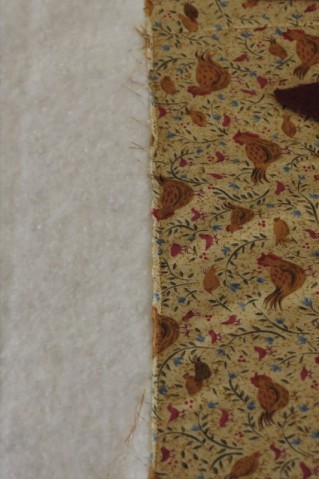
12. Once I’ve basted across the top, I finish adjusting the quilt top so it’s flat.
13. Using my left hand to make adjustments and guiding the machine with my right hand, I baste down toward the front roller. When I stop, I pull up my bobbin thread.
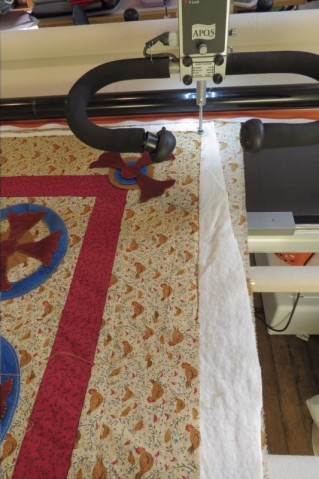
14. Then, I move the machine to the left hand edge and baste from bottom back to the top where you started. Pull up the bobbin thread.
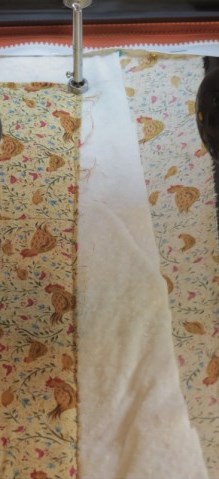
15. Start quilting!
Heidi is the owner of Hen & Chicks Studio in Conrad, Iowa, where she helps customers with the entire process of quilt making—from fabric and pattern selection to technique, quilting and binding. She shares her quilting stories on her blog Hen & Chicks Studio.


