How to keep your machine oiled
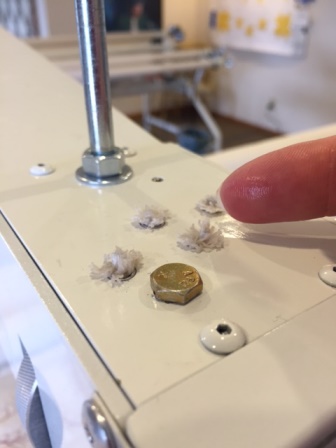
Keep your machine running in tip-top shape! Touch the top four oiling wicks one at a time. If your finger is wet with oil, don’t add more to that particular wick. If your finger is dry, add one to two drops of oil to the dry wick. Check the side wick in the same manner.

It’s natural for some of the wicks to use more oil than others. These gravity-fed wicks provide oil for the machine precisely where it’s needed without messy oil reservoirs or pumps. That’s why you won’t need much oil to keep your machine working properly. In fact, oiling the wicks when they are already wet is not a good idea. Extra oil will not absorb into the wicks. Instead, it will find its way out of the machine housing and could stain your quilt.
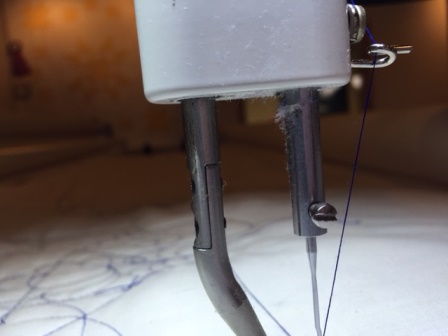
If you notice that you have lots of excess fuzz or oily residue around the needle bar, it’s a sign you’re using too much oil. You can also check behind your curved handle assembly plate. If you notice lots of dark slippery residue, that’s oil that found its way out of your sewing head, gathering dirt and dust – which you don’t want on your quilt! Wipe up any excess oil and revamp your oiling procedure.

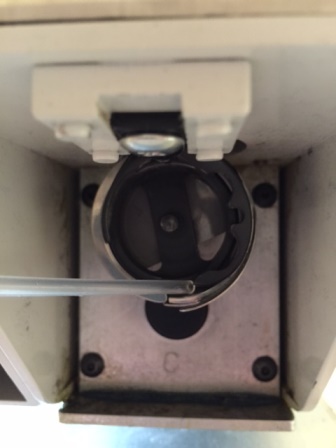
The only other area on your machine that requires regular oiling is your hook assembly. Remove the bobbin case, and put a single drop or two directly in the bobbin raceway – the ridge between the outer-most silver portion of your hook which spins around and the bobbin basket which remains stationary. Wipe out any excess with a soft cloth – turn off the power first – and sew a bit on scrap fabric to absorb any remaining residue. How often you should oil the hook depends on how much quilting you do. At the very least, oil the hook at the beginning of small projects, and 2-3 times during larger projects. If your hook rattles loudly, oil it more often. For more information, see the appendix section of your machine’s manual.


