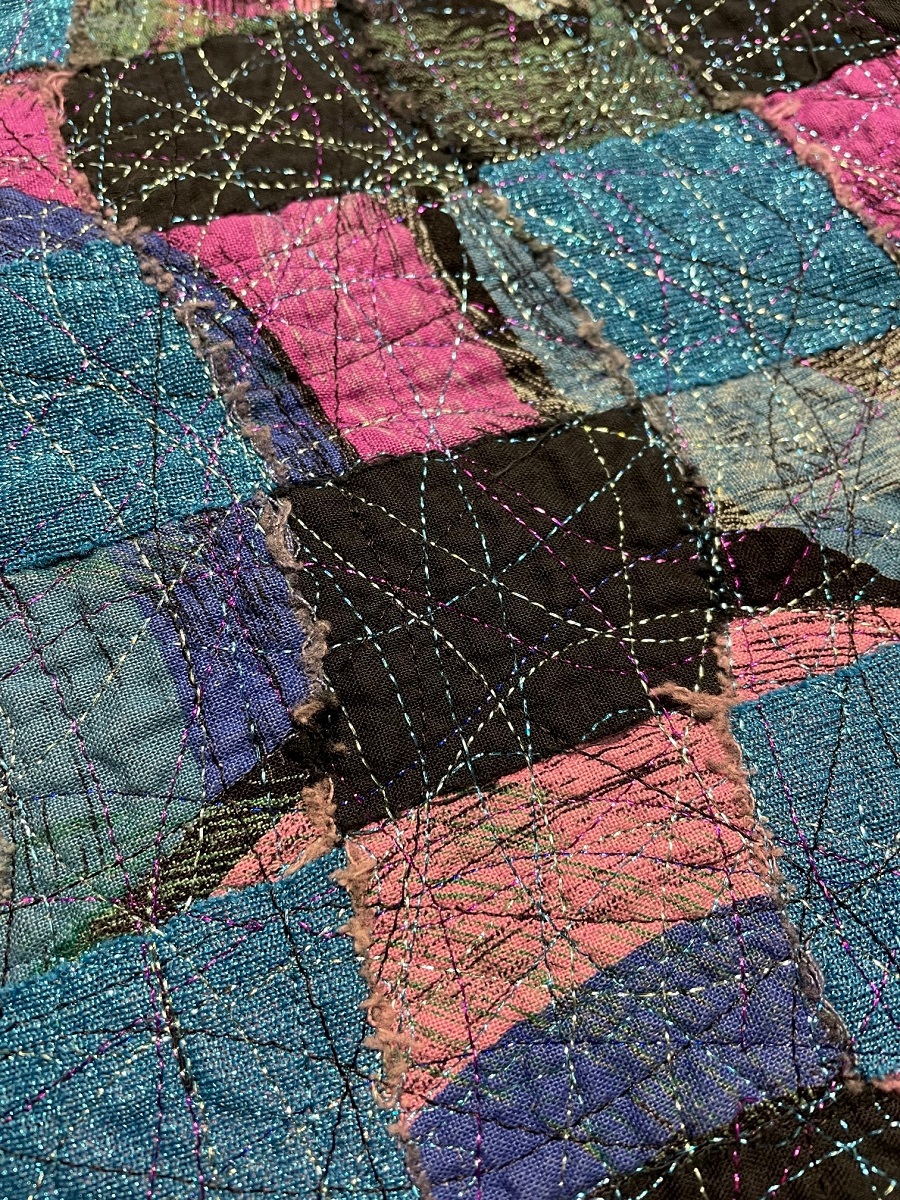
Tips for quilting with metallic thread
‘Tis the season for glitz and glitter, with shimmering tinsel and twinkling stars delighting our senses! Any time of year is the right time to add a little sparkle to your quilts, but it’s especially fun to use metallic threads on Christmas quilts, holiday table runners, tree skirts, and even stockings and ornaments.
Though metallic threads have a reputation for being unruly and a bit difficult to work with, there are several tricks you can use that can help move it from the naughty list to the nice list in time for the holidays.
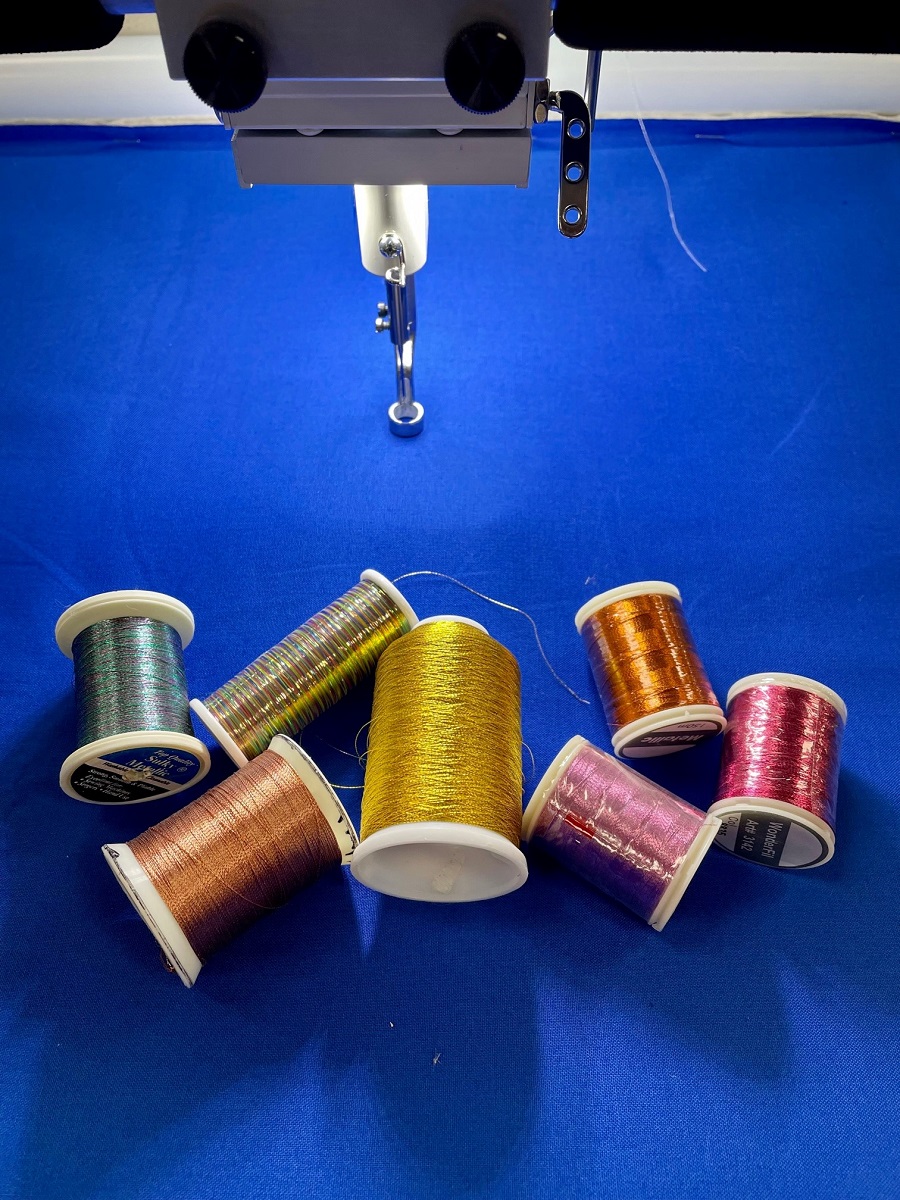
The first step is investing in quality metallic thread, not bargain basket finds. Metallic thread isn’t all ‘metal’. An outer wrapping of aluminum or silver foil (colored by a polyester film) is wrapped around an inner core that is polyester, nylon, or rayon. For longarm use, look for a poly core for strength, along with a larger core on the cone. If metallic thread is wound on a small core, the thread can stretch excessively during the manufacturing process. This causes the thread to have “memory” where it won’t relax coming off the cone. Instead, it stays twisted like a corkscrew, often tangling up and wrapping around itself as it unwinds—not fun!
Pay attention to the way the spool or cone is wound.
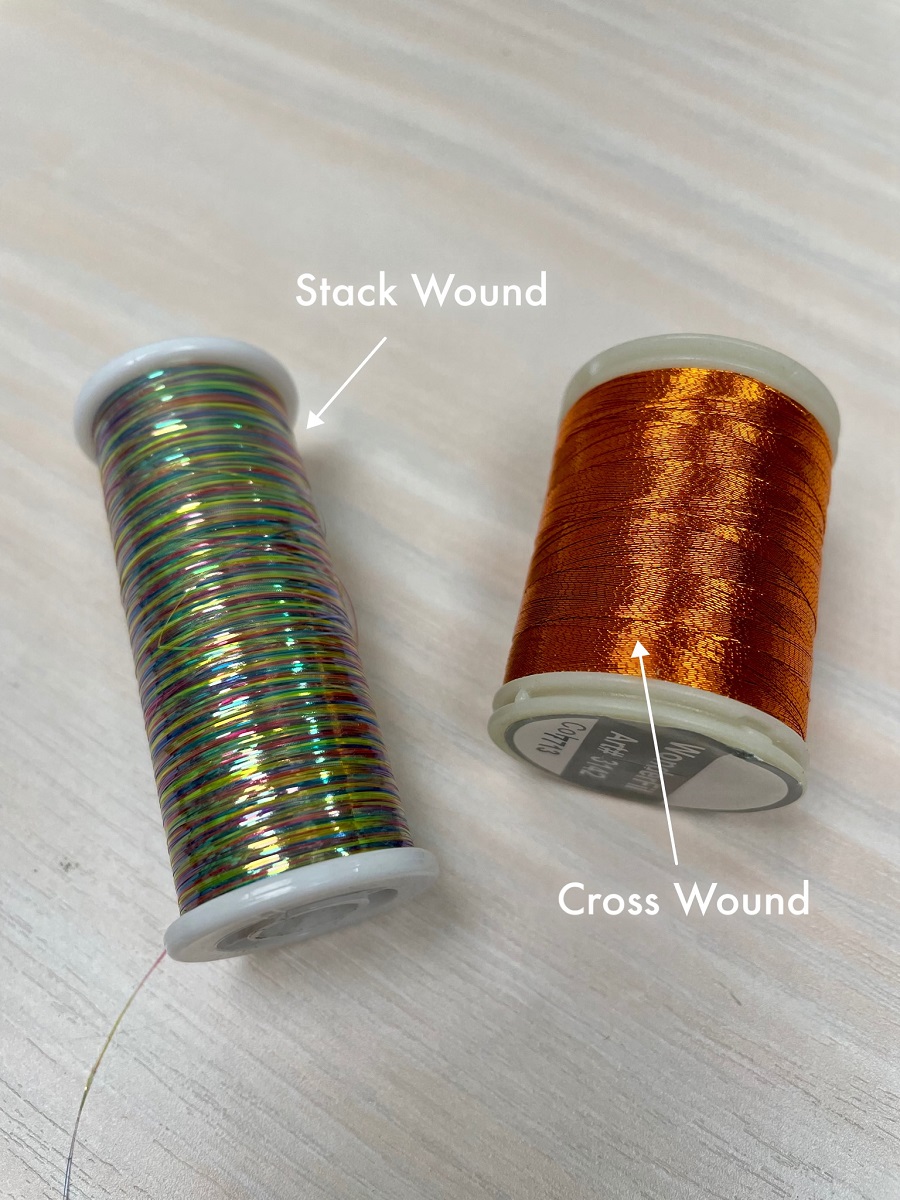
Cones that are “stack wound” (where the thread wraps in a constant spiral around the core) should be mounted horizontally. This allows the cone itself to rotate as the thread is drawn through the machine, keeping the thread flat and smooth. Otherwise, especially with mylar or holographic threads, it can twist and knot as it passes through the thread guides, causing breakage and tension woes.
You can typically find optional spool holders for both longarm and home sewing machines that will allow you to change the cone’s orientation to a horizontal position. The optional Dual Horizontal Spool Holder from APQS mounts easily to the top of the machine. Two decorative spools can be mounted at the same time, or one or both pins can be rotated out of the way when using normal thread.
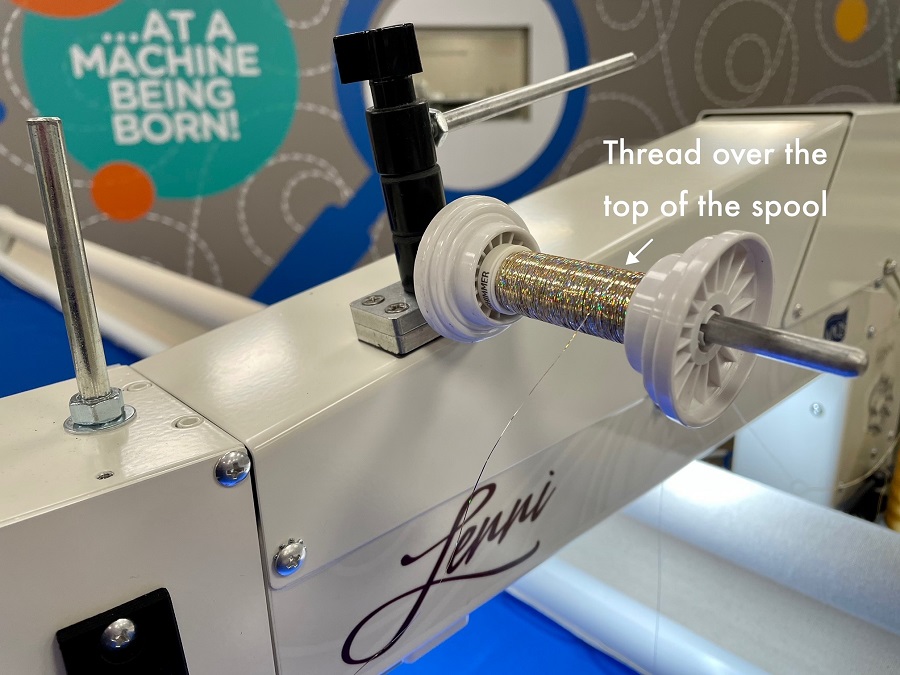
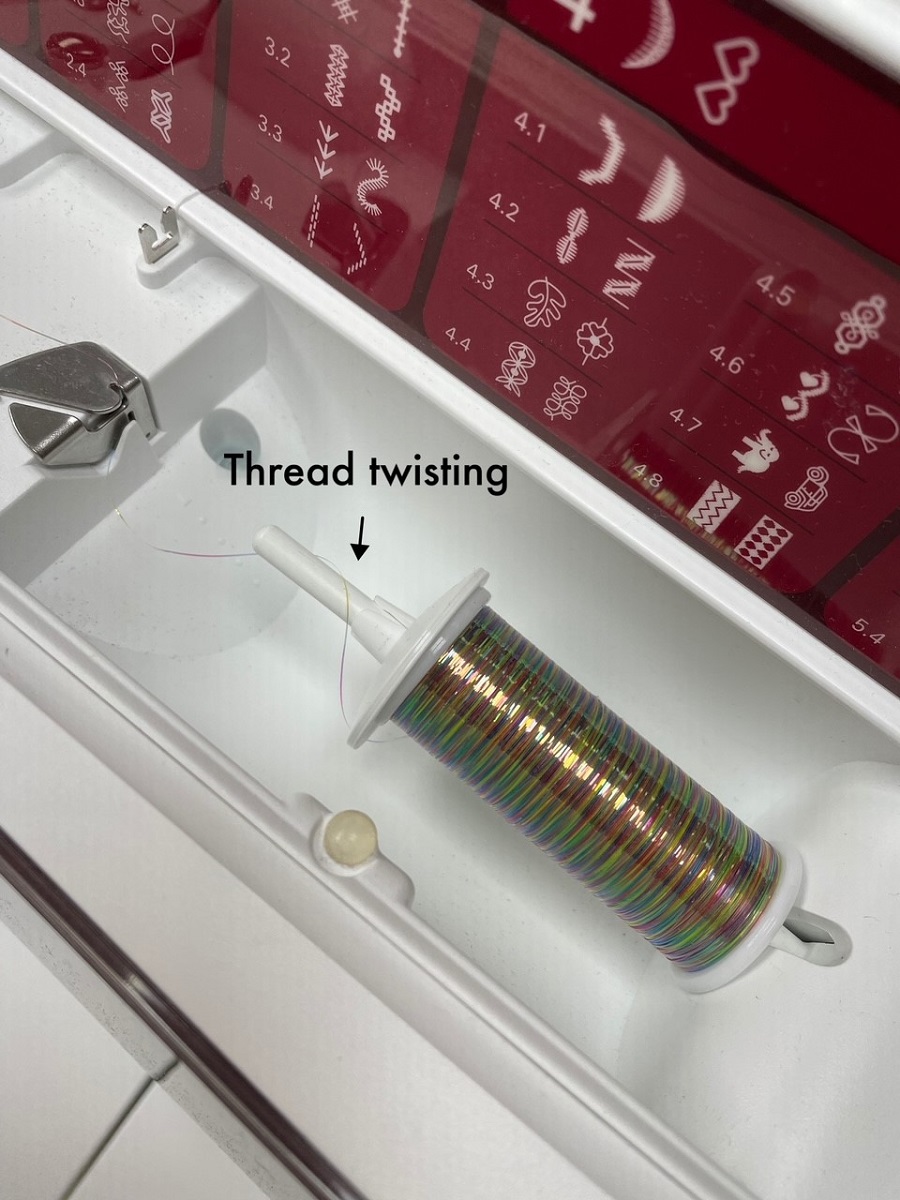
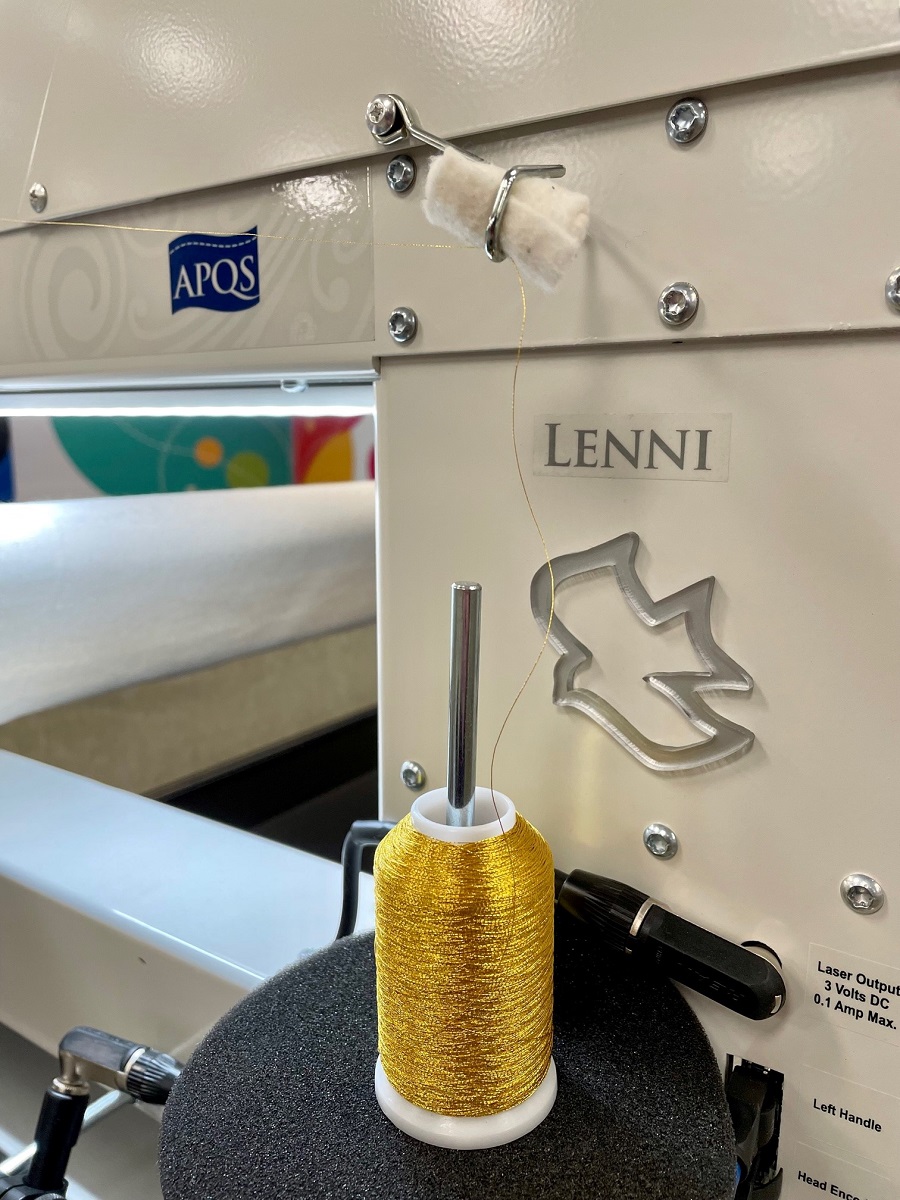
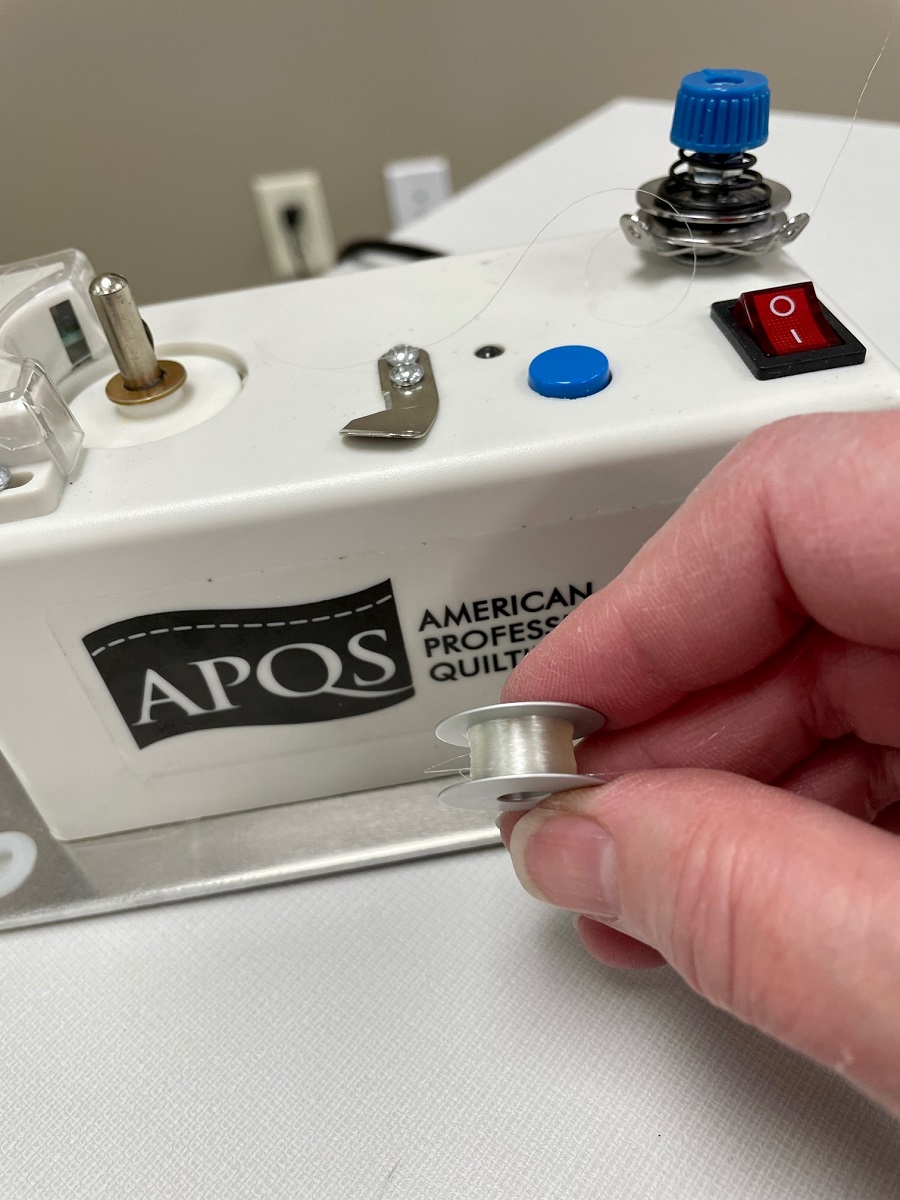
Even though many home sewing machines already orient the thread spool horizontally like mine in the photo below, the stack-wound thread comes off the end of the cone in this position. See how the thread is already twisting around the end of the spool pin?
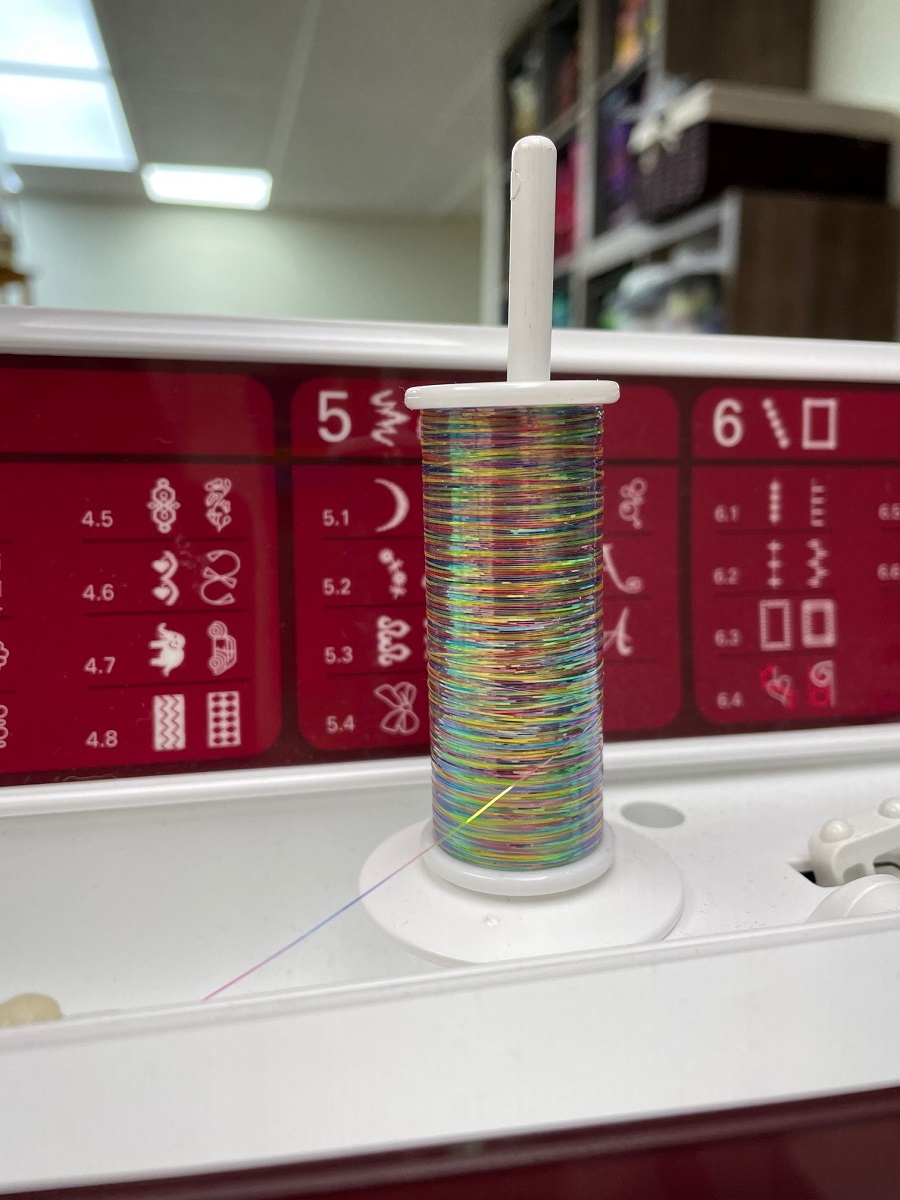
For best results, even regular sewing thread that’s stack-wound should mount so that the cone can rotate to deliver the thread. Though I can flip my thread pin to a vertical position which technically would allow the spool to rotate as I sew, the spool cannot turn consistently due to its weight. The thread ends up stretching or the spool jerks erratically, causing snarls.
Check with your sewing machine manufacturer to see if an adapter kit is available to convert spools to a horizontal position. If not, check out a universal style adapter like this Sulky Thread Director.
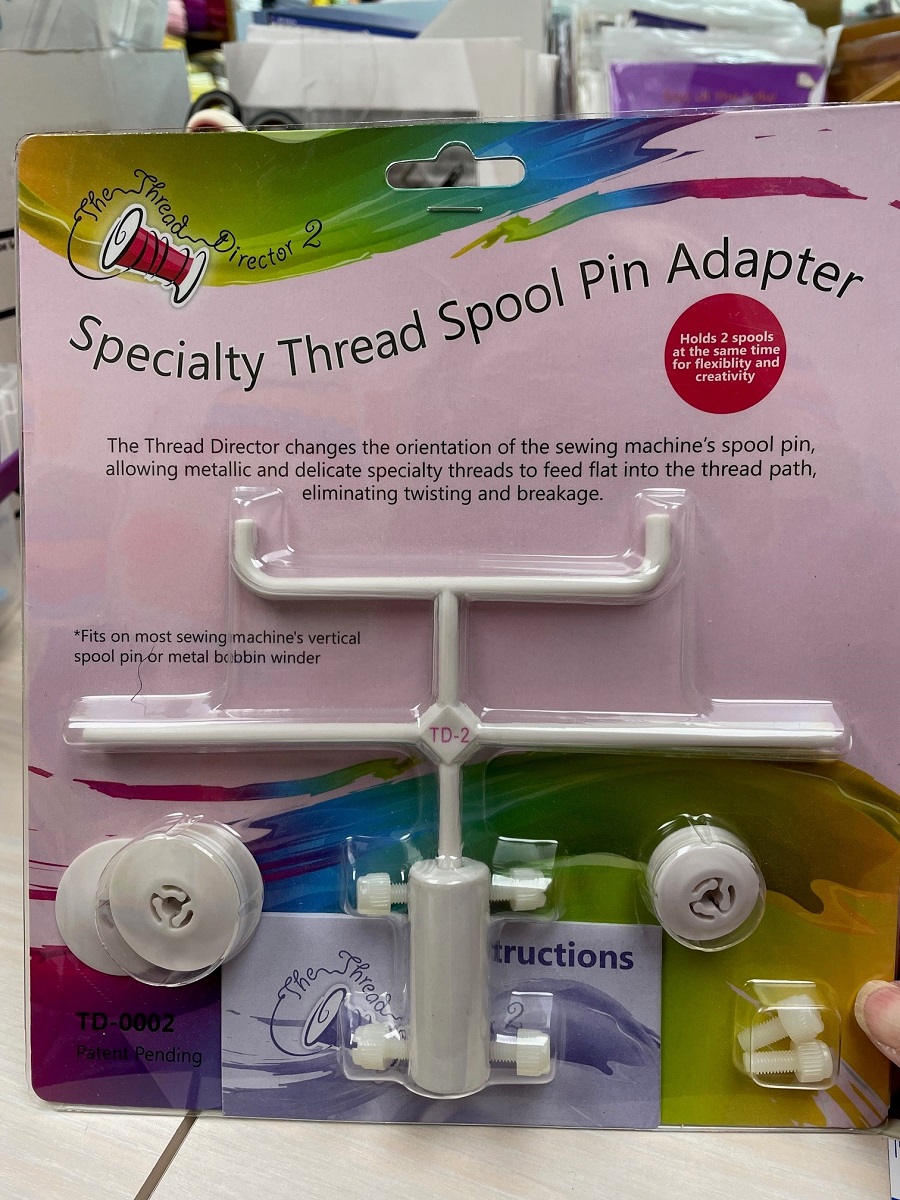
It mounts to my vertical spool pin and includes two different thread cap sizes to accommodate a variety of decorative threads.
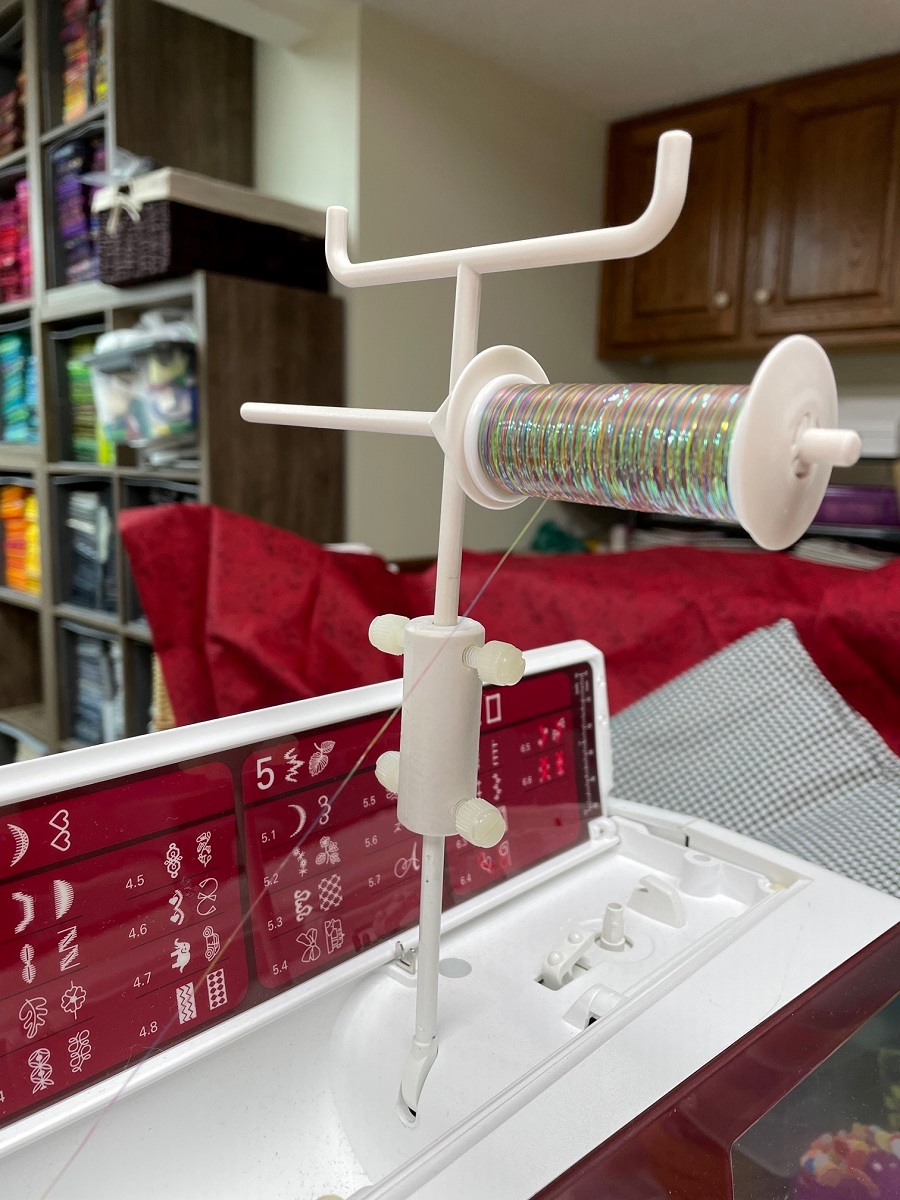
Whether you use a longarm or a home sewing machine, stack-wound threads typically perform better when the thread comes off the top of the cone. Slip a thread cap on to a horizontal post, choosing the size that best matches your spool size. Place the spool on the pin next with the thread coming off the top, then add another spool cap to the post. Keep the caps close enough to the spool to prevent it from sliding around on the post, but not so tight that the spool can’t freely rotate.
Cones that are “cross-wound” (the thread zigzags around the core) are designed to have the thread exit off the end of the cone. This reduces thread twisting but introduces a different problem with slippery thread like metallic. Without consistent pressure all the way through the thread path, the thread tends to slither down on the cone and puddle around the base, leading to—you guessed it—snarls and tangles!
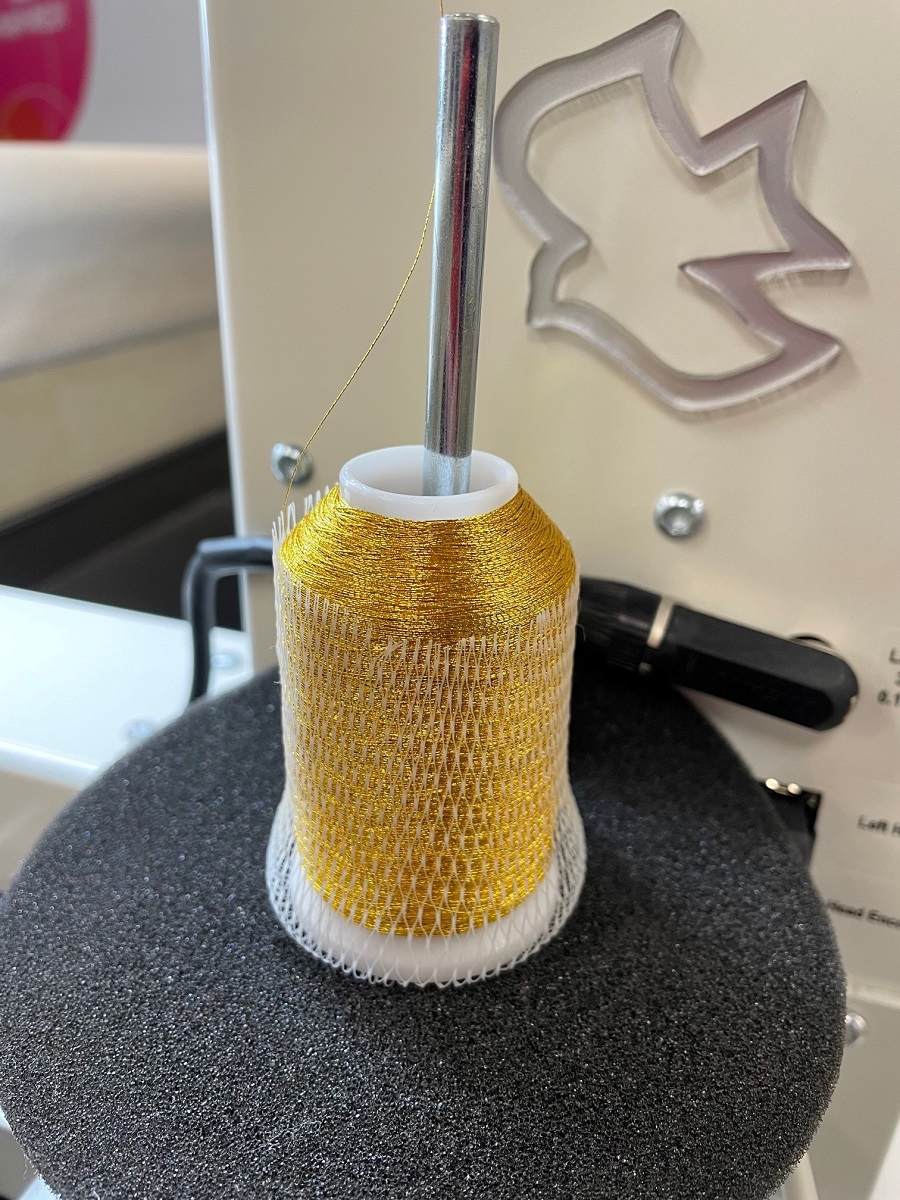
You’ve got several options to combat that irritating problem. The first is adding a thread net to the cone as shown below. This stretchy sock puts enough pressure on the thread to keep it from spilling down the cone, but not so much that it restricts the thread as you sew. Slip the net over the cone until its top is flush with the widest part of the cone. Stuff any excess net around the bottom of the cone and inside the core if necessary. Don’t let the net’s cut end stick up past the cone or all those little spikes will grab on to your thread and make you use four letter words!
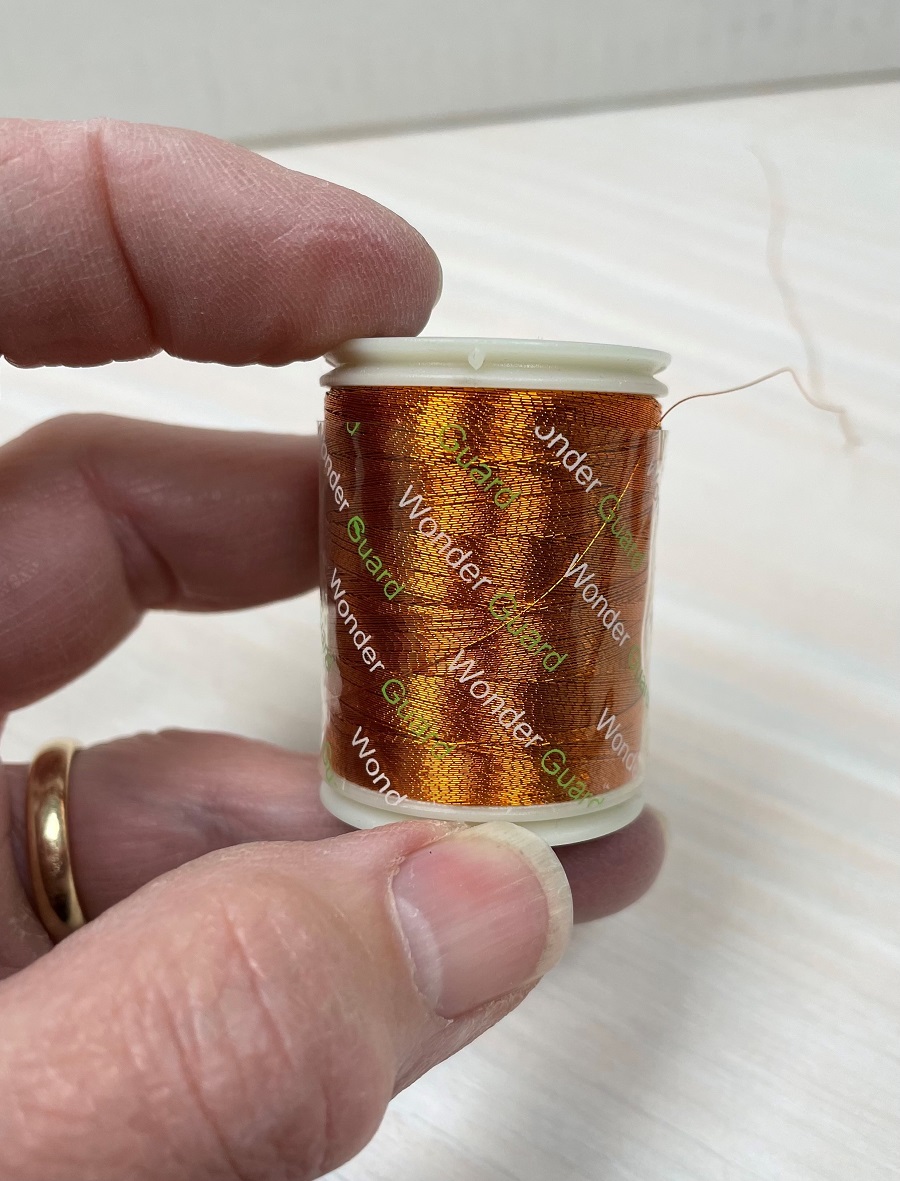
The WonderFil Company makes a self-cling vinyl Wonder Guard™ that functions like a thread net for use with metallic and other decorative threads. The guard can be loosened or tightened as needed to prevent snarling and puddling but has the bonus of keeping the thread tangle-free for storage later.
While both of those products do the job, I admit that I created a shortcut that I’ve used for many years on my APQS longarm that has served me very well. I’ve never enjoyed having to wrangle with a thread net, so I add a piece of batting to the first thread guide directly above the cone instead of fooling with a thread net. The batting is a strip of cotton (or a cotton blend) that measures about 1” x 4”. I roll that up from the short end, then squeeze it into the guide. The piece should be large enough to stay in the guide by itself but should still allow the thread to pass under it without too much pressure.
In fact, that piece of batting lives in my thread guide 100% of the time—I use it with all my threads! It helps keep the thread smooth and consistent from the cone all the way to the needle, reducing tension issues no matter what thread I use. If you decide to try this, make sure your thread passes under the batting, not through it. The batting should act like a little brake putting pressure on the thread.
That leads us further down the thread path! As you’ve figured out by now, metallic thread doesn’t appreciate a lot of twists and turns. Experiment with the three-hole thread guide on your longarm to find the best path. For example, with cross wound cones, I typically only use the first and third holes.
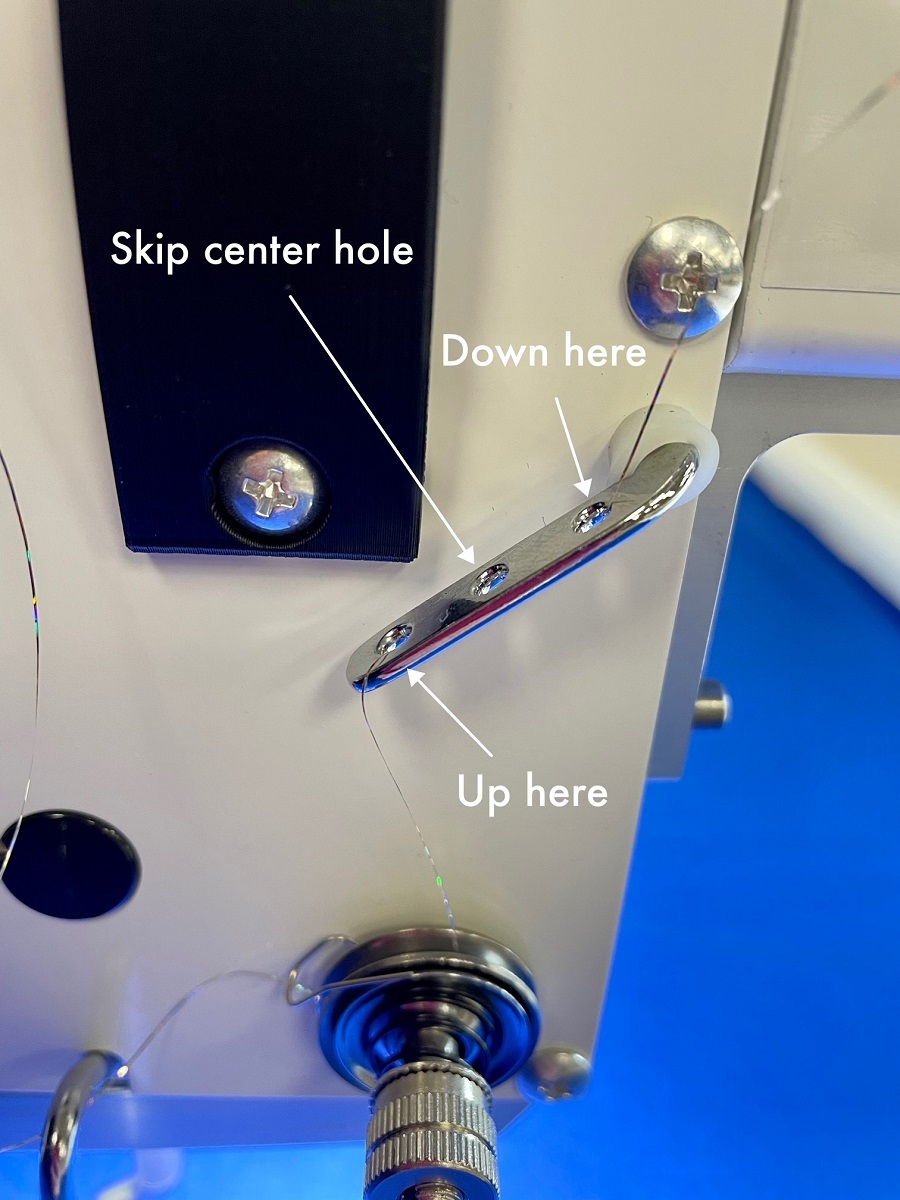
If the thread is stack-wound, I often skip the first two holes and only use the third (closest to the tensioner.)
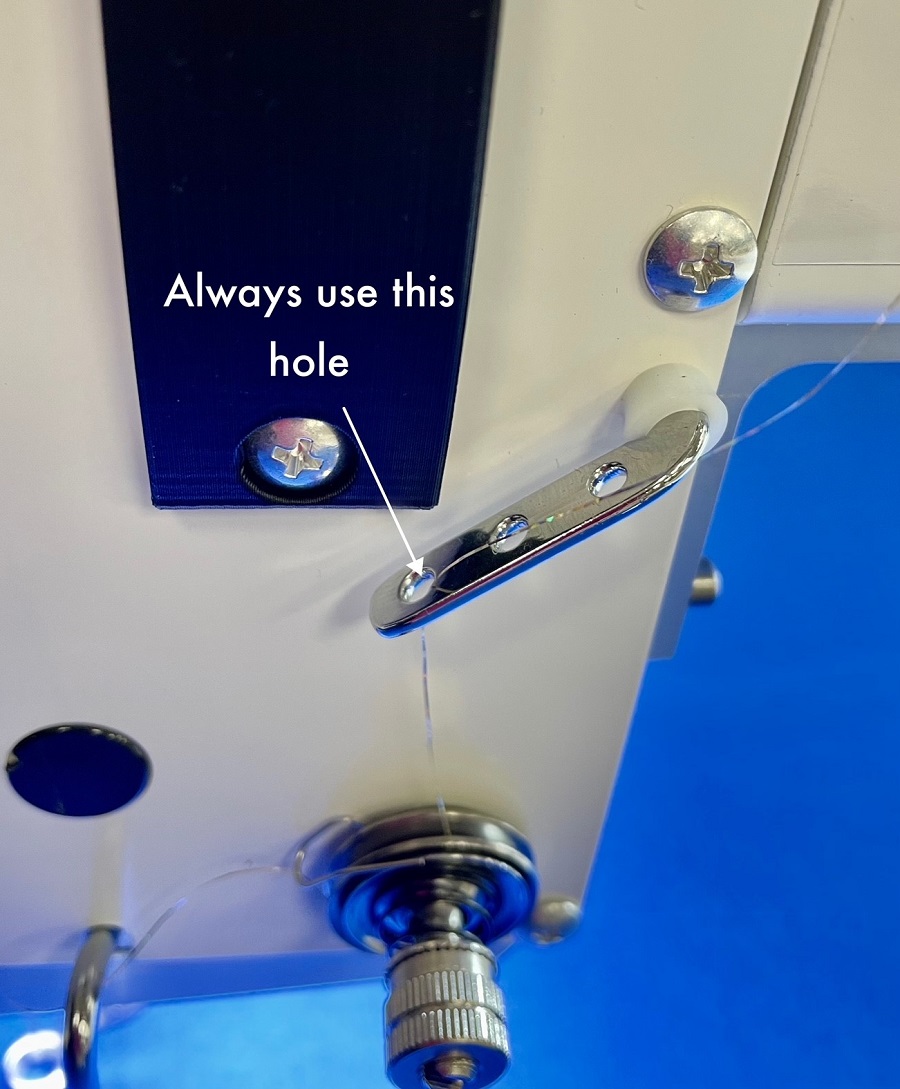
NOTE: you must always use that last hole closest to the tensioner, no matter what thread or thread path you use before it. That hole keeps the thread sandwiched firmly between the tension disks to prevent slippage and inadvertent tension changes.
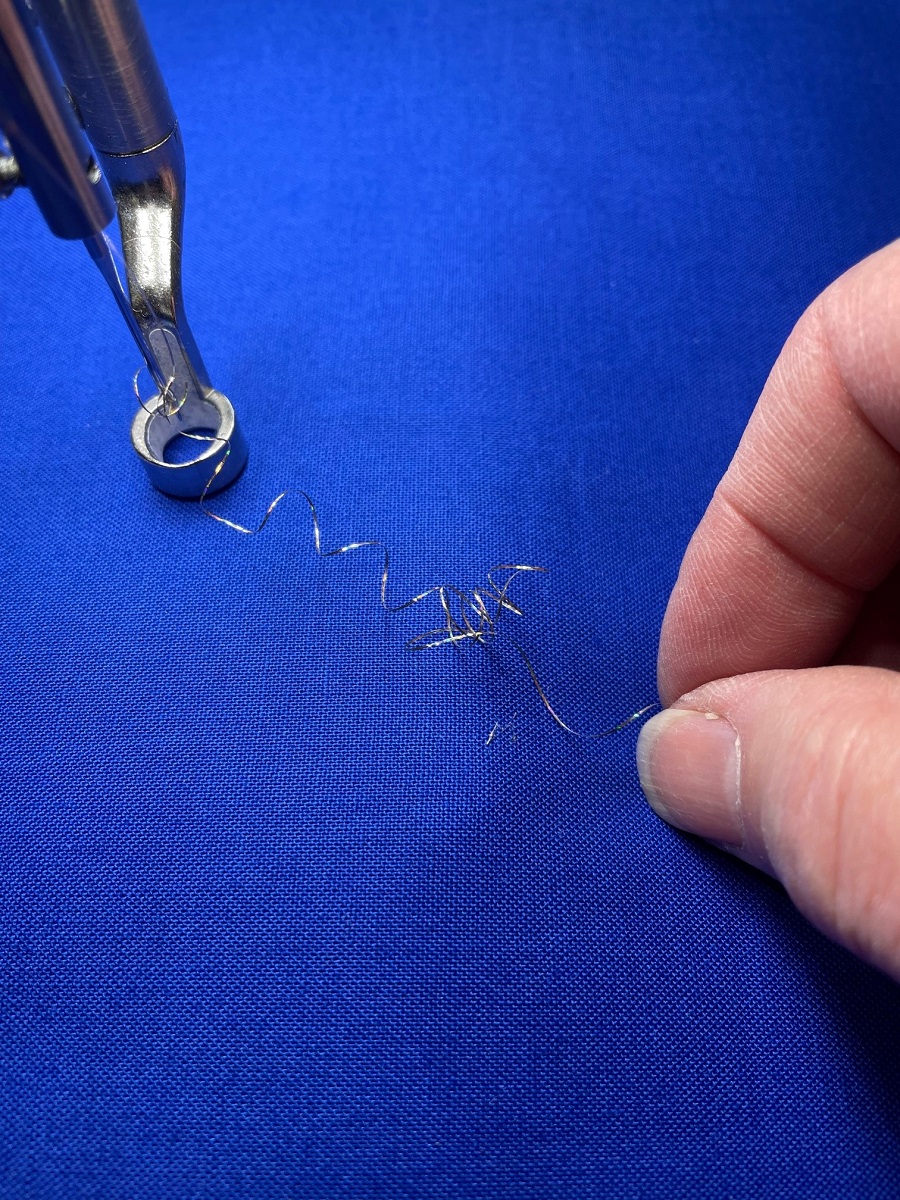
While we’re talking about tension, you may need to loosen your top tension so that the thread doesn’t stretch as it passes through to the needle. Here’s an easy way to check—thread your needle and then pull about a foot of thread toward the back of the machine and let go. If you see a tightly curled corkscrew (or if the thread broke before you could even pull out that much) it means the tension is too tight. Loosen it until the thread behaves like normal thread, with just a slight wave. Then check the tension by sewing on your project and adjust as needed.
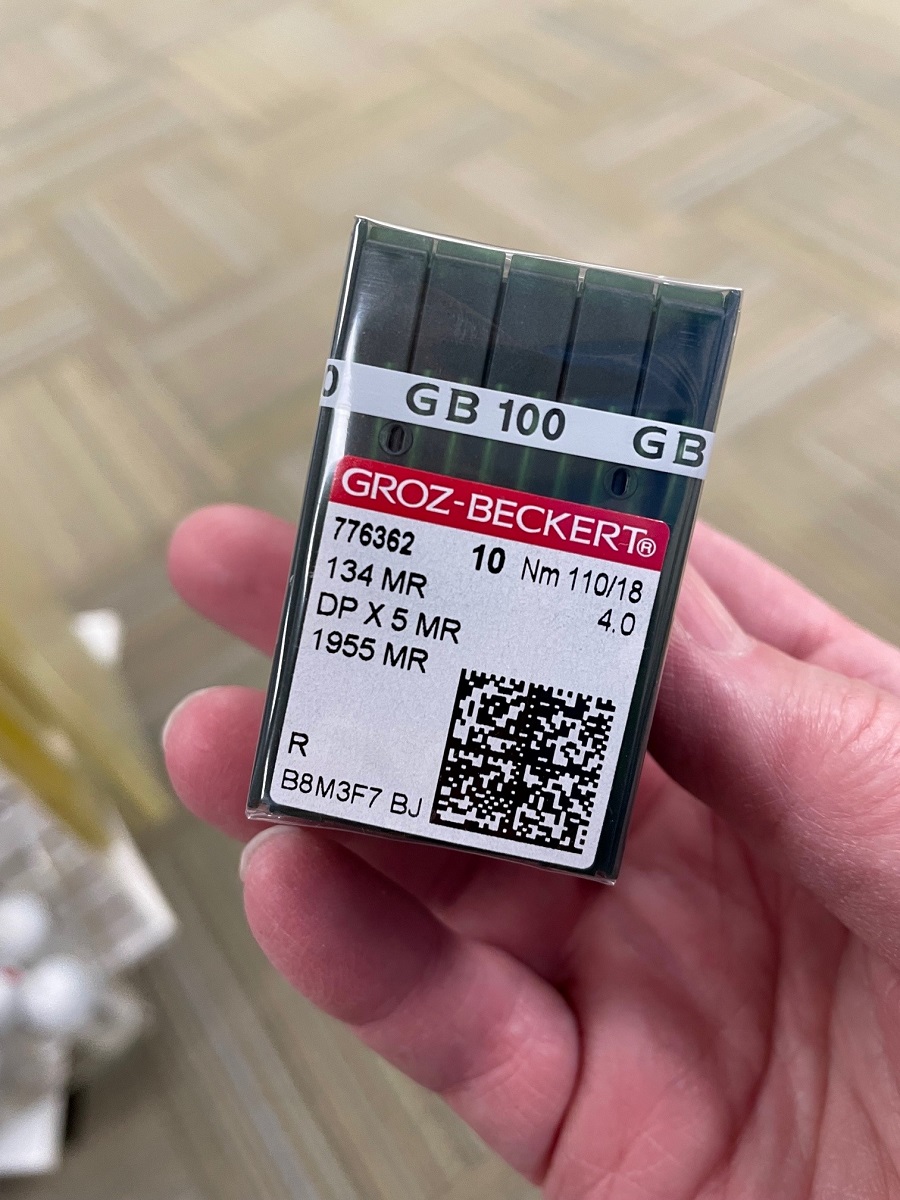
Even the needle can make a difference on how metallic thread will behave. On a longarm machine, the standard size 4.0 needle is sufficient for nearly all metallic thread as it has a deep vertical groove and large enough eye.
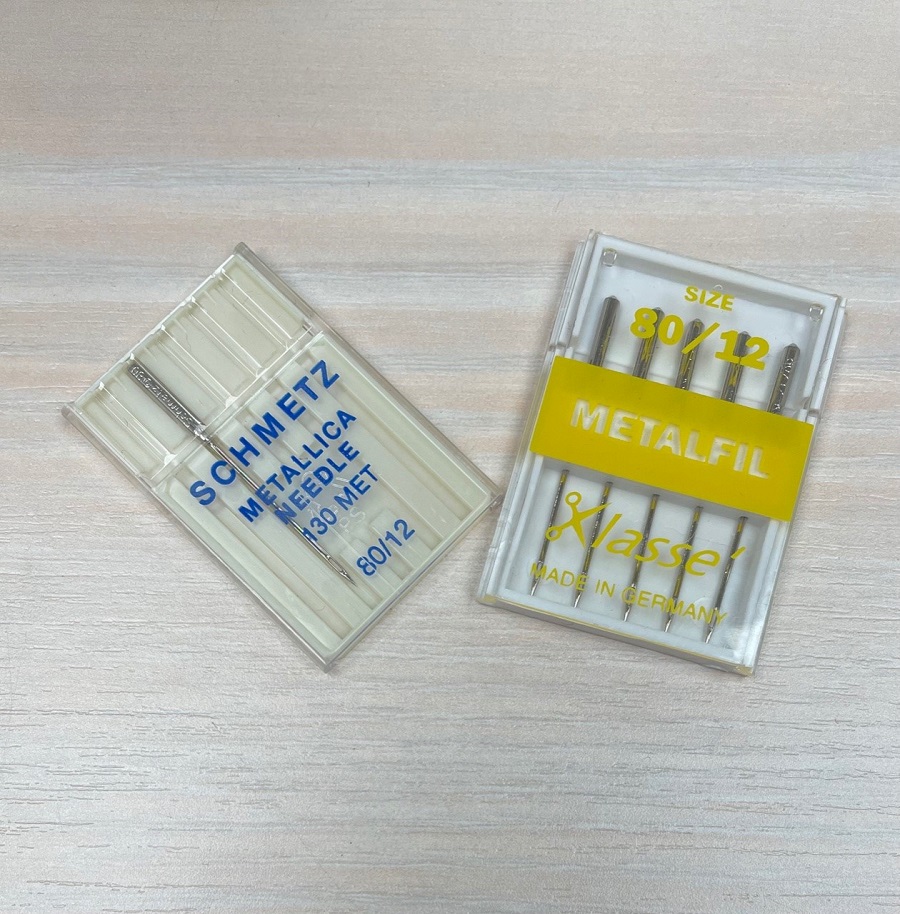
For home sewing machines, switch to a needle specifically designed for metallic threads. These needles have longer eyes to reduce the friction that causes metallic threads to fray and break.
Once you’re ready to quilt, remember that friction on the metallic thread is its nemesis. As you quilt, friction from rubbing against the quilt top, backing, and batting heats up the needle. That heat starts to melt through the outer layer of foil on the thread, causing it to fray. Then the inner core rubs on the eye as the thread see-saws through the needle, eventually breaking.
So, what can you do? SLOW DOWN. Put away your racing stripes and take your time with metallic thread to help keep it cool and keep the thread breaks to a minimum!
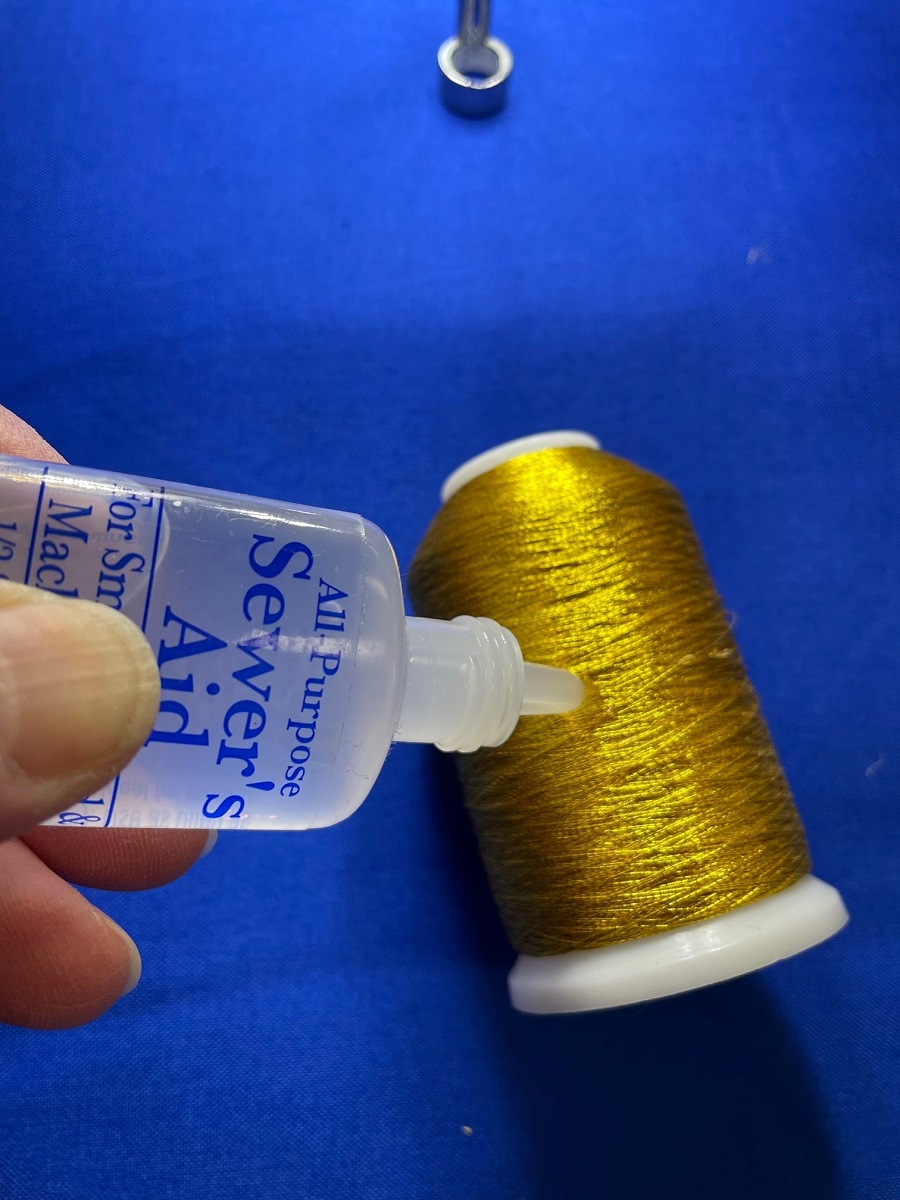
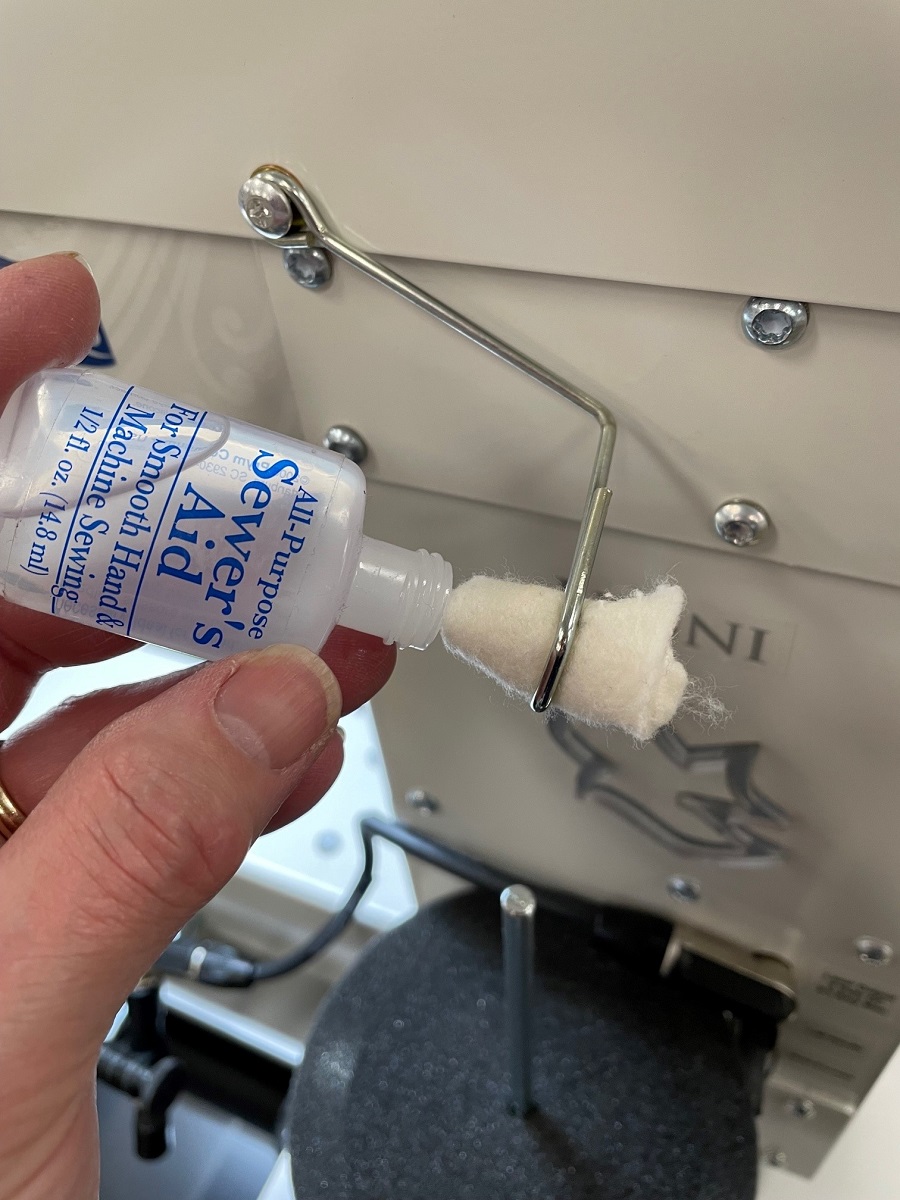
Even with all those tweaks, you may still have a thread that is particularly fussy—especially if the air is dry and you find yourself getting a static shock when you walk across the carpet with your warm wool socks on! Sewer’s Aid (silicone gel) can help with both friction and static. Squeeze a few stripes directly on the fussy cone and let it sink in. It will help keep the needle cool and will lubricate the thread. If you’re using my batting-in-the-thread-guide trick, you can also apply a few drops to the underside of the batting where it will lube the thread passing under it.
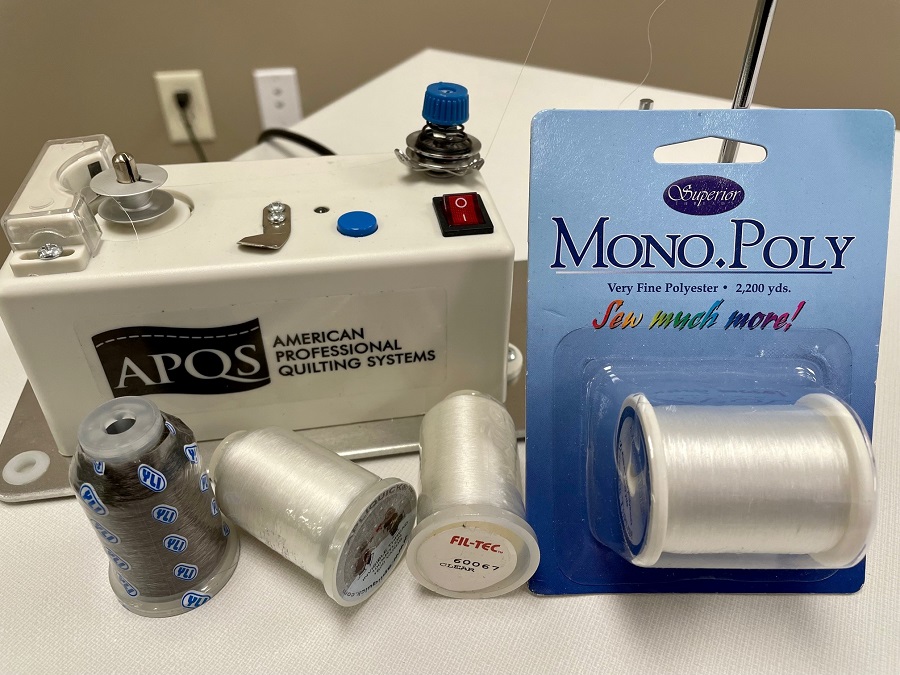
Your bobbin thread can also play a key role in successfully using metallic thread. Use a smooth, thin polyester bobbin thread (think a 60-weight thread) instead of cotton. That said, my personal “secret weapon” when it comes to metallic thread is using invisible thread as my bobbin thread! I like it because the invisible thread has just enough stretch that when the top metallic thread is under tension and pressure, the invisible bobbin thread provides enough elasticity to keep it from breaking when the normal polyester thread may not budge.
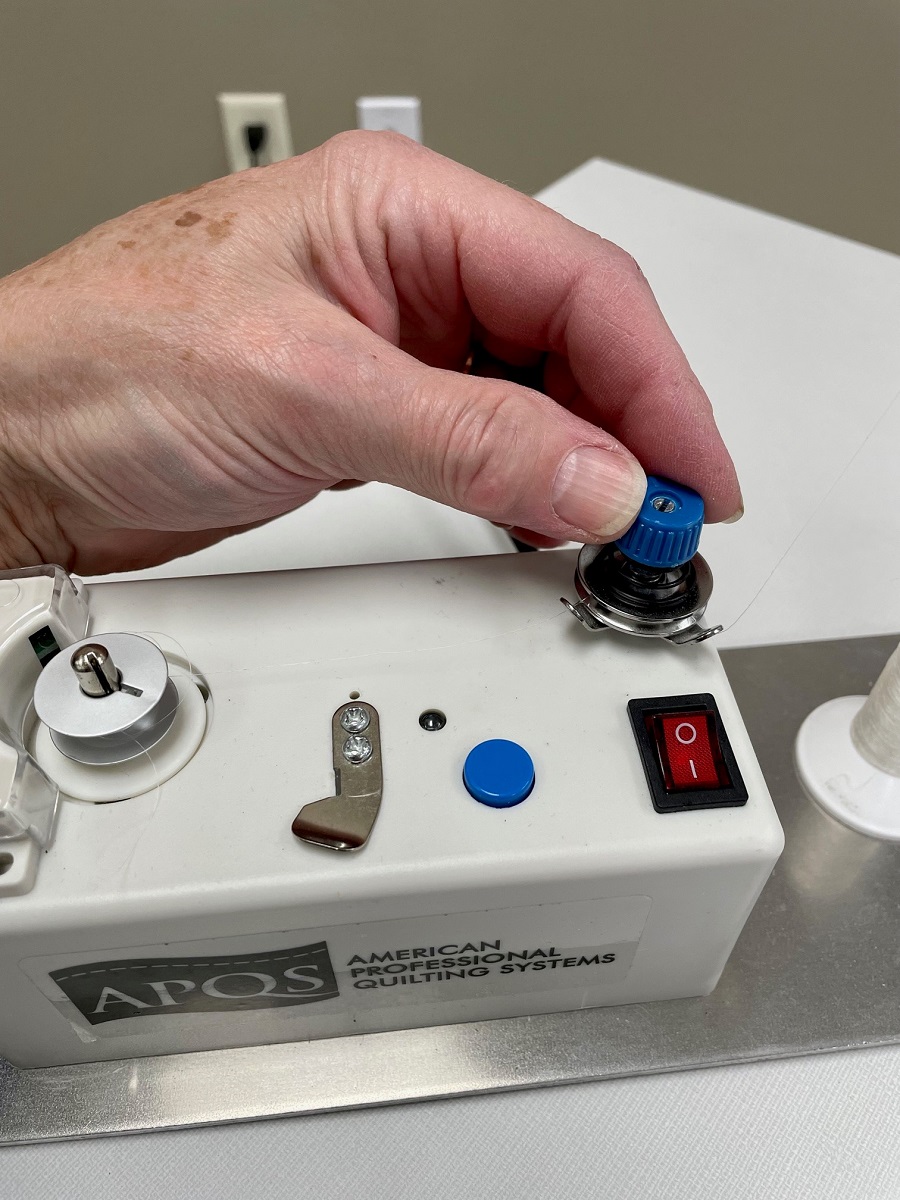
If you’ve been nervous about using invisible thread in your bobbin, these tips will help you have success. First, check the tension on your winder to make sure it isn’t stretching the thread as it passes through the tension disks. Pull about a foot of thread through the disks and then let go, checking to see if you have that tight “corkscrew” that means the thread is stretching. If you do, loosen the tension until the thread behaves more like regular thread.
Next, only wind your bobbin half full if it is a small “L-size” bobbin. Only wind it about ¼ full for big “M bobbin.” HINT: I purchased a second bobbin case and use it exclusively for invisible thread, so I don’t need to adjust my main bobbin case. Paint the bobbin latch with some nail polish to identify it.
If you wind too much invisible thread on your bobbin, it stretches too much (just like metallic thread wound on too small a core) and it won’t exit the case easily without snarls and tangles. Thread up the bobbin case, then pull on the tail and test the thread tension like you did when checking thread through the needle. If you let go of the tail and have a corkscrew, the bobbin case tension is too tight; adjust and test again.
If your thread is tangling as you try to wind it on a bobbin, try a small thread net, a Wonder Guard™ or my batting trick to help keep it manageable.

Always test your tension on the top and bottom just as you would for regular thread and adjust the upper and lower tension until your stitch is balanced in the batting layer. Even with all these tricks up your sleeve, you’ll still see occasional issues with metallic thread, just as you do with all threads. Your quilts will sparkle when you literally slow down and enjoy the magic and wonder of the holiday season!