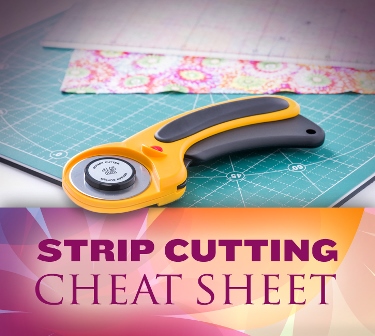
Strip cutting quickies
Not that long ago in the grand scheme of things, quilters were still tracing around templates cut from cereal boxes and stiff envelopes. With the rotary cutter revolution, both speed and accuracy have increased. You can save even more time by using strip-cutting methods to prepare your pieces.
To begin, you must have a straight and “true” strip of fabric or your patches become more difficult to join without undue stretching. Align your fabric with the selvage edges together. Slide the top layer of fabric left or right while keeping the selvage edges aligned, until your fabric has no bubbles or distortion. Press the fabric to help the layers cling to each other better.
Now place one of the reference lines on your cutting ruler along the folded edge, keeping it straight. Trim the raw edge of the fabric to square it up. Now cut strips as required to finish your project. Check the strips often to make sure they do not have a “bend” at the fold when you open them. If you discover a bend, start again and “re-square” the fabric as earlier described.
Here’s a handy chart to use to help you cut the patches you need for your project using a 6″ x 24″ cutting ruler and long strips of fabric.
Shape |
Yield |
Strip width |
Segment length |
| Square | 1 per cut | Finished height + 1/2″ | Finished length + 1/2″ |
| Rectangles | 1 per cut | Finished height + 1/2″ | Finished length + 1/2″ |
| Right triangles (half square) | 2 per square | Finished length of short edge + 7/8” | Finished length of short edge + 7/8” |
| Right triangles (quarter square) | 4 per square | Finished length of long edge + 1-1/4” | Finished length of long edge + 1-1/4” |
| Equilateral triangles | 1 per cut | Finished height + 3/4” | Finished leg length +7/8” |