
How to sew mitered border corners
Have you ever thought that a striped fabric or border print would be perfect for your quilt, but you didn’t like how the corners looked with straight cut borders?
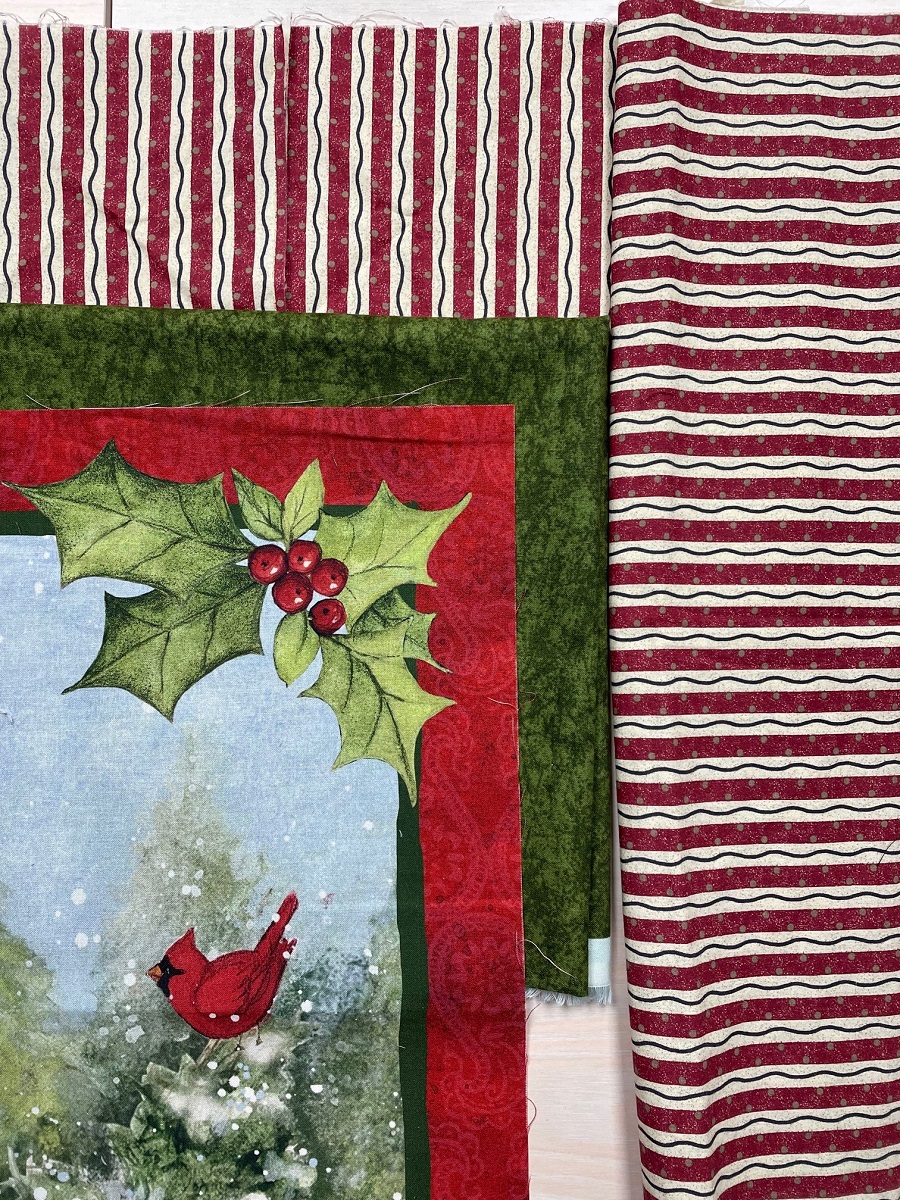
Don’t abandon those stripes—use mitered corners instead! Look at how the stripes work together to unify the corners with a diagonal, mitered seam.
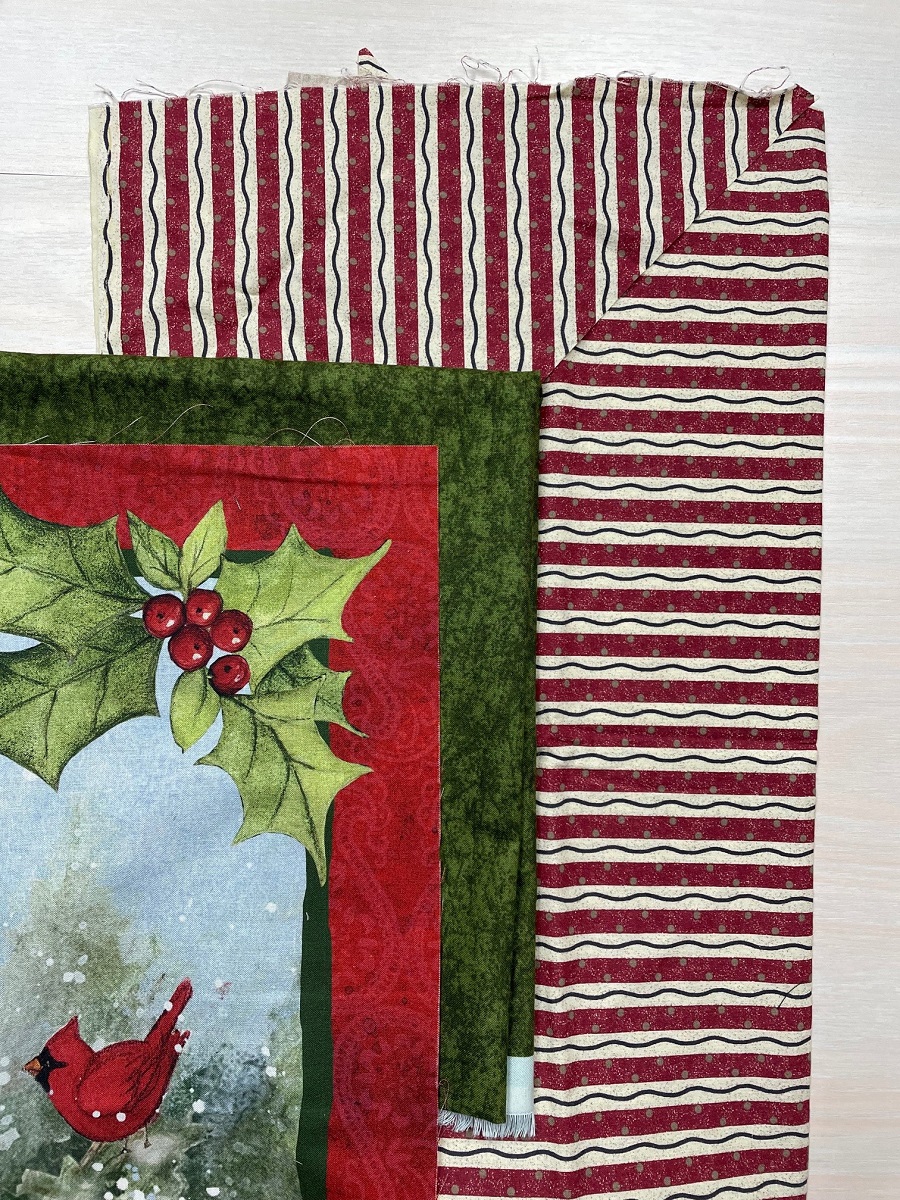
If you’re using directional fabric like stripes, special border prints or plaids, mitering the corners will create that picture-frame look. However, it does take more time to accurately cut the border strips to give you perfect corner matches. (My photo examples will show you what not to do and why that’s a crucial step you shouldn’t skip!)
Mitered borders are also a great solution when you’re adding multiple borders to a quilt. Instead of making multiple trips around the quilt edge adding border strips, you can sew the border strips together to form a single border “unit”. Then you’ll add each unit to your quilt as if it’s one single border.
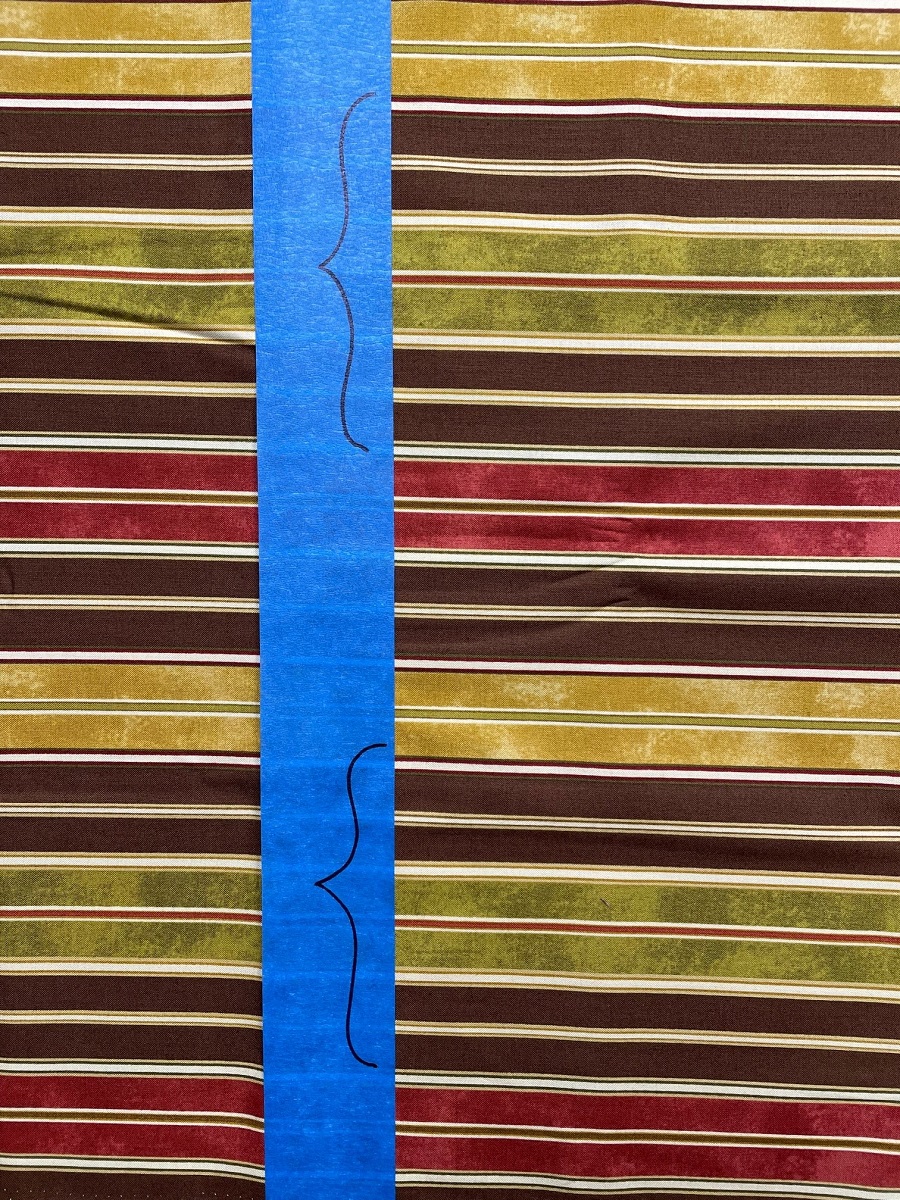
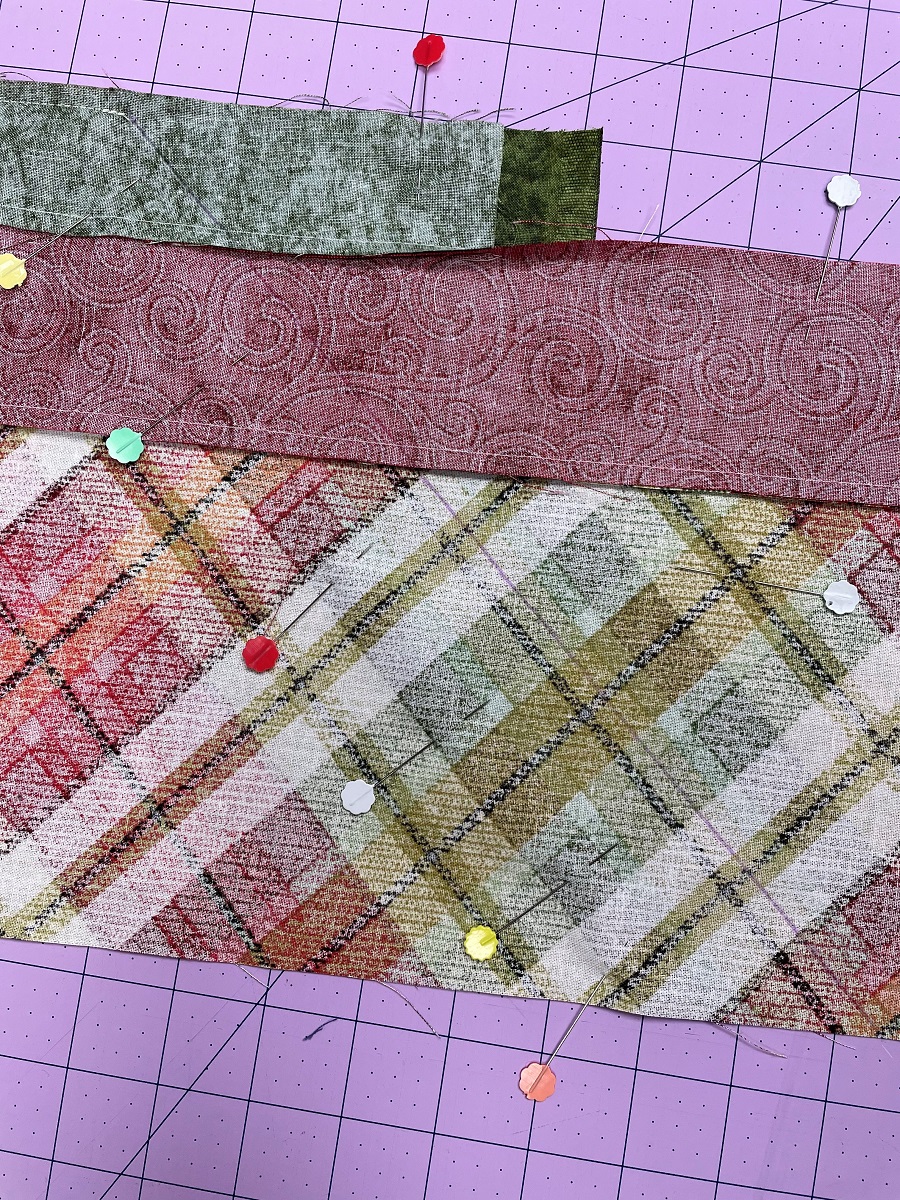
This method uses a bit of extra fabric, especially if you’re using a patterned fabric you’re trying to match. You’ll need to cut the four patterned fabric strips exactly alike to get them to match correctly in the corner (that’s what I didn’t do in my project, so you’ll see why it’s so important.) Look at the striped fabric below as an example. The painter’s tape identifies a “repeat” section of the stripe—brown stripes above and below a green stripe. If that’s the section I want to feature on my quilt, I need to make sure I have four total repeats of that section to use for my borders.
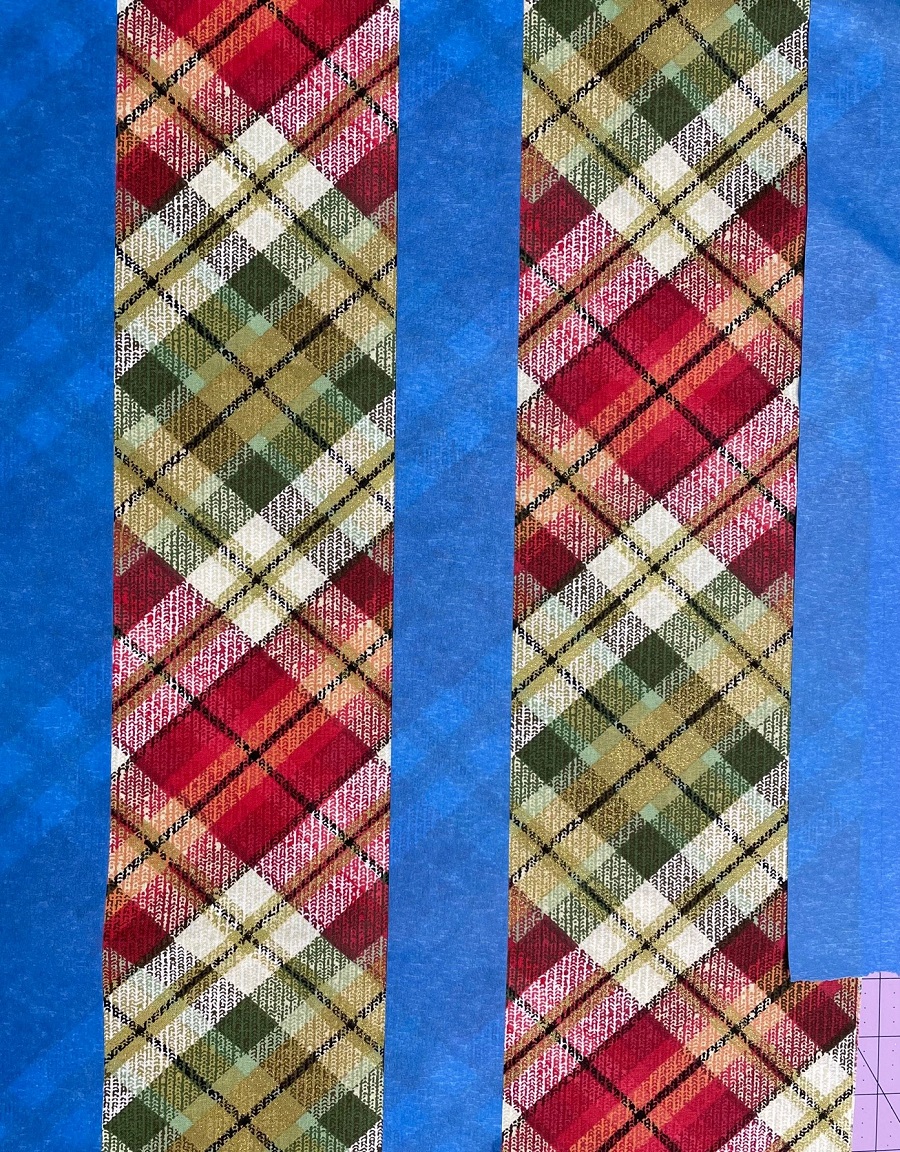
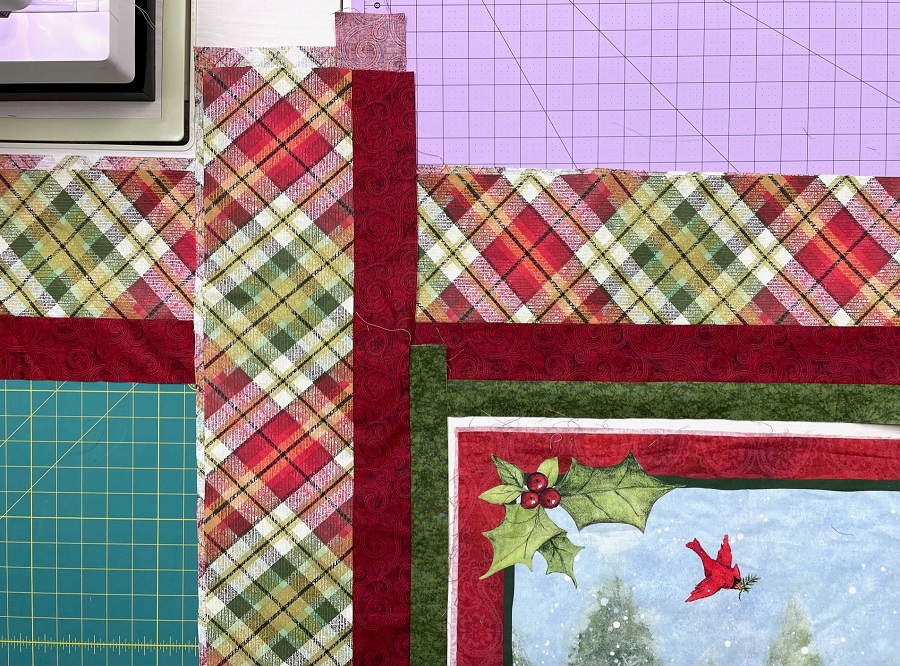
The photo below shows what I should have done when cutting my plaid fabric. The painter’s tape identifies sections that capture red and green “squares” where the plaid lines intersect. The section is staggered for the next repeat, but if there’s enough length to get strips that are identical, that is okay.
Now that the border’s width is handled, there’s the matter of having enough length to miter the corners. Since the border won’t be cut to match a quilt’s side dimension, one must account for the overlap of the entire border when determining how long to cut the border strips. Here’s a simple formula that builds in a little fudge factor—just in case you need to adjust the border left or right to align designs in the corners. If your border print has a large repeat, you may need to build in a larger fudge factor to accommodate it:
| Formula | Example | |
| MEASURE the length of one side | Quilt side | 50 inches |
| ADD the TOTAL width of the border TIMES TWO | Total Border width — 6 inches x 2 | 12 inches |
| ADD another 6 inches for fudge factor | 6 inches | |
| TOTAL BORDER LENGTH NEEDED FOR THIS SIDE | 68 INCHES | |
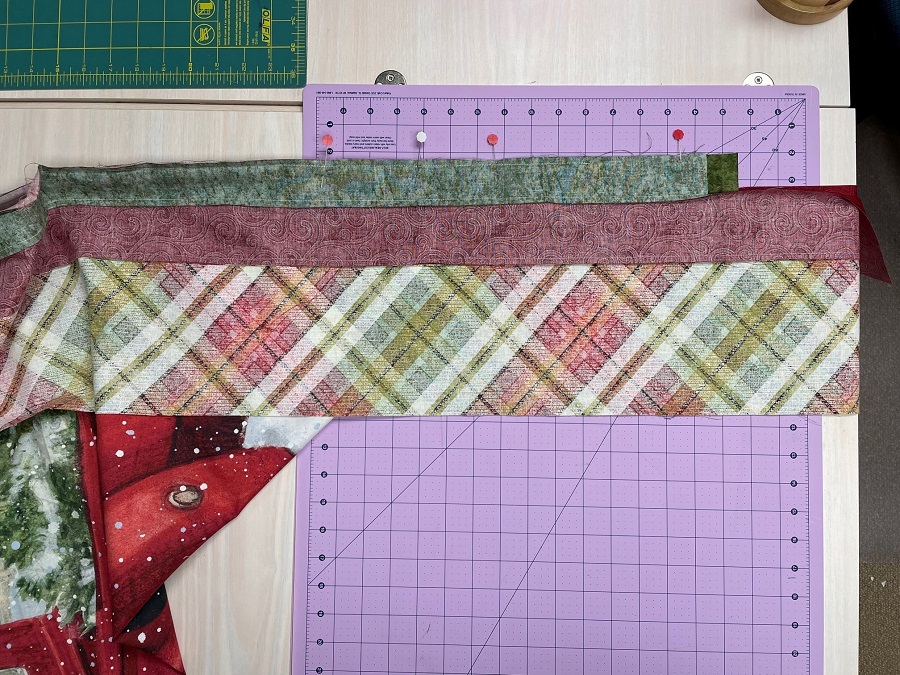
If you’re adding multiple borders such as a 4-inch border and a 2-inch border, use the TOTAL finished width (6 inches) in the calculation above. Sew all the border pieces together to make one unit for each quilt side. To make the mitered corners nest together better, press the seam allowances of the top and bottom borders in one direction, and press the allowances for the side borders in the opposite direction.
Double check each border’s length before you proceed. Fold your quilt in half and then in half again. Fold a top border strip in half and align it with the center fold of the quilt top. Repeat for the side of the quilt.
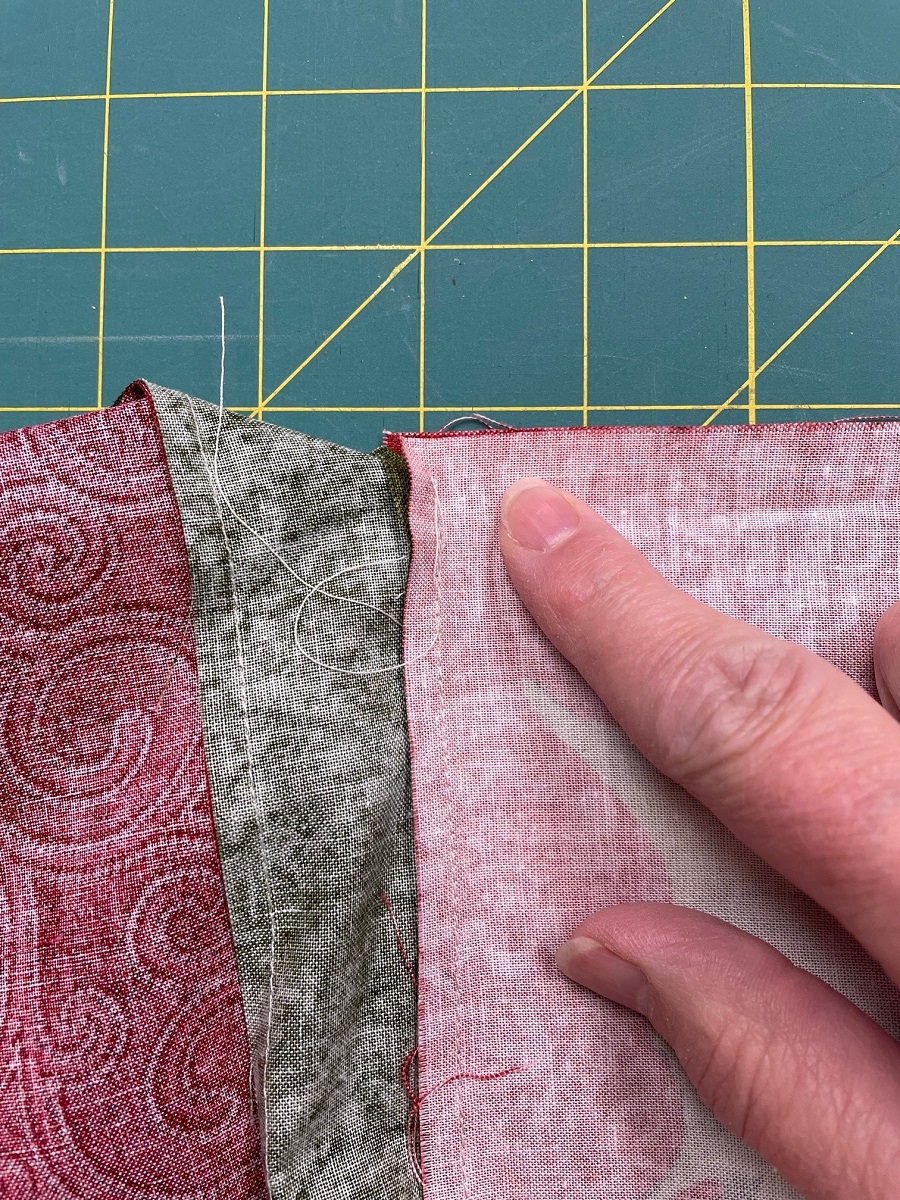
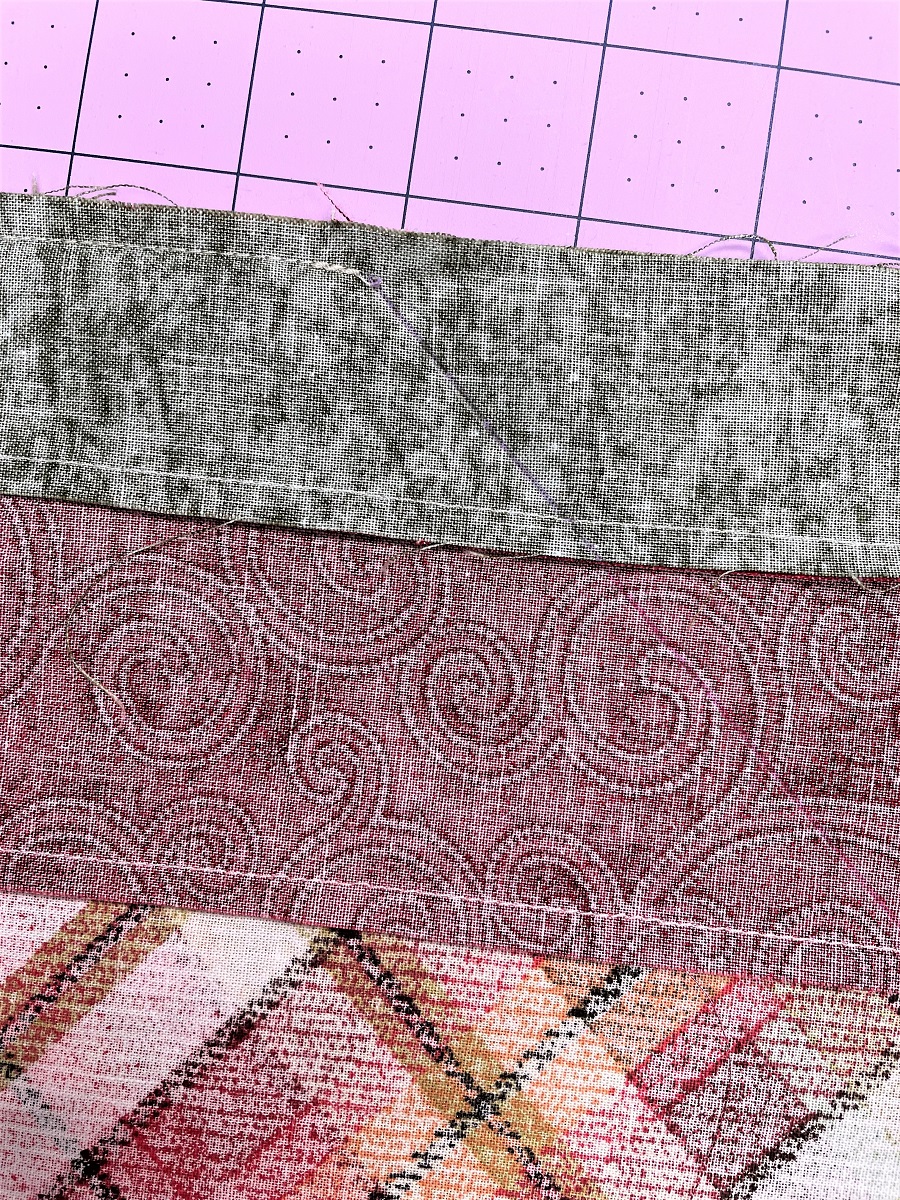
Ideally, even multi-fabric border strips should completely overlap each other to make things easy. However, I didn’t have enough green fabric to cut strips the same length as the red and plaid fabric. Isn’t it nice to see sometimes things don’t work out for a blog writer either? 😊 But as long as the green inner border sections extended past each other where they intersected in the corner, I was okay. I centered the green inner border strip when adding it to the red border strip to make sure it would overlap on both ends.
Attach two opposite borders to the quilt first. Fold the quilt in half and mark the center with a pin. Fold the border in half and do the same. (NOTE: if you are trying to match up a border print or motif in the corners, fold each of the two borders in half at the exact same spot on the center motif.) Pin the borders to opposite sides of the quilt, ensuring that you’re pinning the correct side of the border strip to the quilt edge.
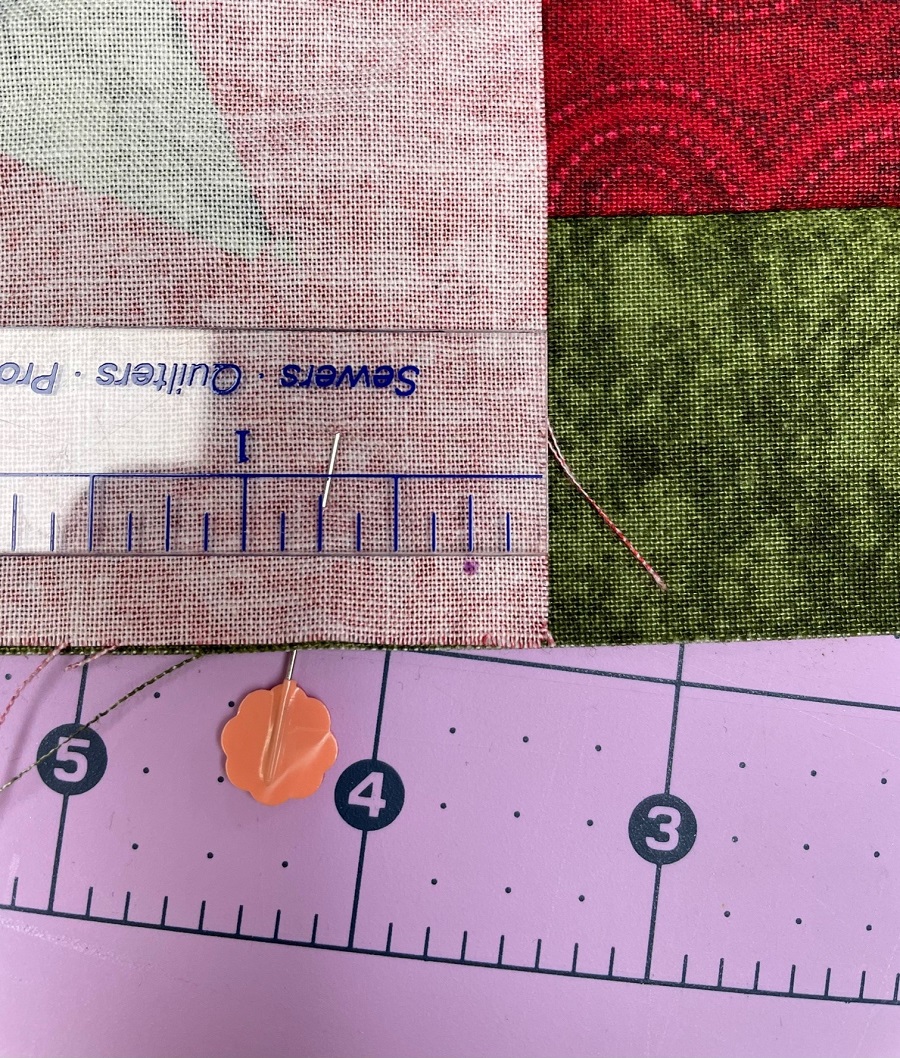
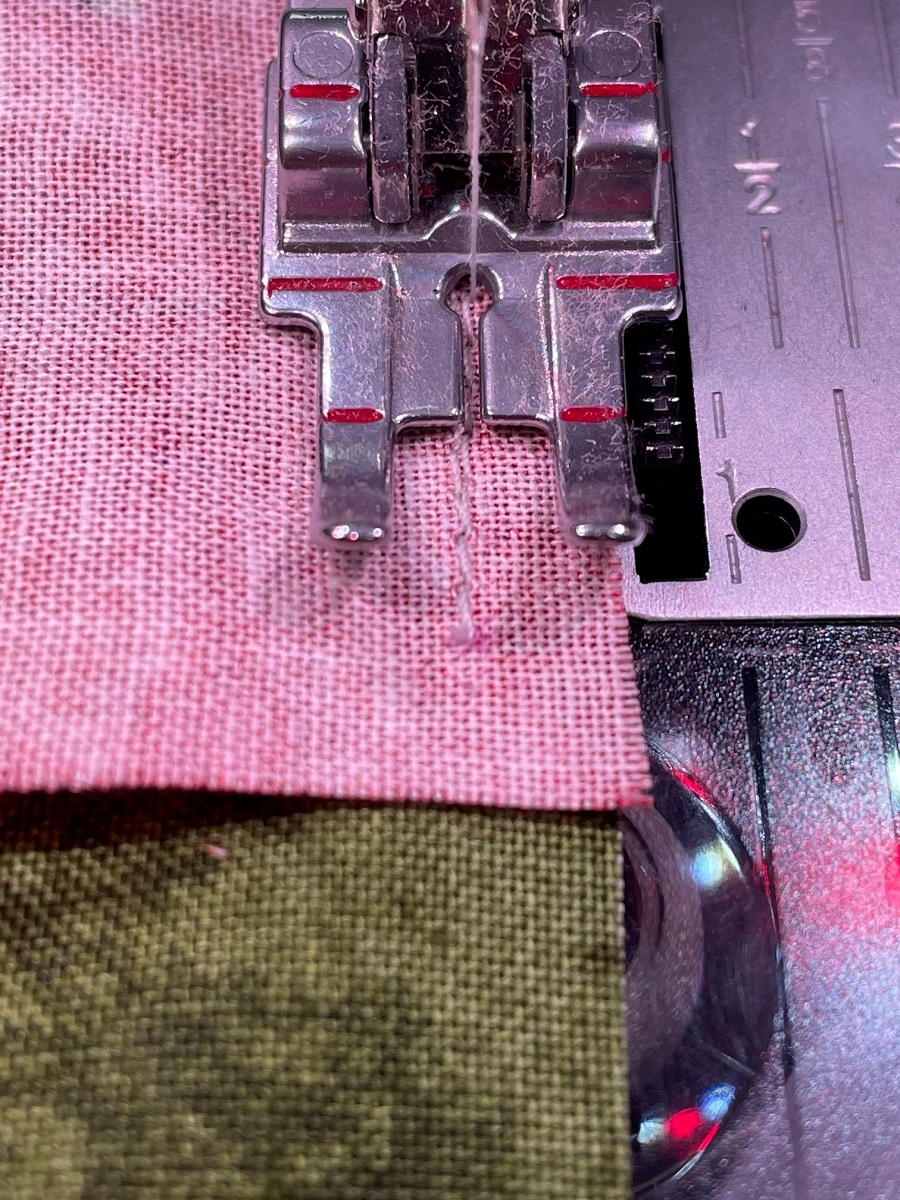
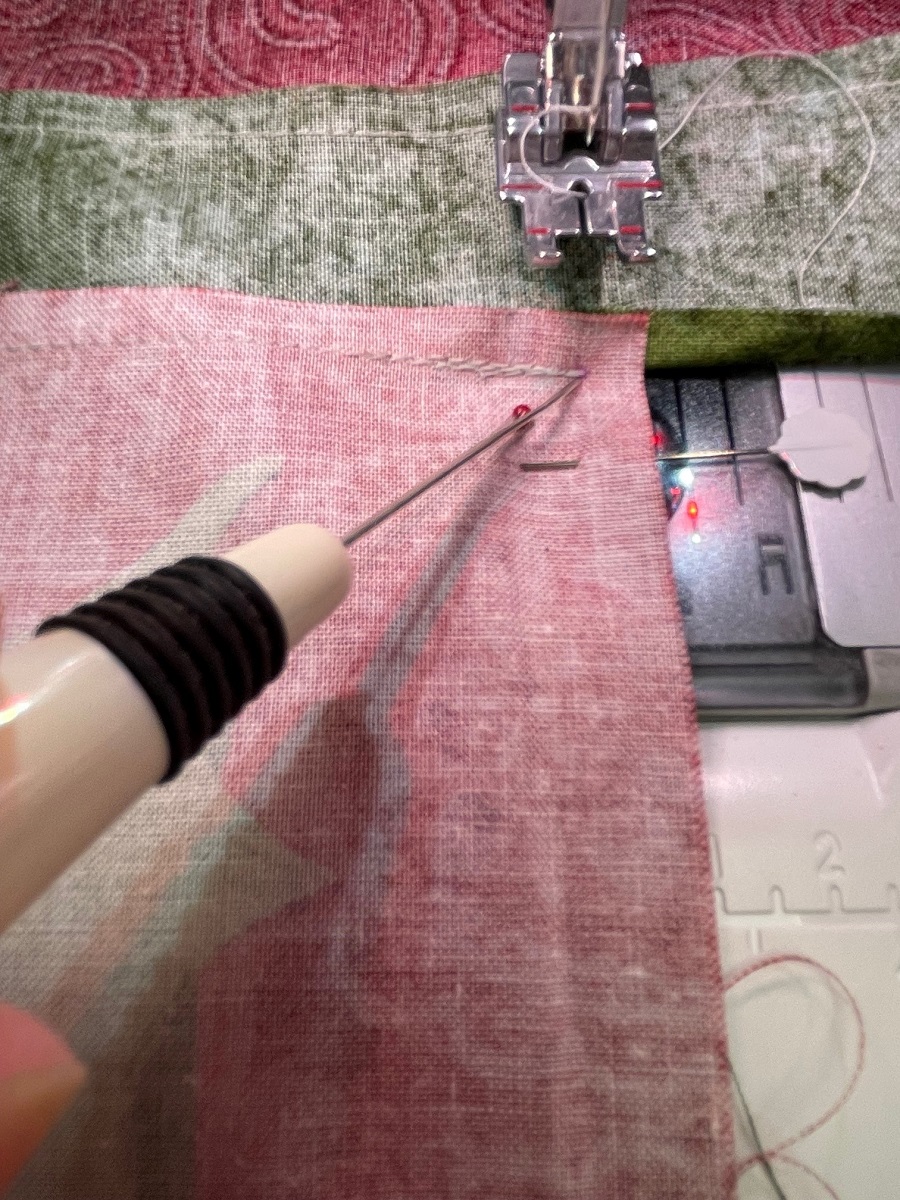
When sewing the strips to the quilt top, you’ll start and stop one-quarter inch away from the actual edge of the quilt. Use a marking pen to add a mark to the quilt as shown. I sewed with the border strip on the bottom, but you can sew with the border strip on top. In that case, add the ¼-inch mark to the border so you know where to begin and end your stitches.
Take a few backstitches at both the beginning and end of the stitching line as shown since you’ll be putting some strain on the stitching when you fold the quilt into the miter.
Repeat the process for the remaining two borders. Find the quilt and border centers, align them, and then pin the borders to the quilt. When you stitch these two borders to the quilt, begin exactly where your stitching line stopped on the first two borders, adding backstitching at the beginning and end.
Now the magic happens! Starting with one corner, fold the quilt with wrong sides together, bringing the side border seam up to the top border seam as shown below. The corner intersection where the top and side borders meet will be the pivot point.
The two border strips should now align with each other, both along the sewn edges of the quilt and past it. Add pins along the quilt top edge as well as in the loose borders to keep them from shifting when you mark the miter sewing line.
Using a rotary cutting ruler, align the 45-degree line with the border seam line along the top edge. Place the edge of the ruler exactly where your border stitching stopped—right in the corner of the quilt.

Draw a sewing line from the corner along the ruler’s edge across the overlapped borders. Add pins along the drawn line to keep borders from shifting since you’ll be sewing across the bias.
Begin sewing from the corner of the quilt to the border edges, starting right where the previous border stitches intersect in the corner. Backstitch at the beginning and end of the sewing line.
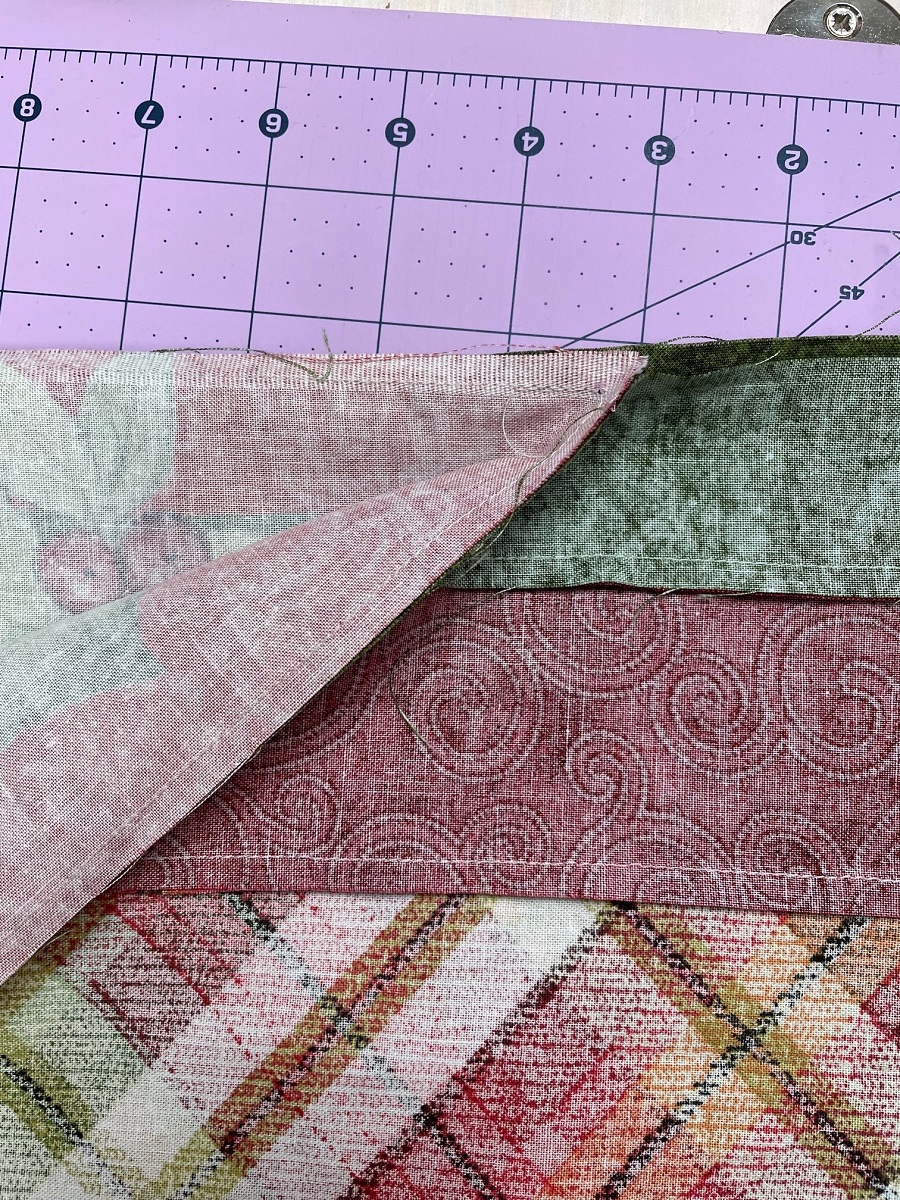
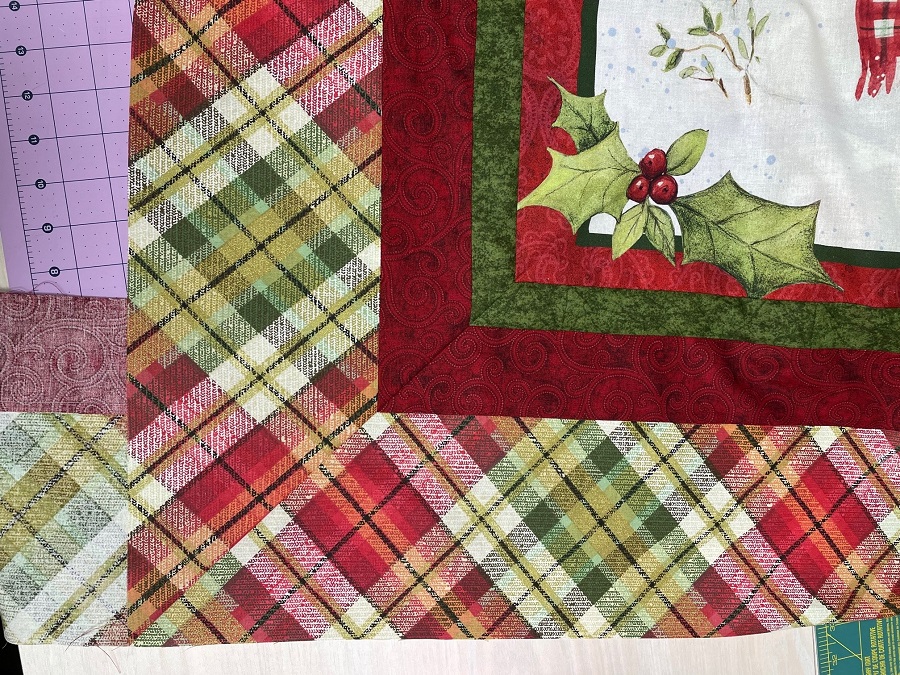
Now remove the pins, open the corner, and check your miter. The quilt should lay flat, and any border seams should nestle together. If you took the time to properly cut your border strip widths identically and center any motifs with the quilt center, then—unlike mine below where I did not, and it shows – the design should also flow nicely around the corner.
If all is well with the corner, trim the seam allowances to ¼ inch and then press the seam open for the least amount of bulk. If your corner seems rounded or it like a dog ear, it means that your stitching line isn’t at the correct 45-degree angle. Make the needed adjustments and check again. Repeat for the remaining corners of your quilt.
In the “do as I say, not as I do” category—cut your borders consistently and center the motifs and unlike mine, your quilt will look fantastic! This one’s destined for the couch during the holidays so I’m not ripping it out this time…but I’ll take my own advice the next time I miter a patterned border!


