How to create a quick scrap collage charity quilt
Do you have extra scraps in your quilting studio that are collecting dust? Here’s a quick and easy way to use up old scraps AND do some good at the same time. This quilt collage technique uses up old scraps and requires no piecing or fusing as well as very little cutting.
Collect your scraps – find a focus or color scheme
To begin, collect your scraps and identify your focus or color scheme.
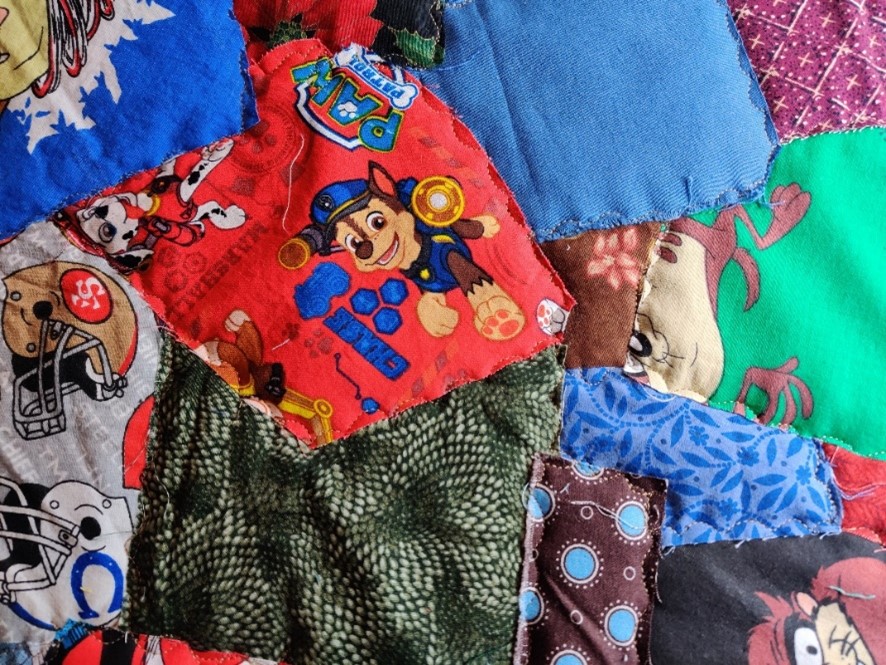
You can use scraps of any size or shape. You can even cut apart novelty prints without being concerned about cutting specific shapes; even partial images can be used.
For this project I used cartoon characters as my focus fabrics and scraps in coordinating colors as my fillers. Most of my scraps were chunks of fabric anywhere from approximately 3”x 3” to 6”x 6.”
Cut batting and backing
Cut a piece of batting a few inches larger than your desired finished size. (Here’s a handy reference chart for common quilt sizes.)
Mark the finished size on the batting – make sure it’s square! This line will be covered up with fabric and binding, so use whatever tool is easily visible. I used black batting, but any color works.
Cut the backing 6”-8” wider and longer than your desired finished size, just like usual.
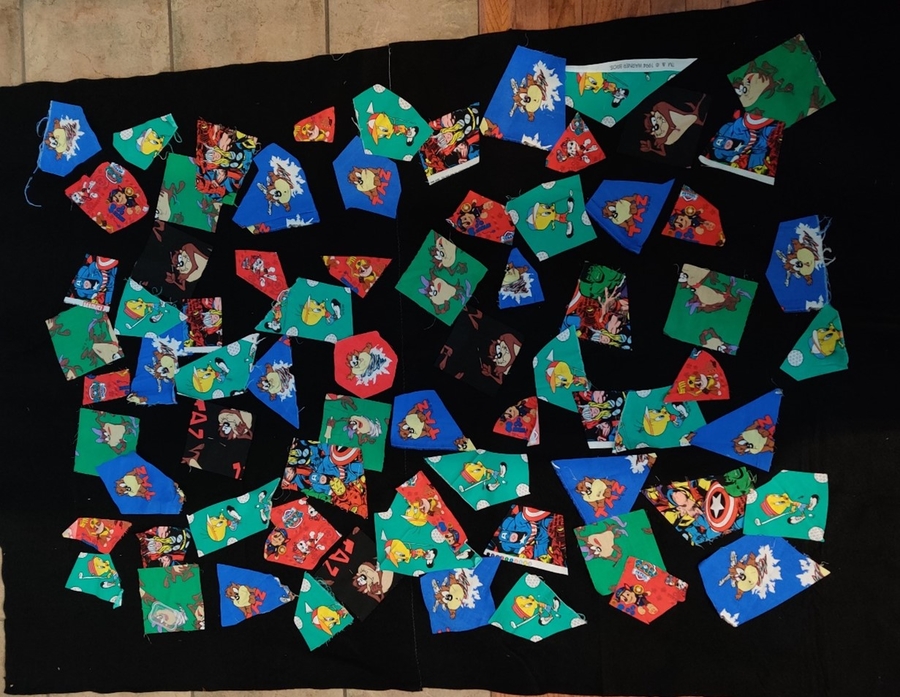
Place your focus scraps
Next, put your batting on your design wall (or design floor) and place your focus fabric scraps directly on the batting, keeping within the finished size line.
At this stage you can move the pieces around until you like the placement. Once you’ve got it just the way you want it, pin them in place.
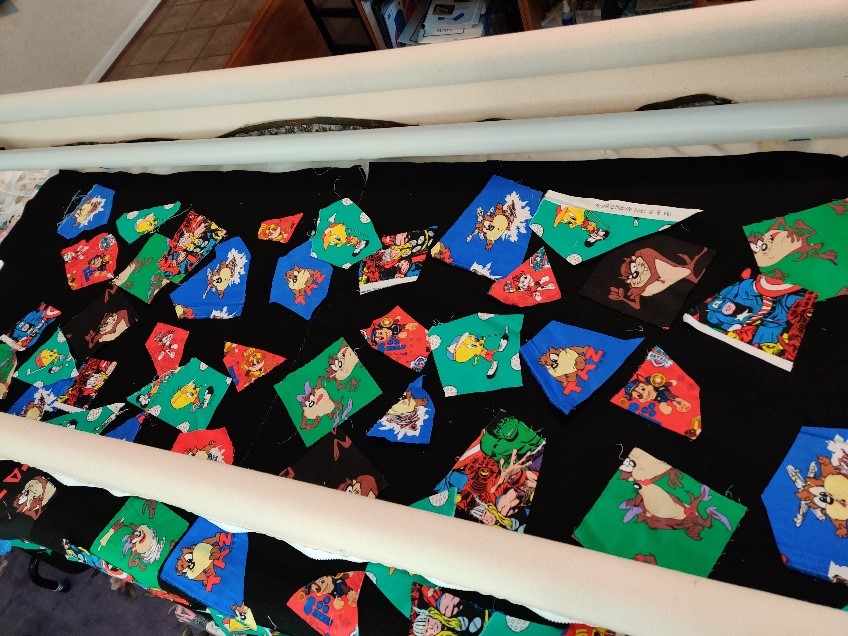
Load your backing and batting
Now it’s time to load your backing onto your longarm. I find it easiest to load the long side on my APQS Millennium so I can see more of the quilt at one time.
Next, place your batting down, being careful of all the pins and making sure the finished size line is parallel to your rollers.
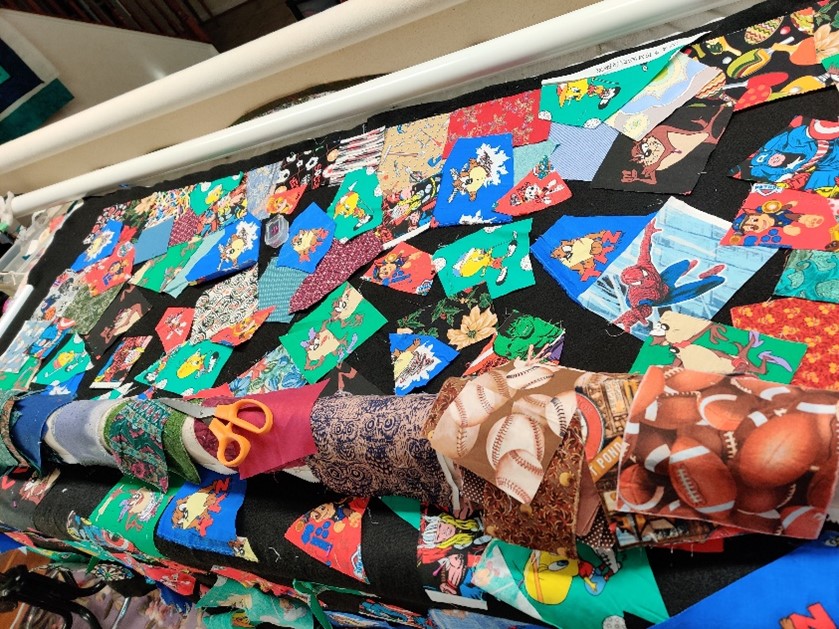
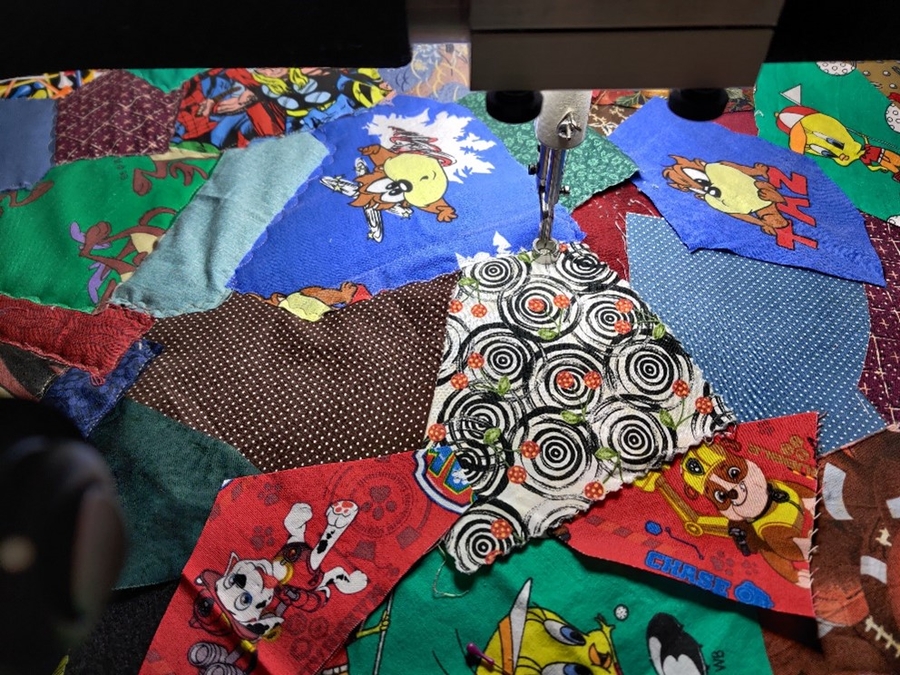
Place your filler scraps
Start placing your filler scraps down around the focus fabric scraps with at least ¼” overlap. You can tuck these scraps underneath your pinned focus scraps or lay them on top. I usually trim down scraps that are way too big, but this is optional.
You can see in the photo that I have different piles of scraps on my Millie’s roller bar for easy access. Continue to fill in the area that is visible without advancing the quilt.
Cover the batting completely, except for the batting outside the finished quilt size line. I trim the edges of the scraps flush with the finished quilt size line so I don’t need to square up the quilt and can add binding right on my Millie and know where it goes.
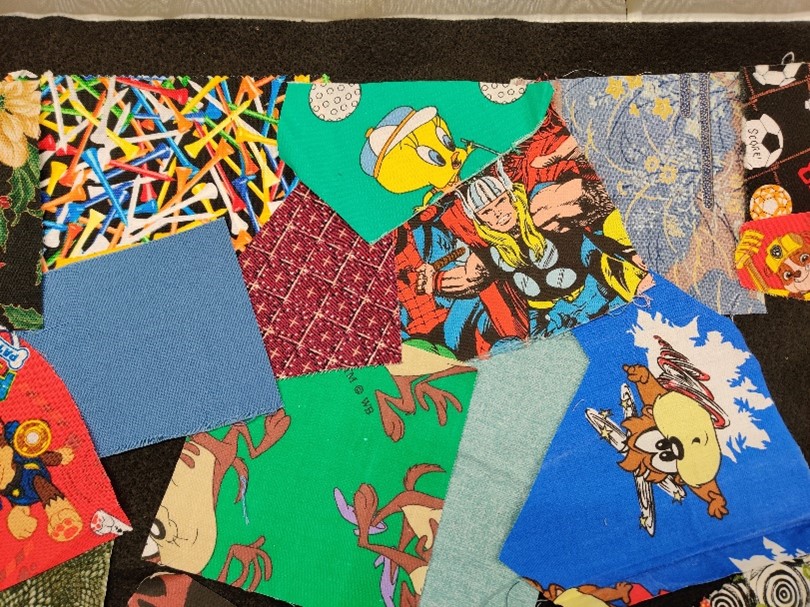
Quilt down all the scraps
Now it’s time to quilt around each scrap. Pull out your pins as you go, being careful not to hit a pin with your needle. You may need to backtrack your stitching or go over a section of your scrap twice to get to the next scrap.
Tip – I used a gentle wavy line to go on and off the fabric. This helps keep fraying down and helps ensure I completely stitch down both scraps of fabric. You can use a neutral thread or get creative and try out lots of different threads. You can even stitch down yarn, rick rack or other trims to liven up your quilt. Let your imagination run wild!
Advance and repeat
When you’ve quilted down everything on this pass, advance the quilt and start placing down filler scraps in this new section and stitch everything down. Continue this approach until you’ve filled all the visible space within the finished quilt size lines. Keep trimming the fabrics next to the edges.
Bind and label – you’re done!
Prepare your binding as usual and lay it down along the edge of the quilt top while it’s still loaded on your longarm. APQS hopping feet are ¼” from the outside edge to the needle, so place the hopping foot edge along the edge of the top and binding and stitch the binding down. Turn corners as usual.
Advance/reverse the quilt as necessary to work all the way around the quilt. Trim the quilt and finish the binding with your usual method.
If you’ve never added binding with your longarm, this is a great quilt to practice on. This video tutorial takes you through the whole process step by step.
This is such a quick and easy quilt – I hope you enjoy it!