
How to achieve 1/4″ wide seams
Have you ever worked on a group quilt with buddies? If each block’s finished size was spot-on, bravo! You and your friends have accomplished a rare feat. Achieving an accurate quarter-inch seam is hard enough for one person, let alone with different people and different sewing machines working on the same project.
When working with such a small seam allowance, you wouldn’t think being off a smidgeon would be such a big deal. Well, let’s do a little easy math and find out what the difference might be. Imagine making this queen-size quilt. Each block should finish to 12 inches square, making it a 96-inch quilt.

The number of vertical seams in each block plus the block joining seams add up to 40 total vertical seams. If your piecing seam is off by even 1/16th of an inch (.0625) across the width of the quilt, that equals a whopping 2 ½ inches! (40 seams x .0625 = 2.5) No wonder quilters have such a hard time getting borders to fit properly!
The actual seam allowance is only one factor in achieving accurately pieced blocks. The fabric fold-over caused from pressing seams to one side also impacts the results, as does the type of fabric itself and its thickness. That’s why you’ve heard quilters say, “Use a scant quarter-inch seam.” Using a seam that’s slightly less than an actual 1-/4 inch makes allowance for the fabric fold-over. I use a wool pressing mat to help reduce the fold-over impact and to set seams to make sure it has no pleats.
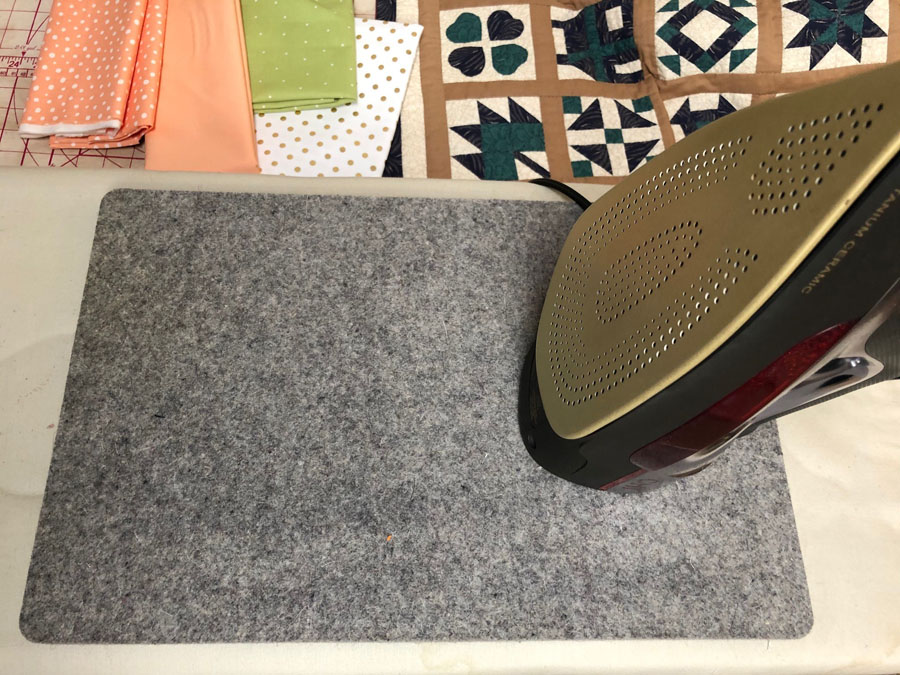
Here’s a trick to make really flat seams with a wool mat. Apply steam from your iron to the mat alone to get it warm and slightly moist. Then place your block on the mat and press the seam to set it before you open the fabric layers.
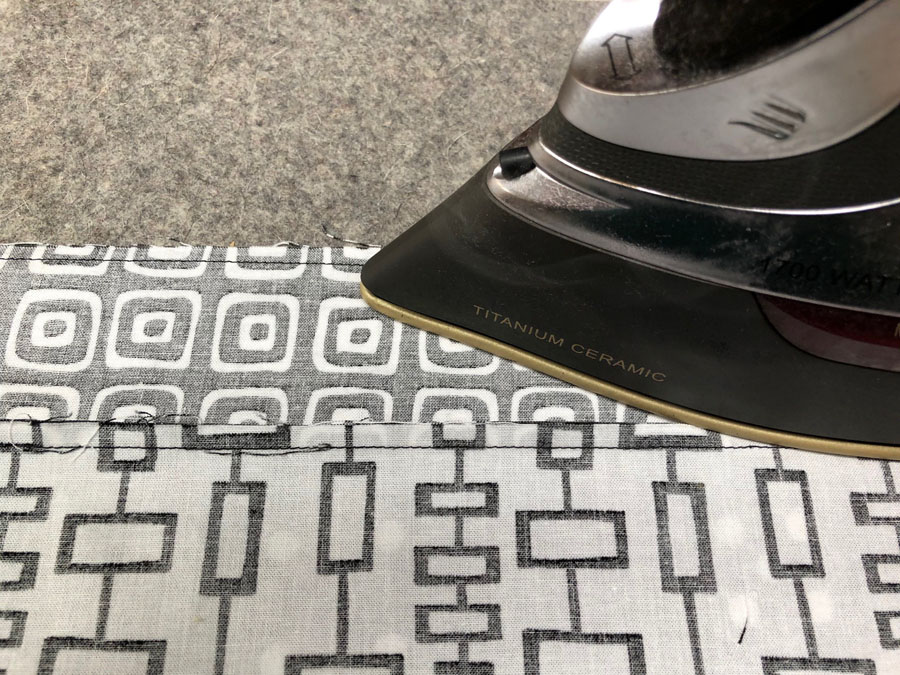
Next, while the mat is still warm, open the fabric pieces and finger press the seam in the correct direction for your block (typically with the seam toward dark fabric). The warmth and moisture in the wool mat will wick up into the block to help relax the fibers and set them in place.
Now press the seam with the iron to set it. The allowances sink into the wool mat, creating crisp, clean seams. If you like add a shot of Mary Ellen’s Best Press or spray starch and press again to set the entire block and keep it from distorting.
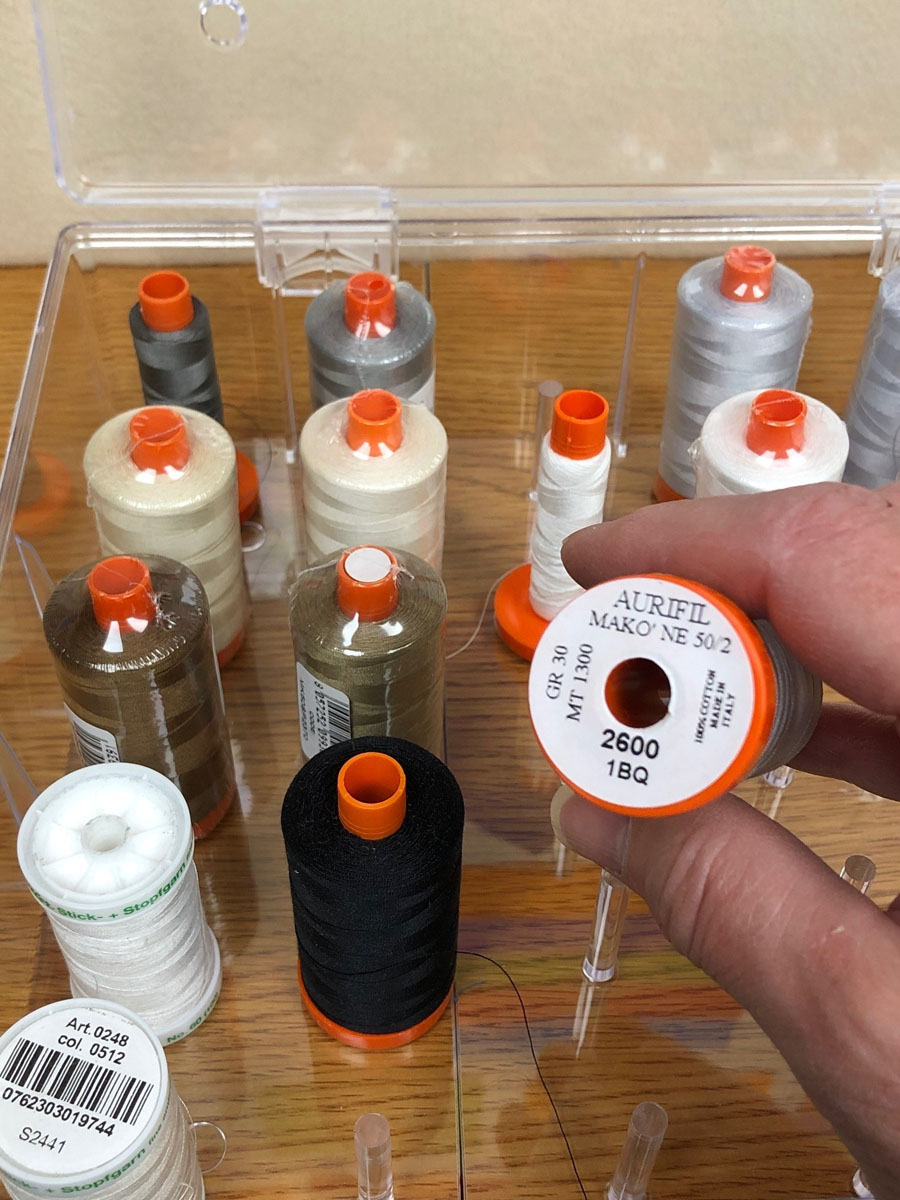
Even the thickness of the piecing thread makes an impact. Try piecing with a finer 50-weight thread, especially if you’re working on small blocks or miniature quilts.
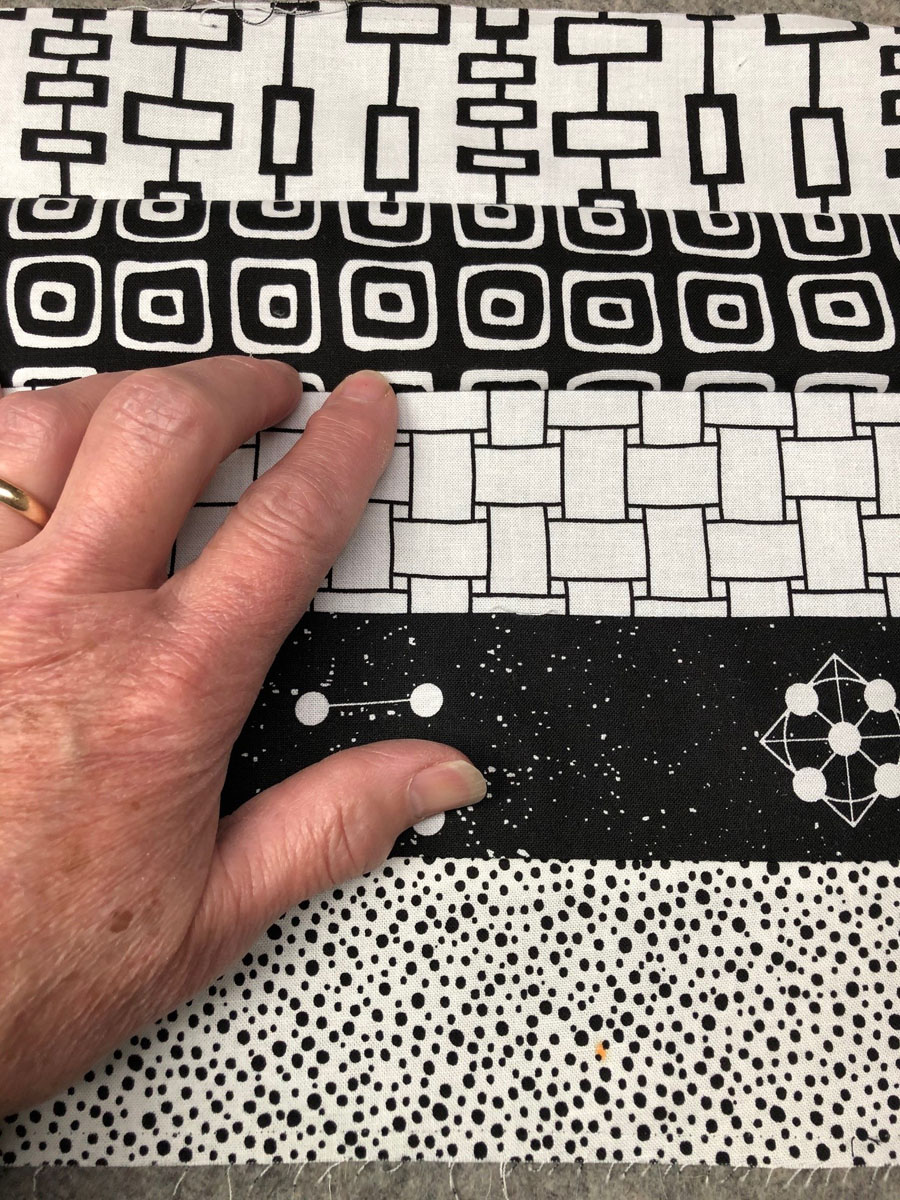
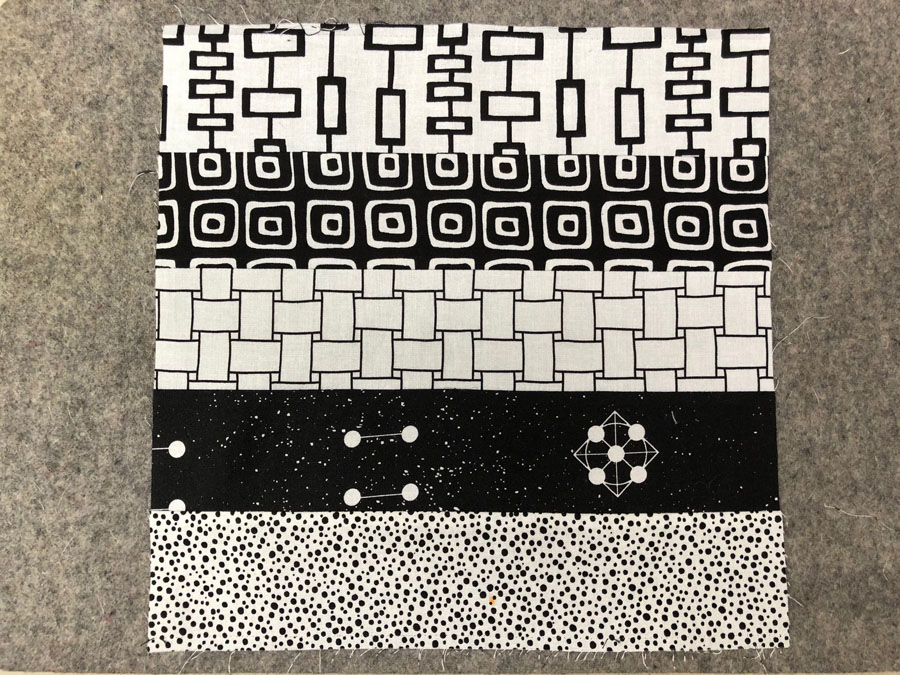
To make sure you are getting an accurate seam, cut 4 fabric strips, each about 4” long by 1 ½” wide. Sew the strips together on the long sides, then press the seams to one side. Measure the width of the sewn unit—it should come out to exactly 4 ½” wide.
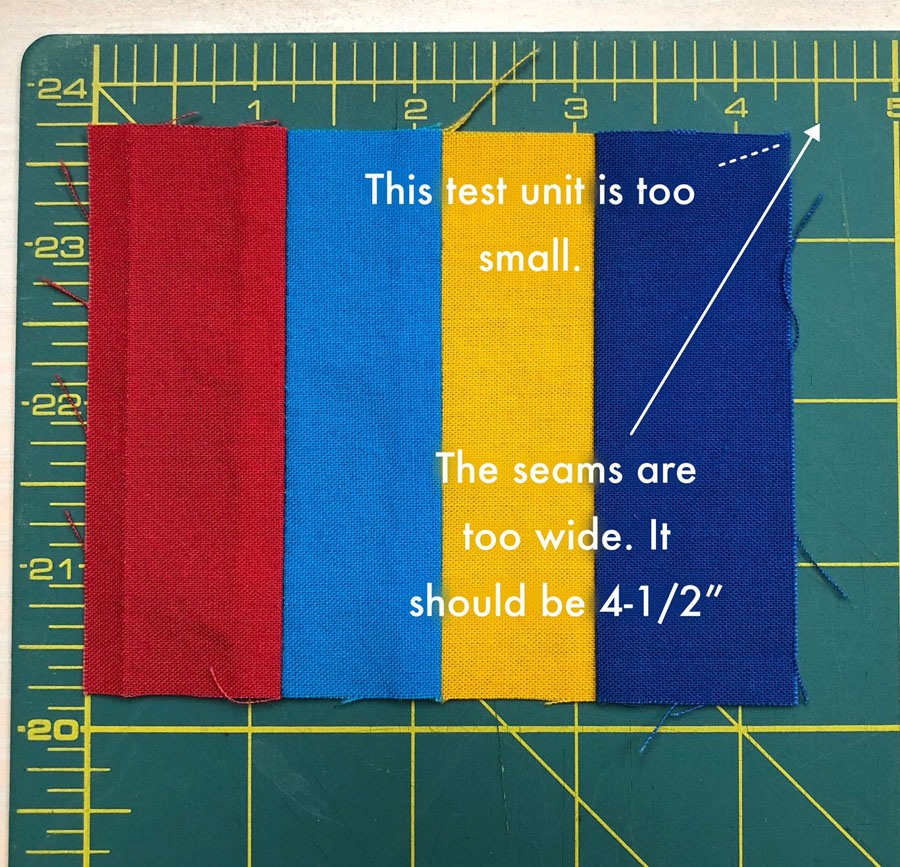
If your unit is wider than that, your seams are too narrow. If it’s shy of 4 ½” as you see in my sample, then your seams are too wide. You can adjust your set up to improve accuracy in several ways. If your machine can move the needle left or right from the center position, try moving it one step in the direction needed to get that accurate seam.
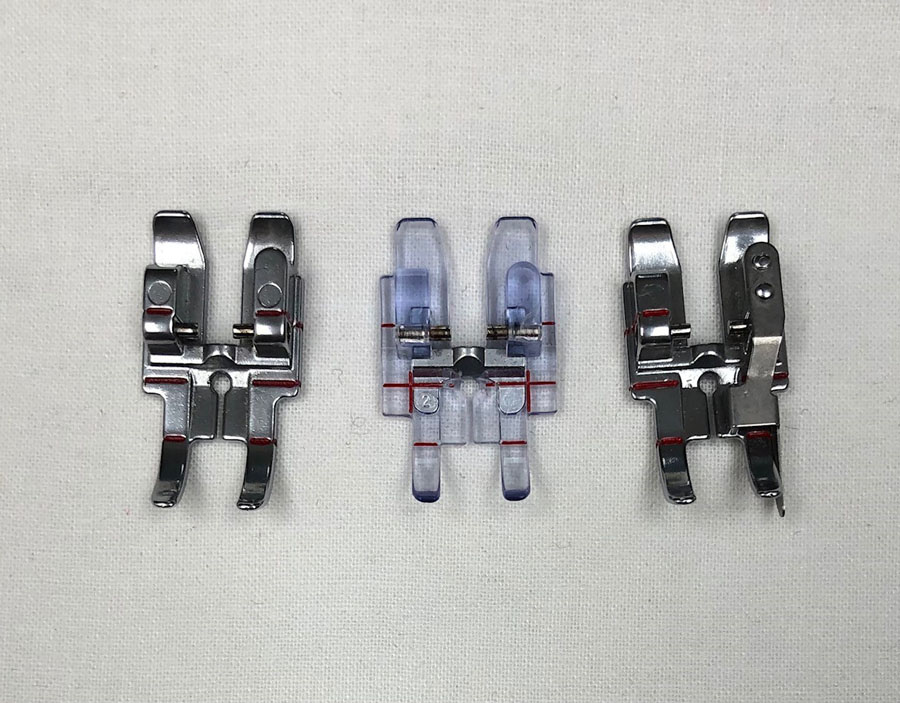
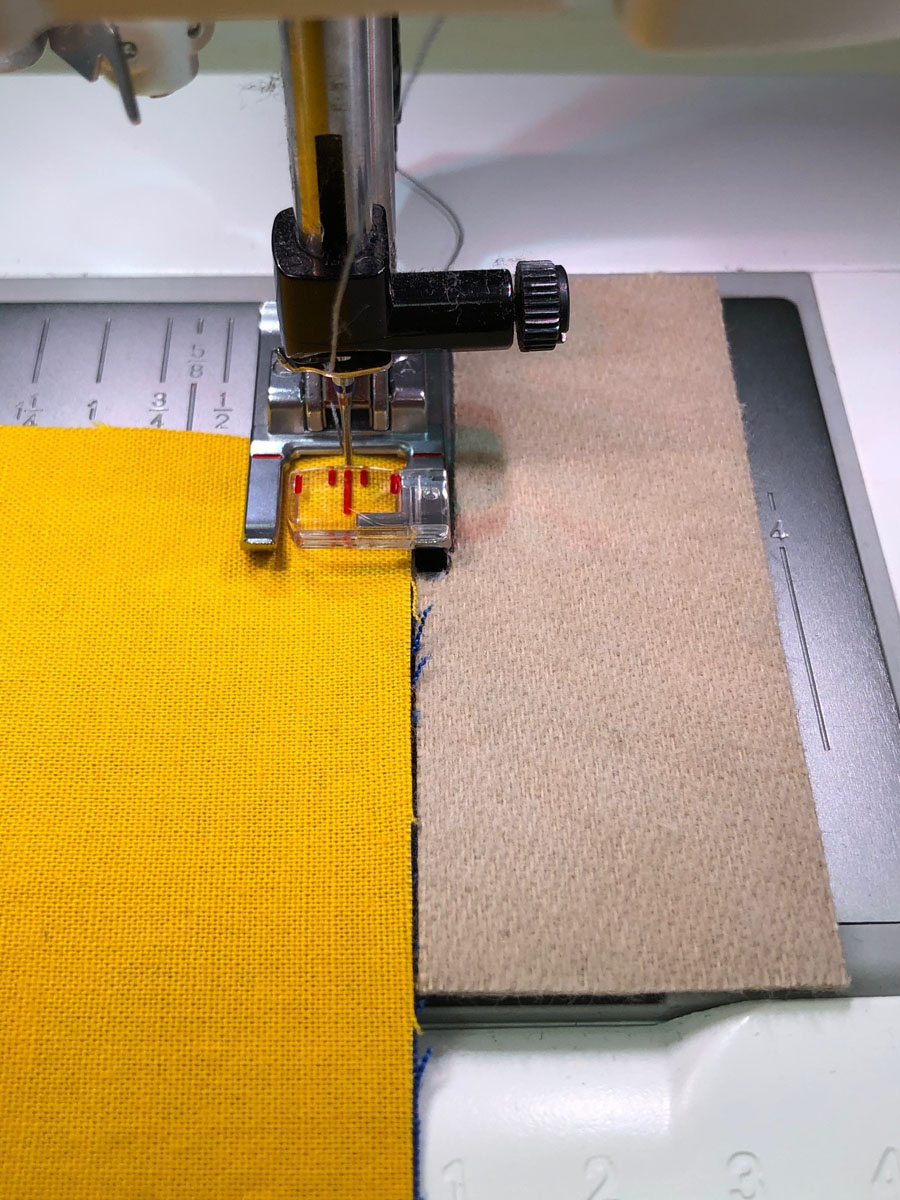
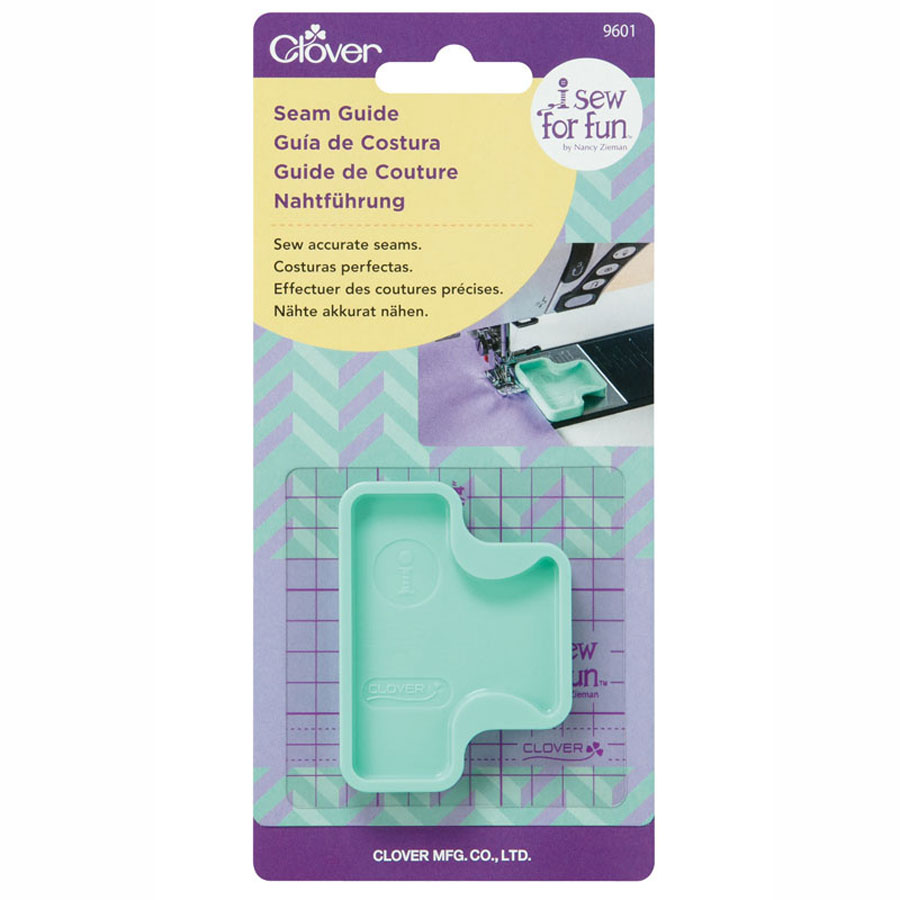
Many machine manufacturers offer a “piecing foot” that is ¼” wide to help with quilt piecing. Some even offer feet with a ¼-inch guide built right in, which can ease eye strain and muscle strain. Just run the fabric edges right up next to the guide instead of trying to eyeball fabric alignment with the edge of the presser foot.
If your machine doesn’t have a designated foot for quilt piecing, you can still create your own fabric guide with a quick trip to the drug store. Look in the foot care section for moleskin, an adhesive product designed to add padding around a tender spot on your foot. Use your rotary cutter to cut the moleskin into two pieces about one inch wide, making sure you have a straight edge on each piece.
Lay one of the pieces next to your machine’s feed dogs. Mark the opening for your feed dogs on the moleskin.
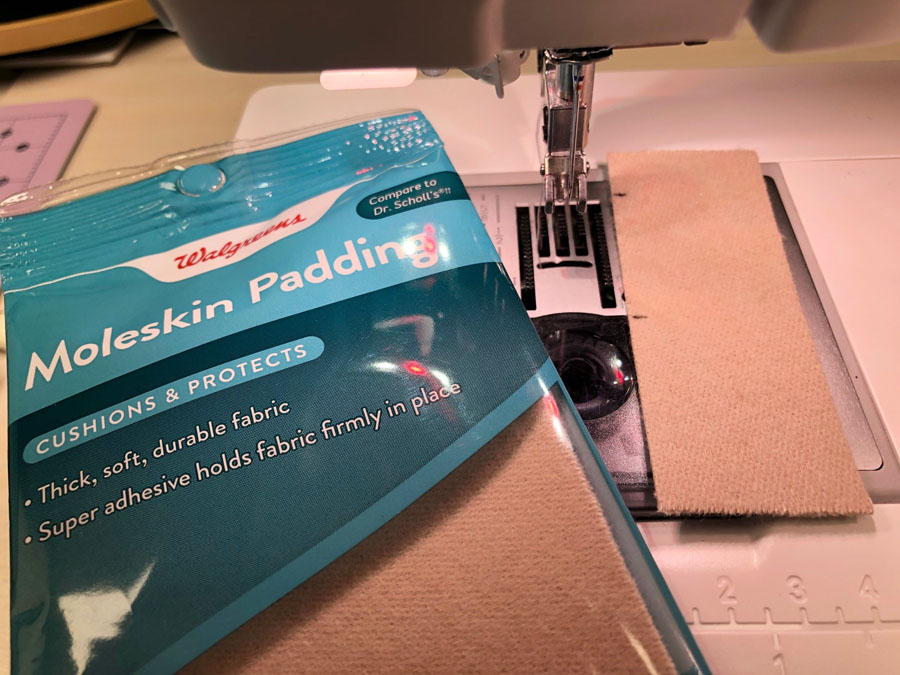
Peel the paper backing off this piece, and place it on top of the second piece, making sure that the edges next to the marks align. Trim out the moleskin between your marks to create an opening for your feed dogs.

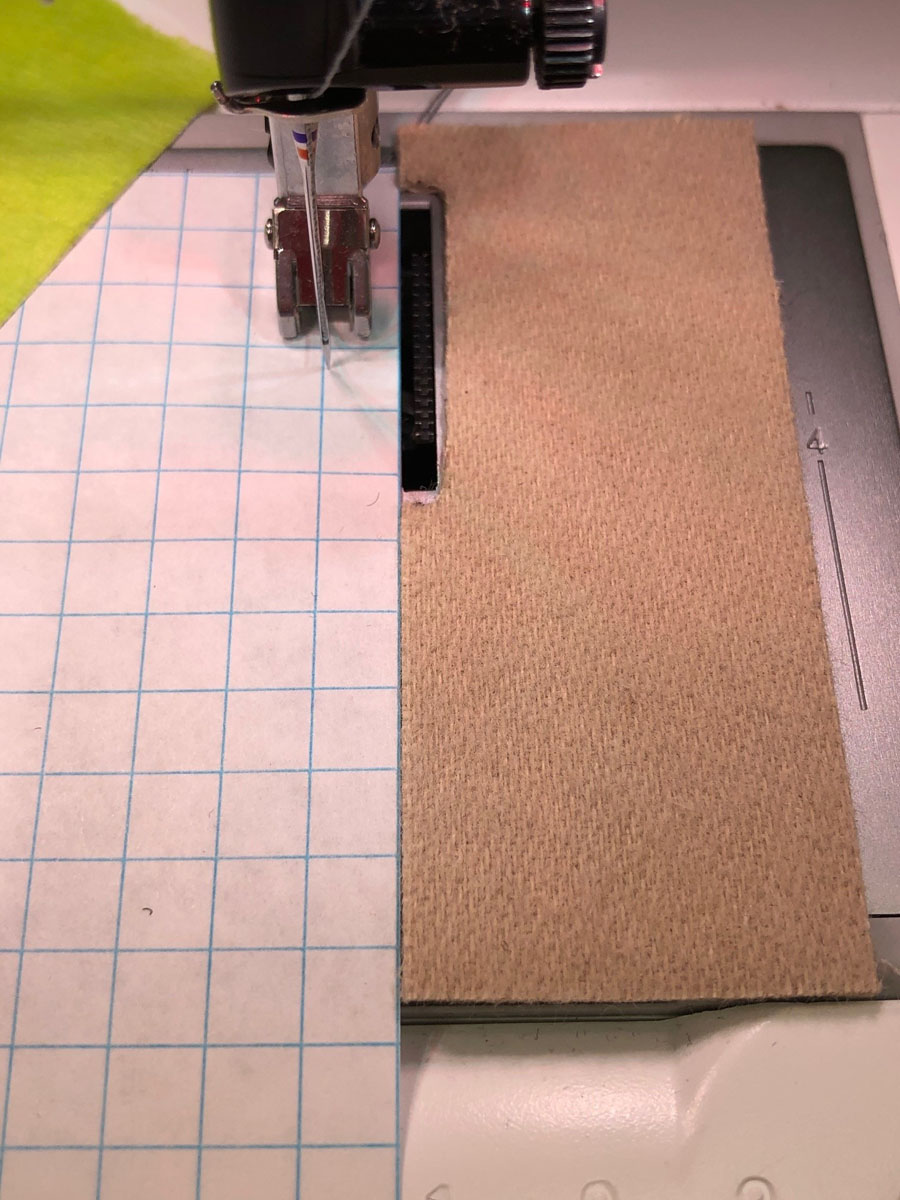
Then use a piece of graph paper (4 squares to an inch) to help you stick it to the bed of your machine. Slide the paper under your foot, then lower your needle slightly to the right of the first ¼-inch line on the paper. This will ensure that you have a scant ¼-inch seam. Make sure the paper’s right edge is straight, taping it in place if needed.
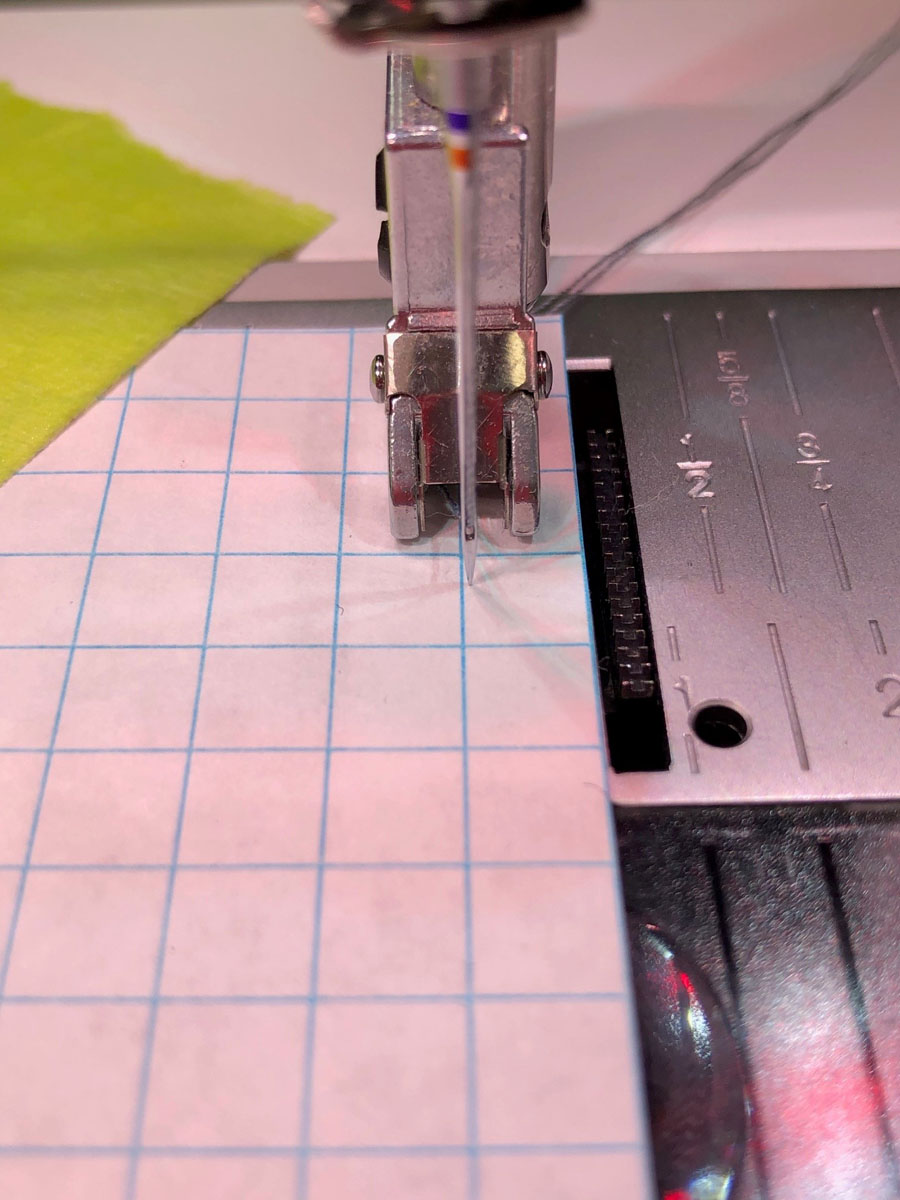
Peel the paper backing off the moleskin and put it on the machine with the opening for the feed dogs in place and its straight edge aligned with the paper’s edge. Now you’ve got a straight guide for seams!
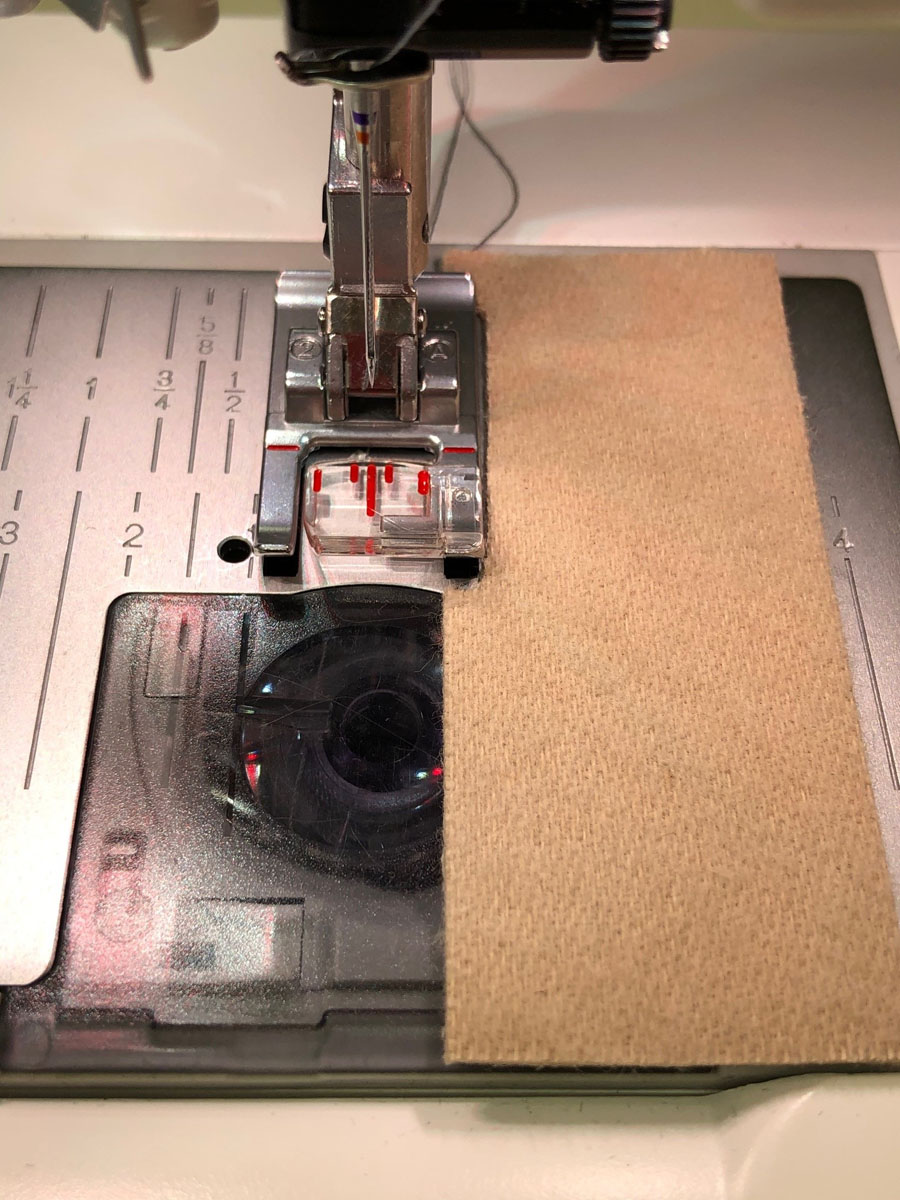
Lots of professional products like magnetic guides that cling to your needle plate are also available. However, these typically set just to the right of your presser foot, not in front of it. If you don’t have a ¼-inch piecing foot or the distance from the needle to the right edge of your foot is greater than ¼-inch, your machine must be able to move your needle to the right to make the guide useful.

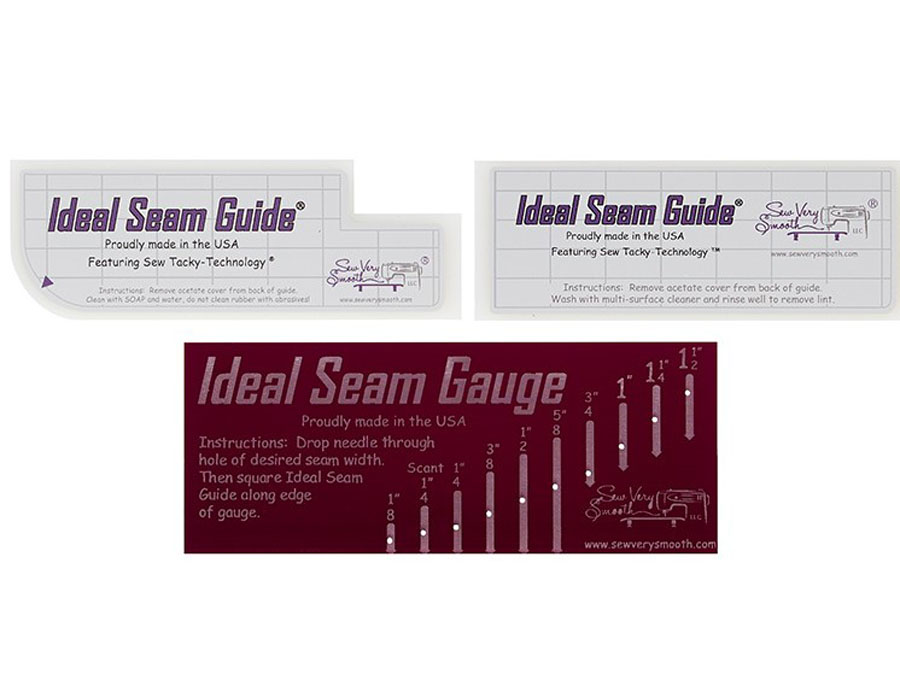
Acrylic seam guides like the ones from Sew Very Smooth that include a handy needle gauge are very helpful, since the set allows you to adjust your seam width for all sorts of sewing situations, not just quilt piecing.
The next time your quilt group gets together for a common sewing session, take a few minutes for each person to sew some test strips, then make adjustments to each person’s machine using the tips above. You’ll be amazed at the difference!


