We hope you enjoyed the “Garden Trellis Border Designs with Rulers” article by APQS Educator and Dealer Angela Huffman in the 2019 May/June of Quiltmaker. The focus of the article is how to use a straight edge machine quilting ruler to create a variety of Garden Trellis border designs for floral quilts. If you missed the article in Quiltmaker, click here to read it on our blog.
Straight edge ruler basics
A straight edge ruler is one of the most useful rulers you’ll use and there are a number of them to choose from. You can see a few choices when you visit our store. Remember to use a ruler base if you are using rulers with a longarm quilting machine. If you are using a regular domestic sewing machine you’ll want to be sure you have a designated ruler foot attached to the machine and that your feed dogs are down.
Using registration lines
We suggest taking the time to make registration lines and tick marks along the border’s edge. In fact, if you are new to ruler work, go ahead and mark all the lines because it is much easier to erase a mark than it is to pick out stitches! Any air erasable or water erasable fabric markers will work. If you’d like more information about marking a quilt, you’ll enjoy this article: How to mark a quilt.
Alternate corner designs
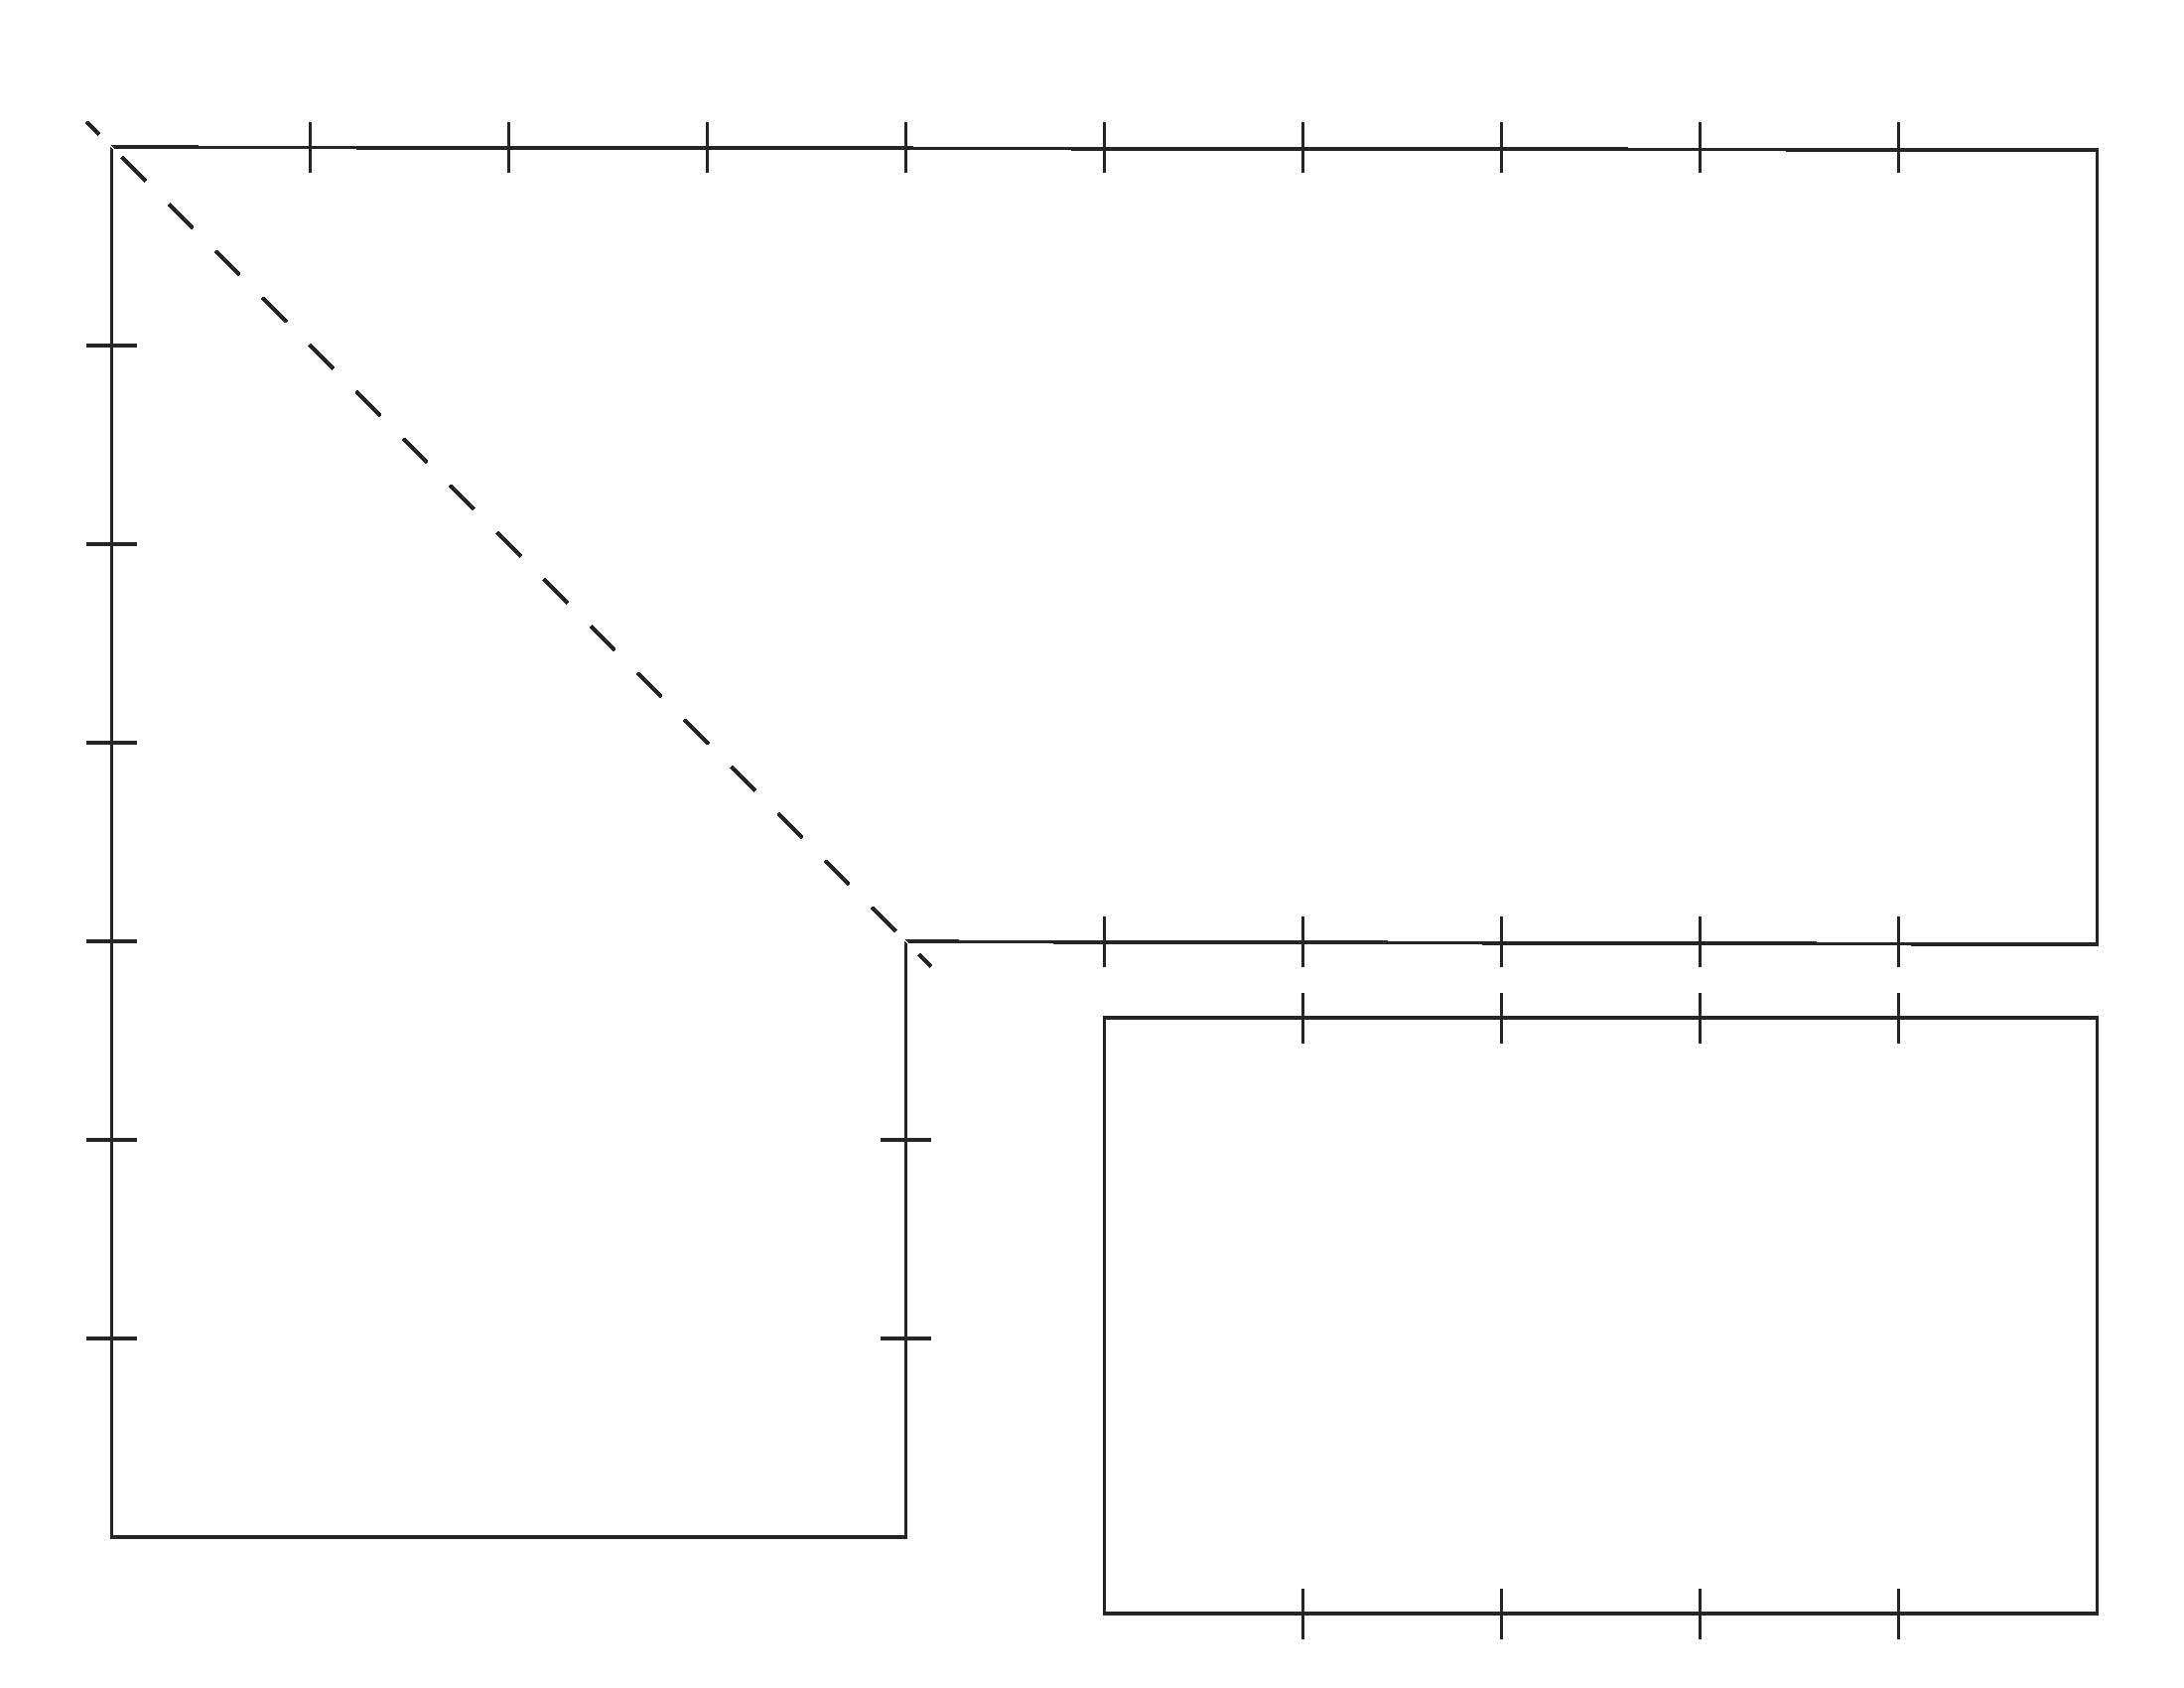
We have included some alternate corner designs we think you might enjoy below. You’ll also find a blank template you can use to draw and draft your own straight line border designs.
We’d love to see what you make using these designs so please join us over on the APQS Facebook or APQS Instagram pages and post photos of what you are working on and use the #ruleyourquilt hashtag!
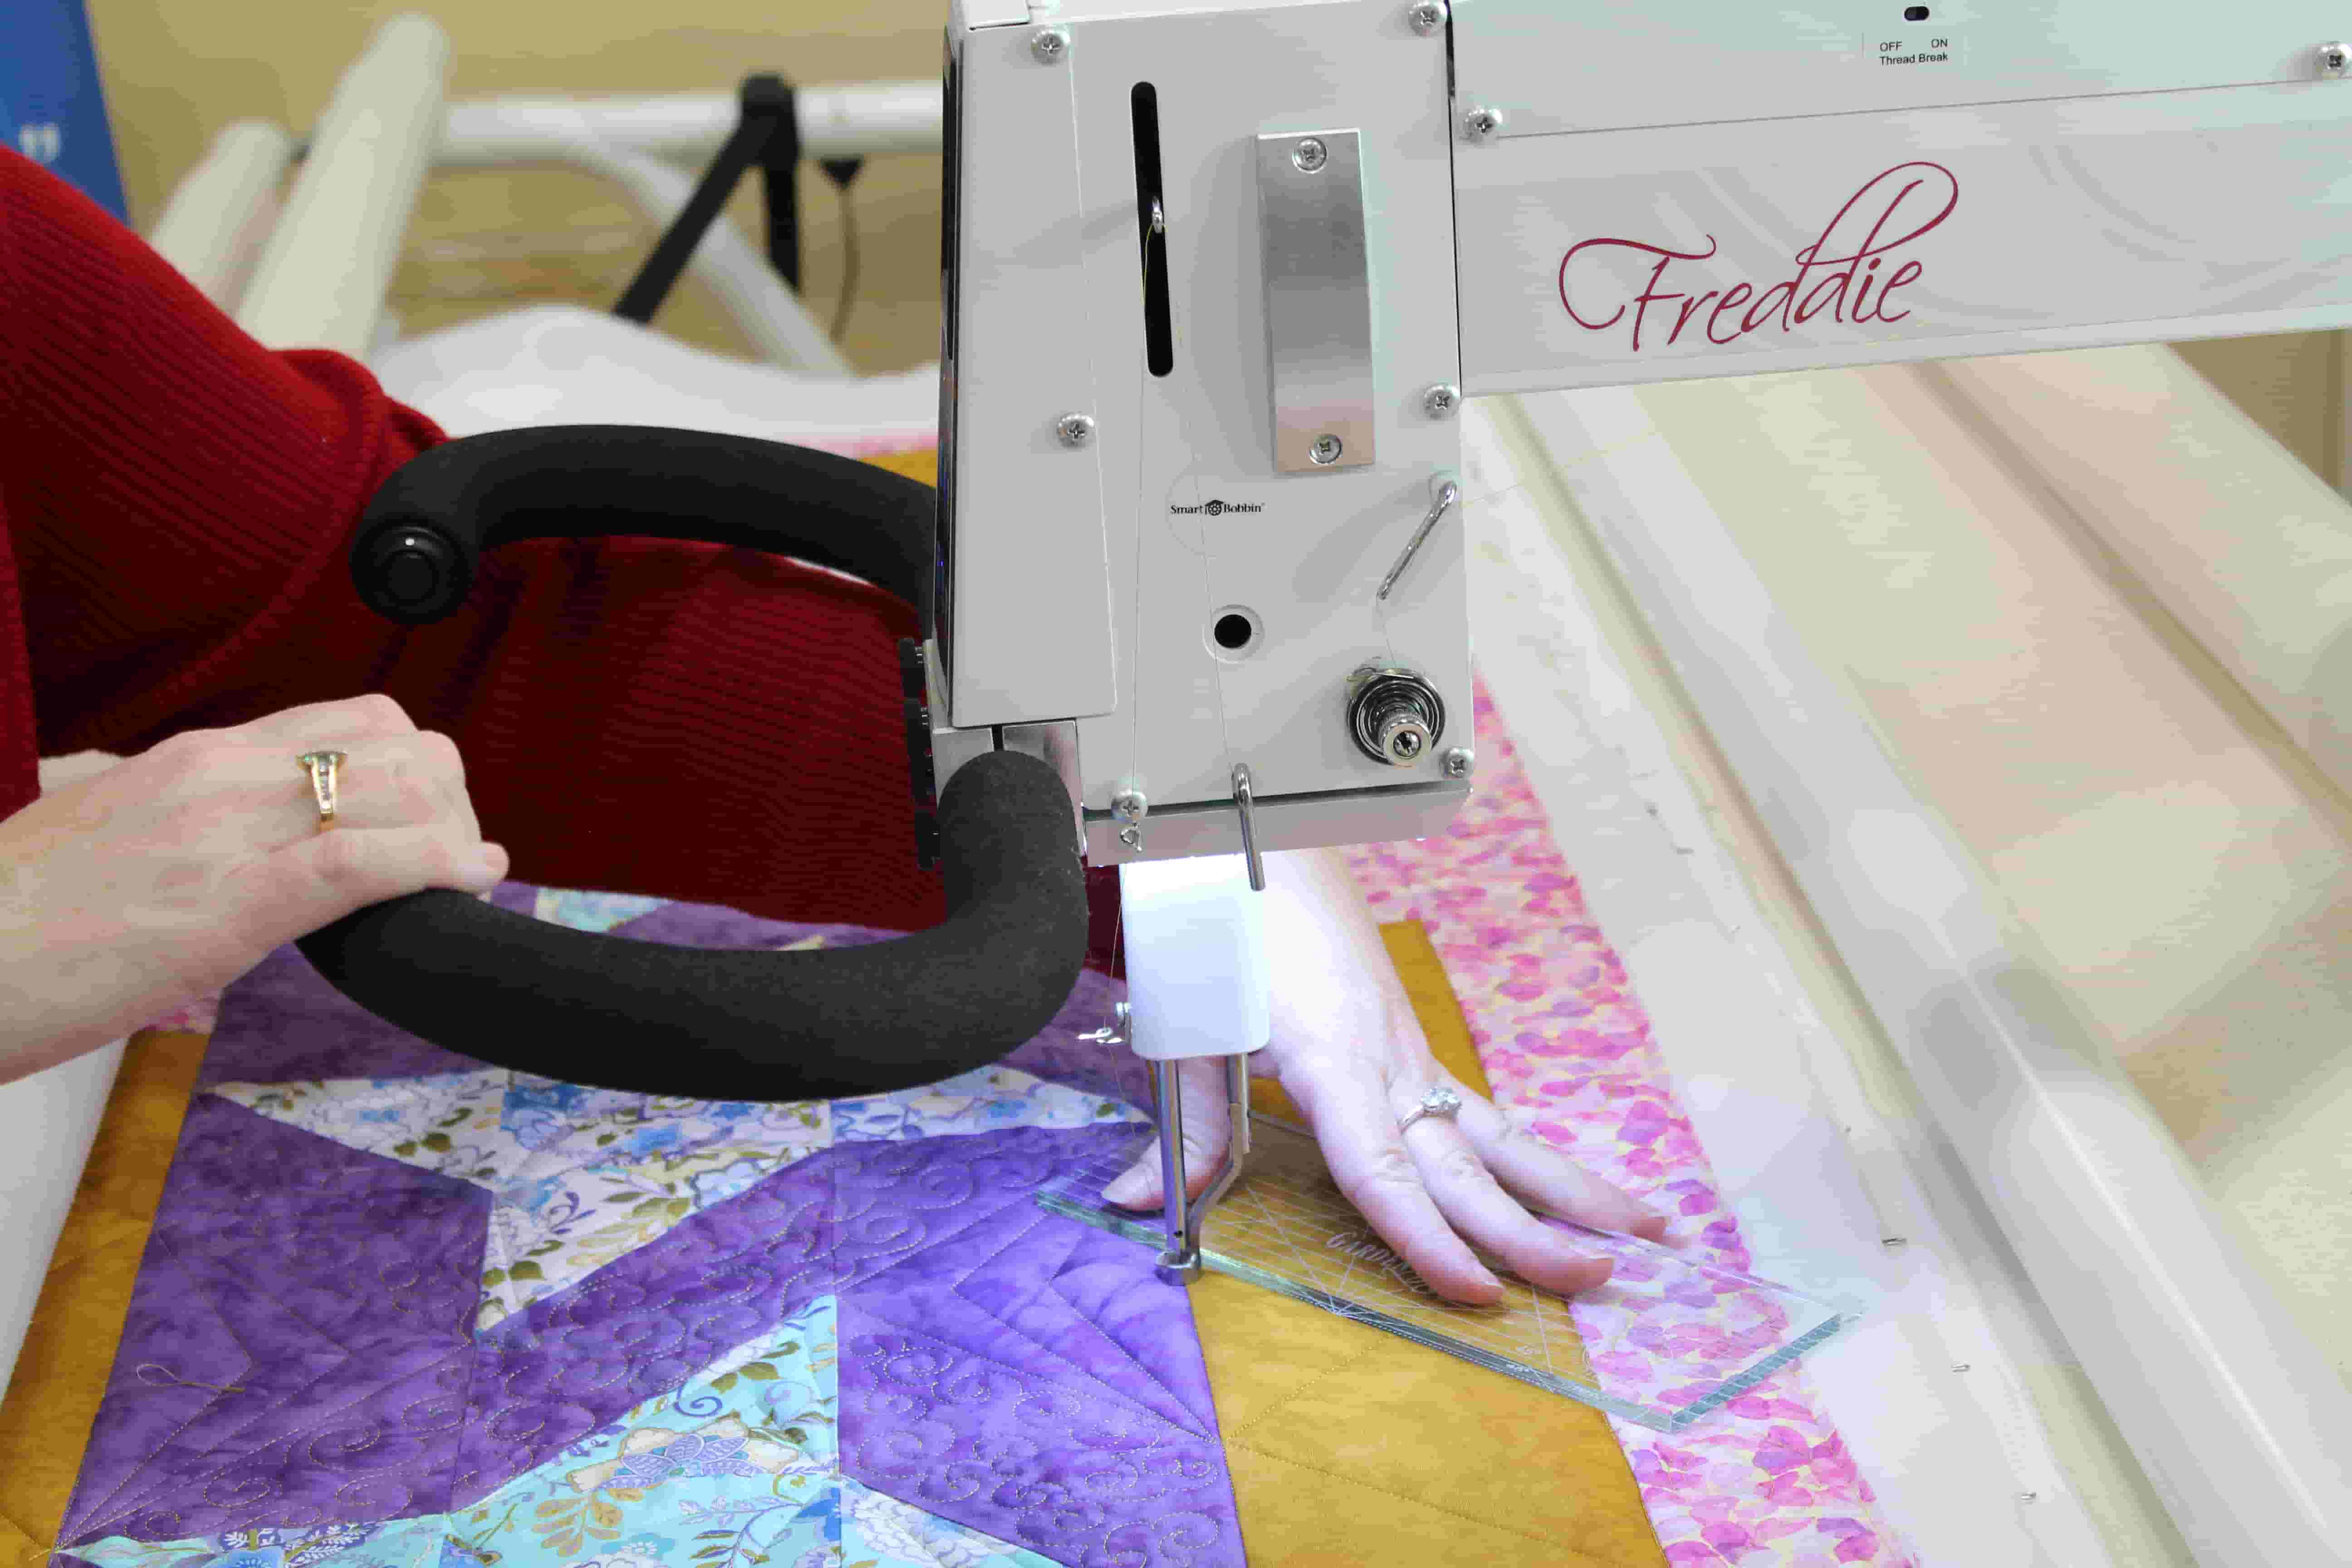
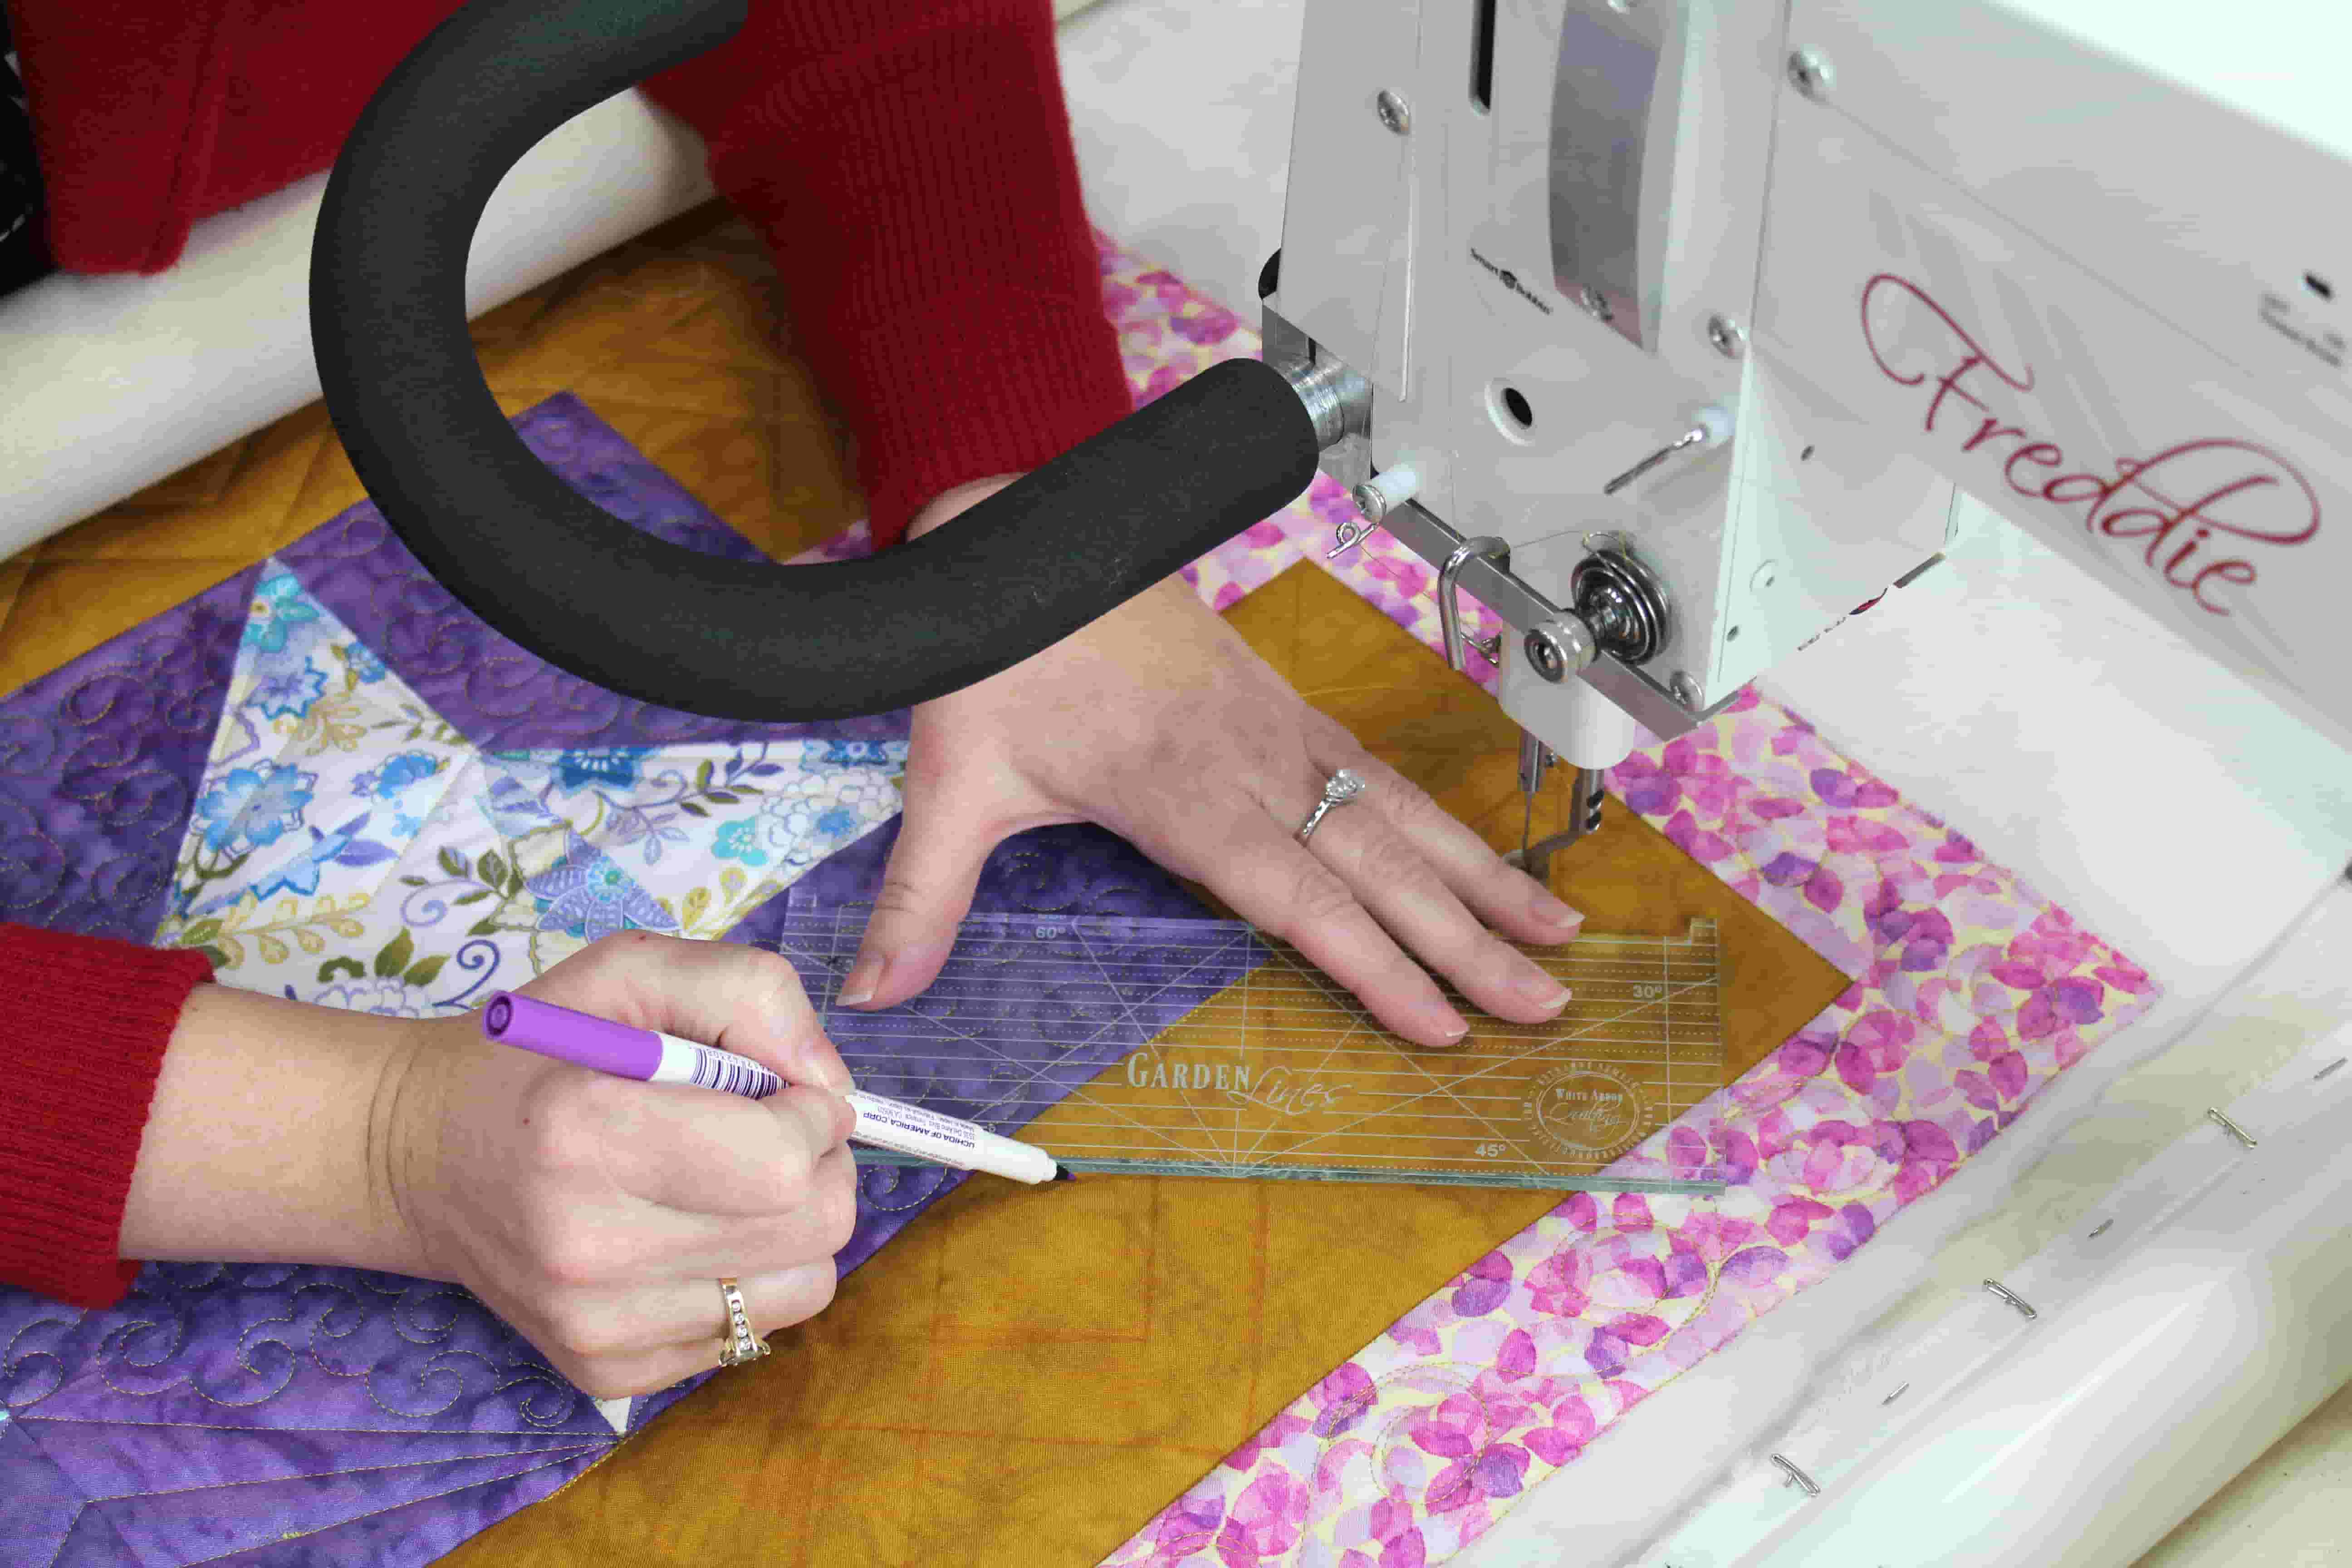
Trellis Design 1 with alternate corner design
The first alternate corner design is for the Trellis Design 1. The alternate corner design gives an inset on point block in the corners. We recommend you mark this so you can clearly discern where you are headed when you go to stitch it. It is lovely, isn’t it? If you enjoy free-motion quilting, you have some wonderful places to play in the diamonds for this design.
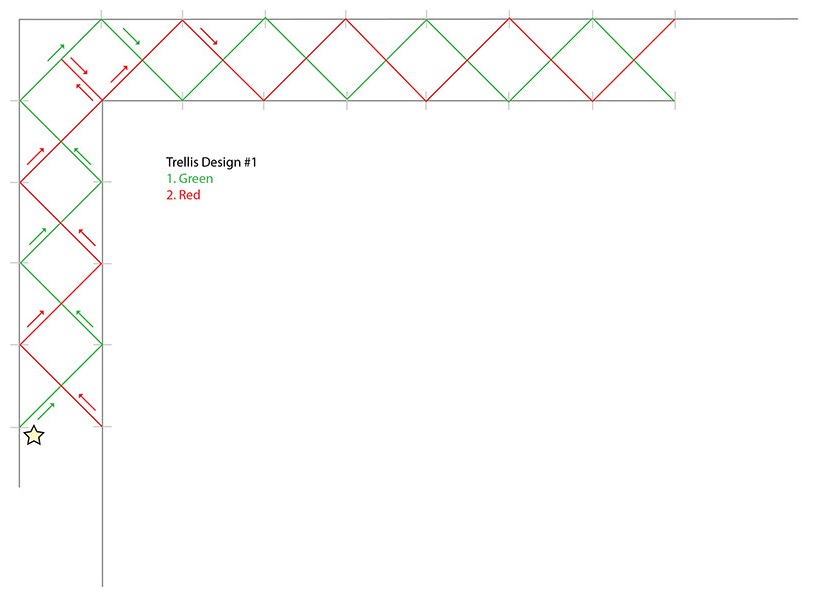
EXAMPLE TRELLIS DESIGN 1
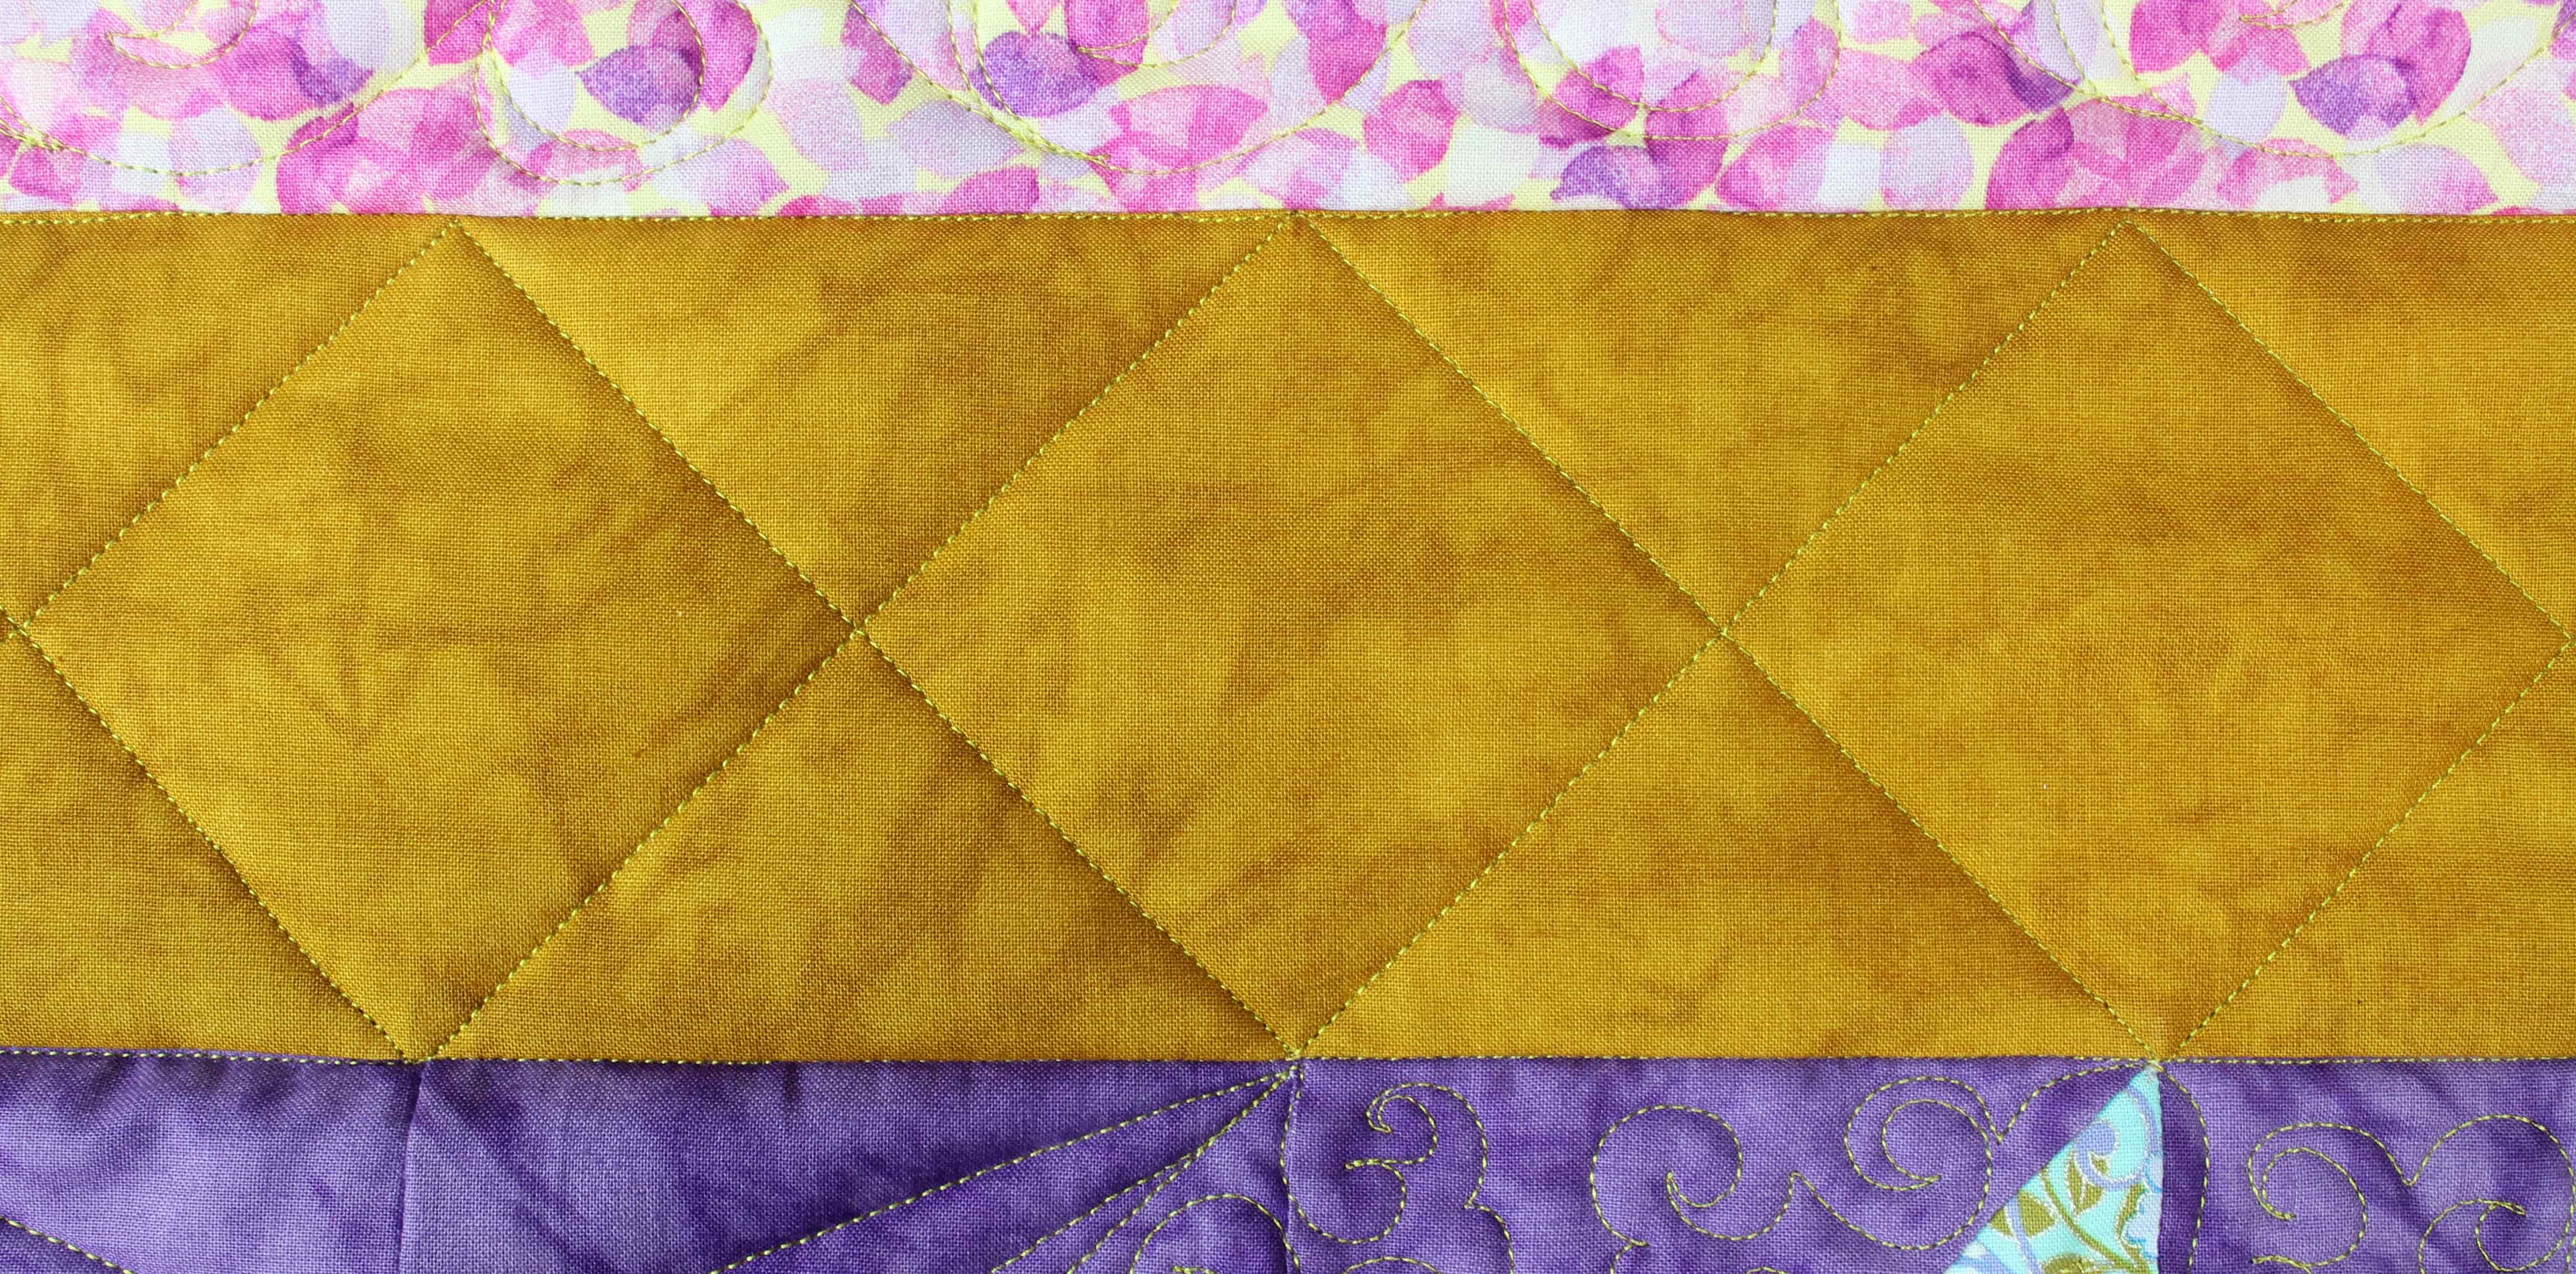
Trellis Design 2
The companion corner design for the Trellis Design 2 has a diamond in the corner, which would be a wonderful spot to tuck in a free-motion filler design like this Oyster Filler from our design tutorial collection on our YouTube page.
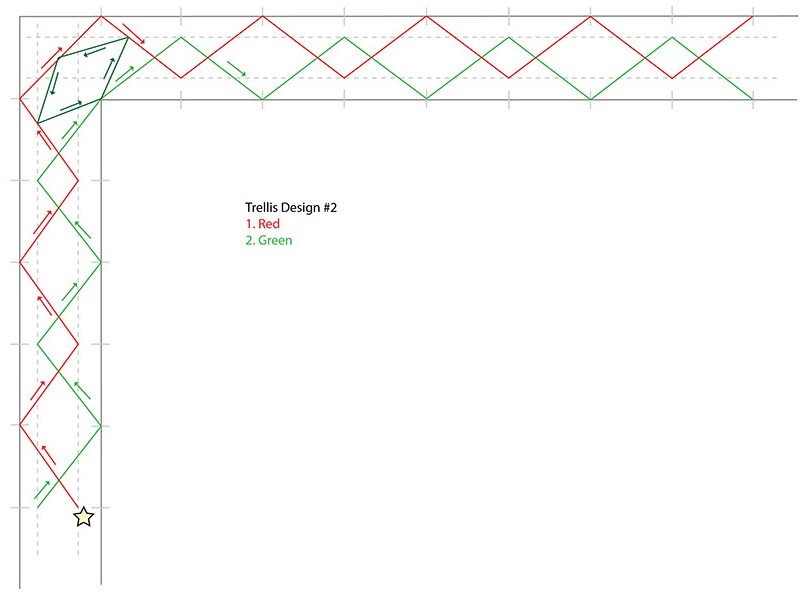
EXAMPLE TRELLIS DESIGN 2
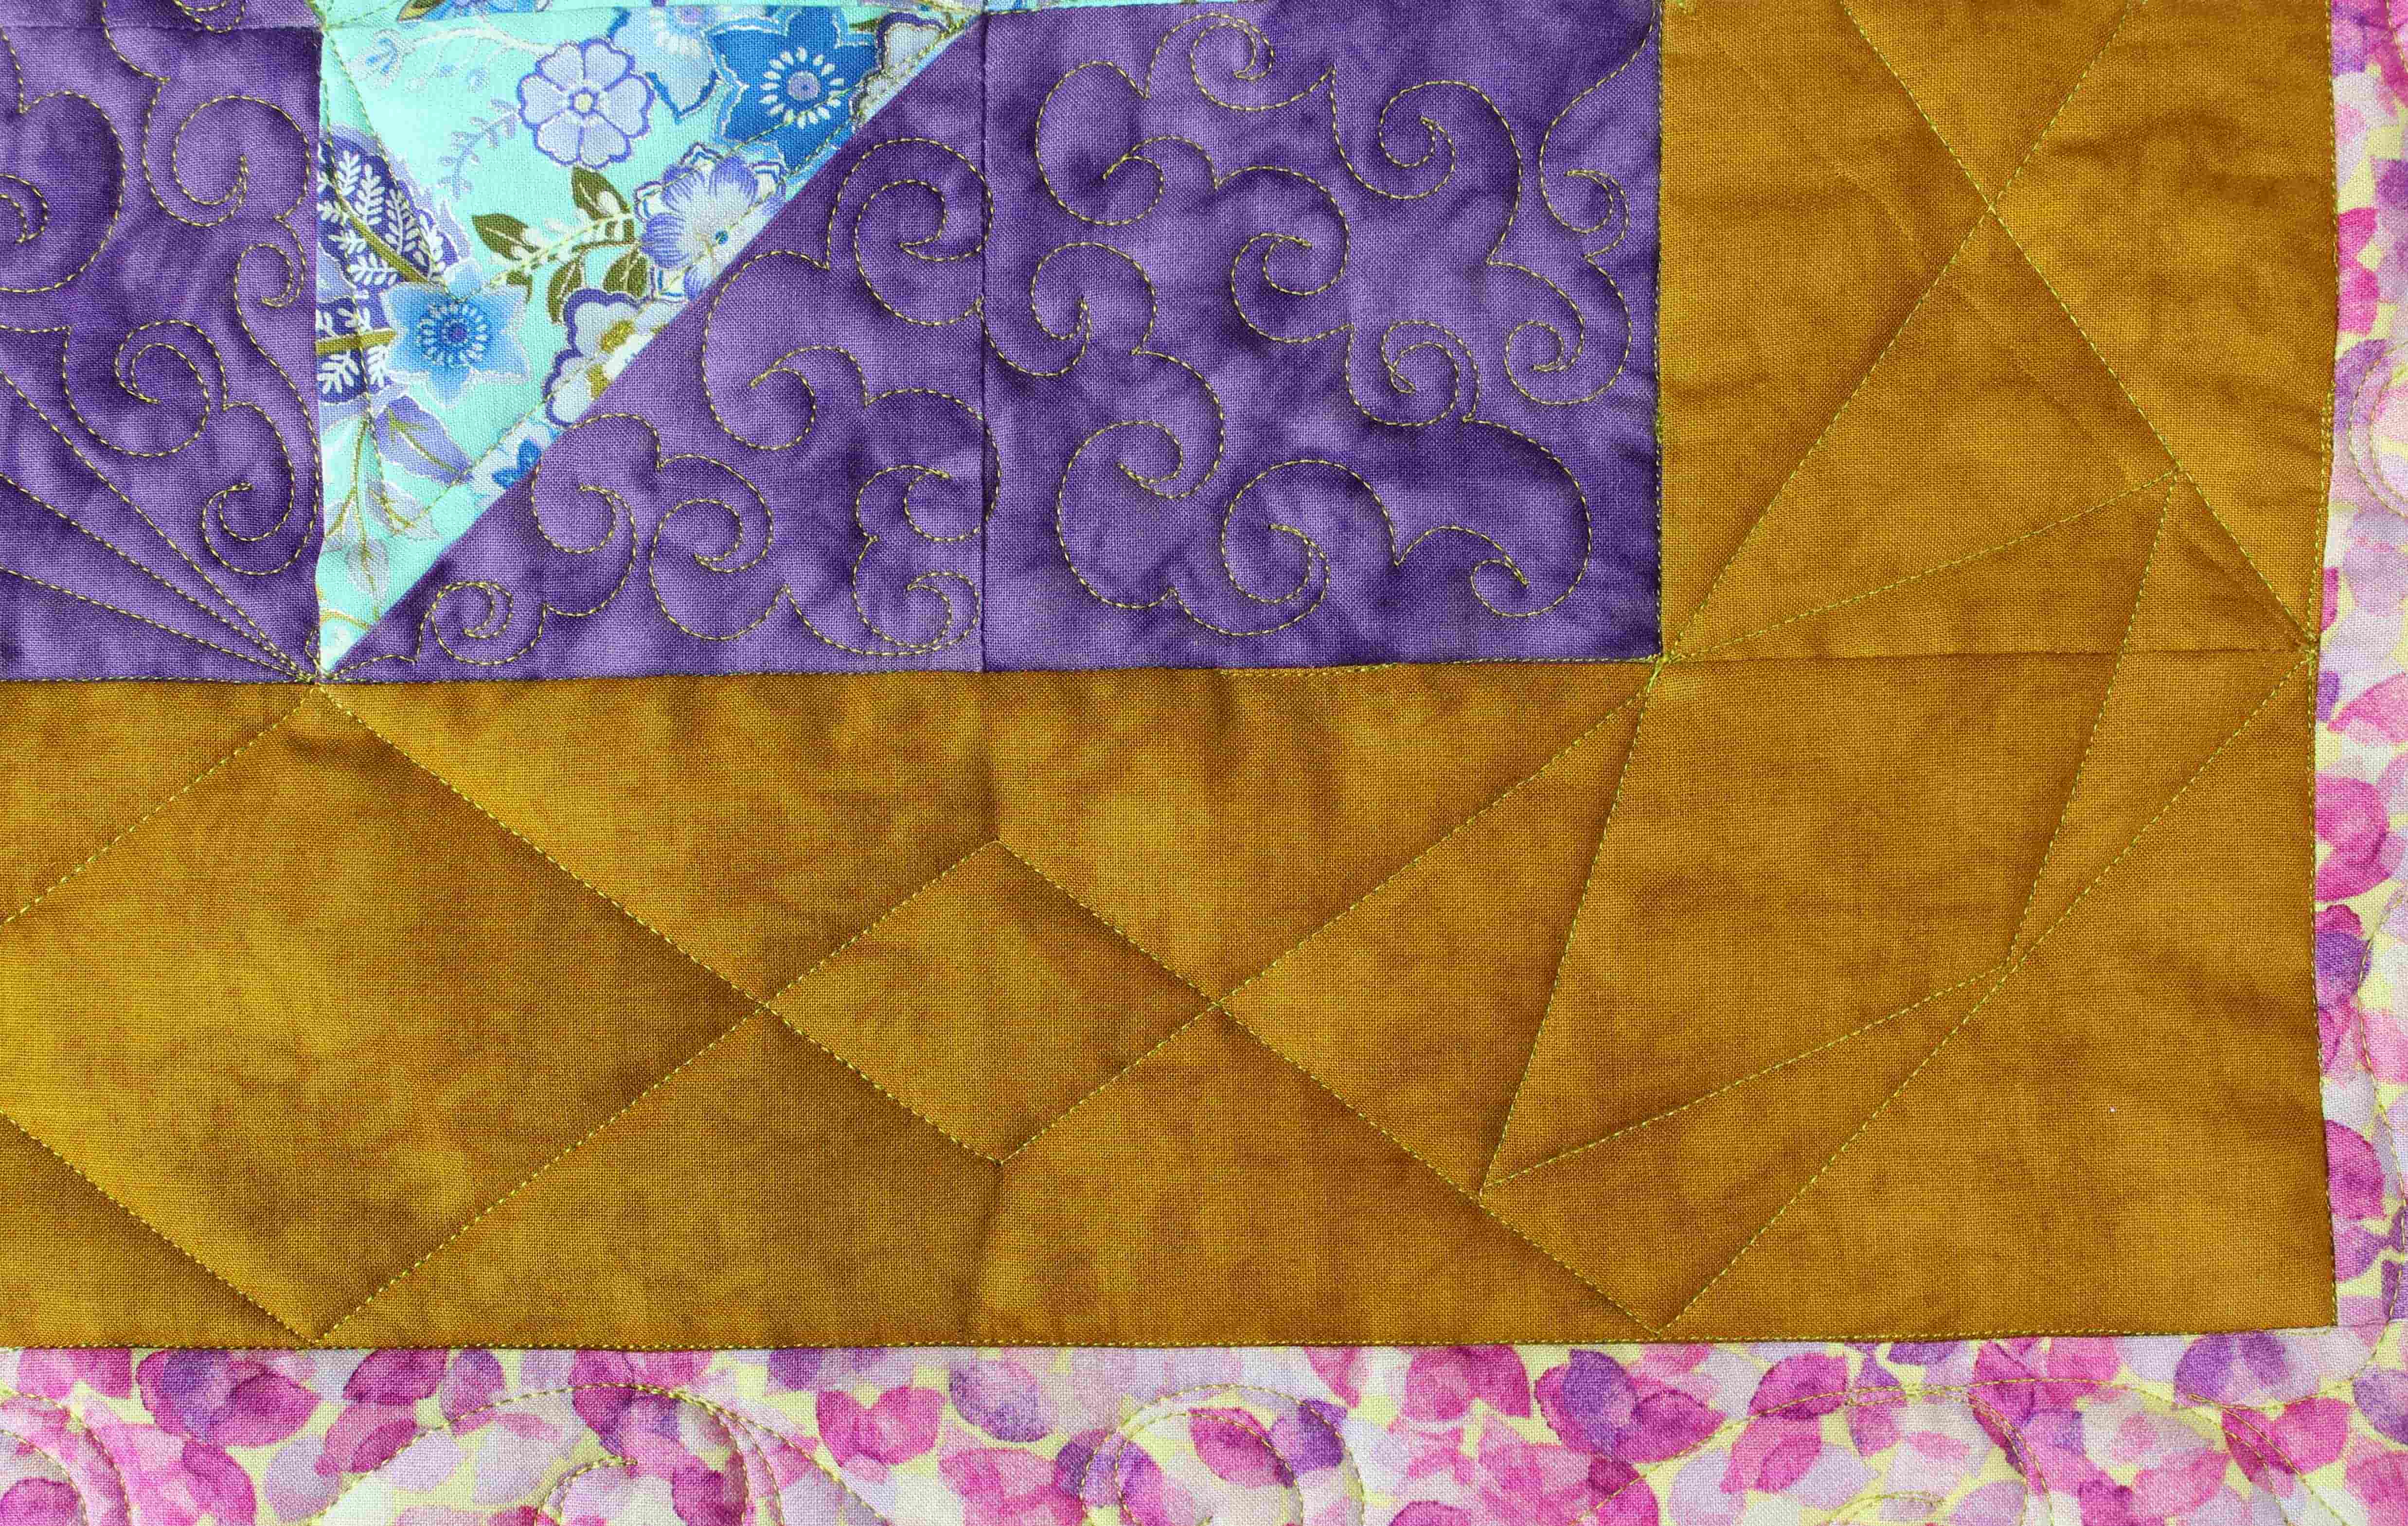
Advanced Trellis Design
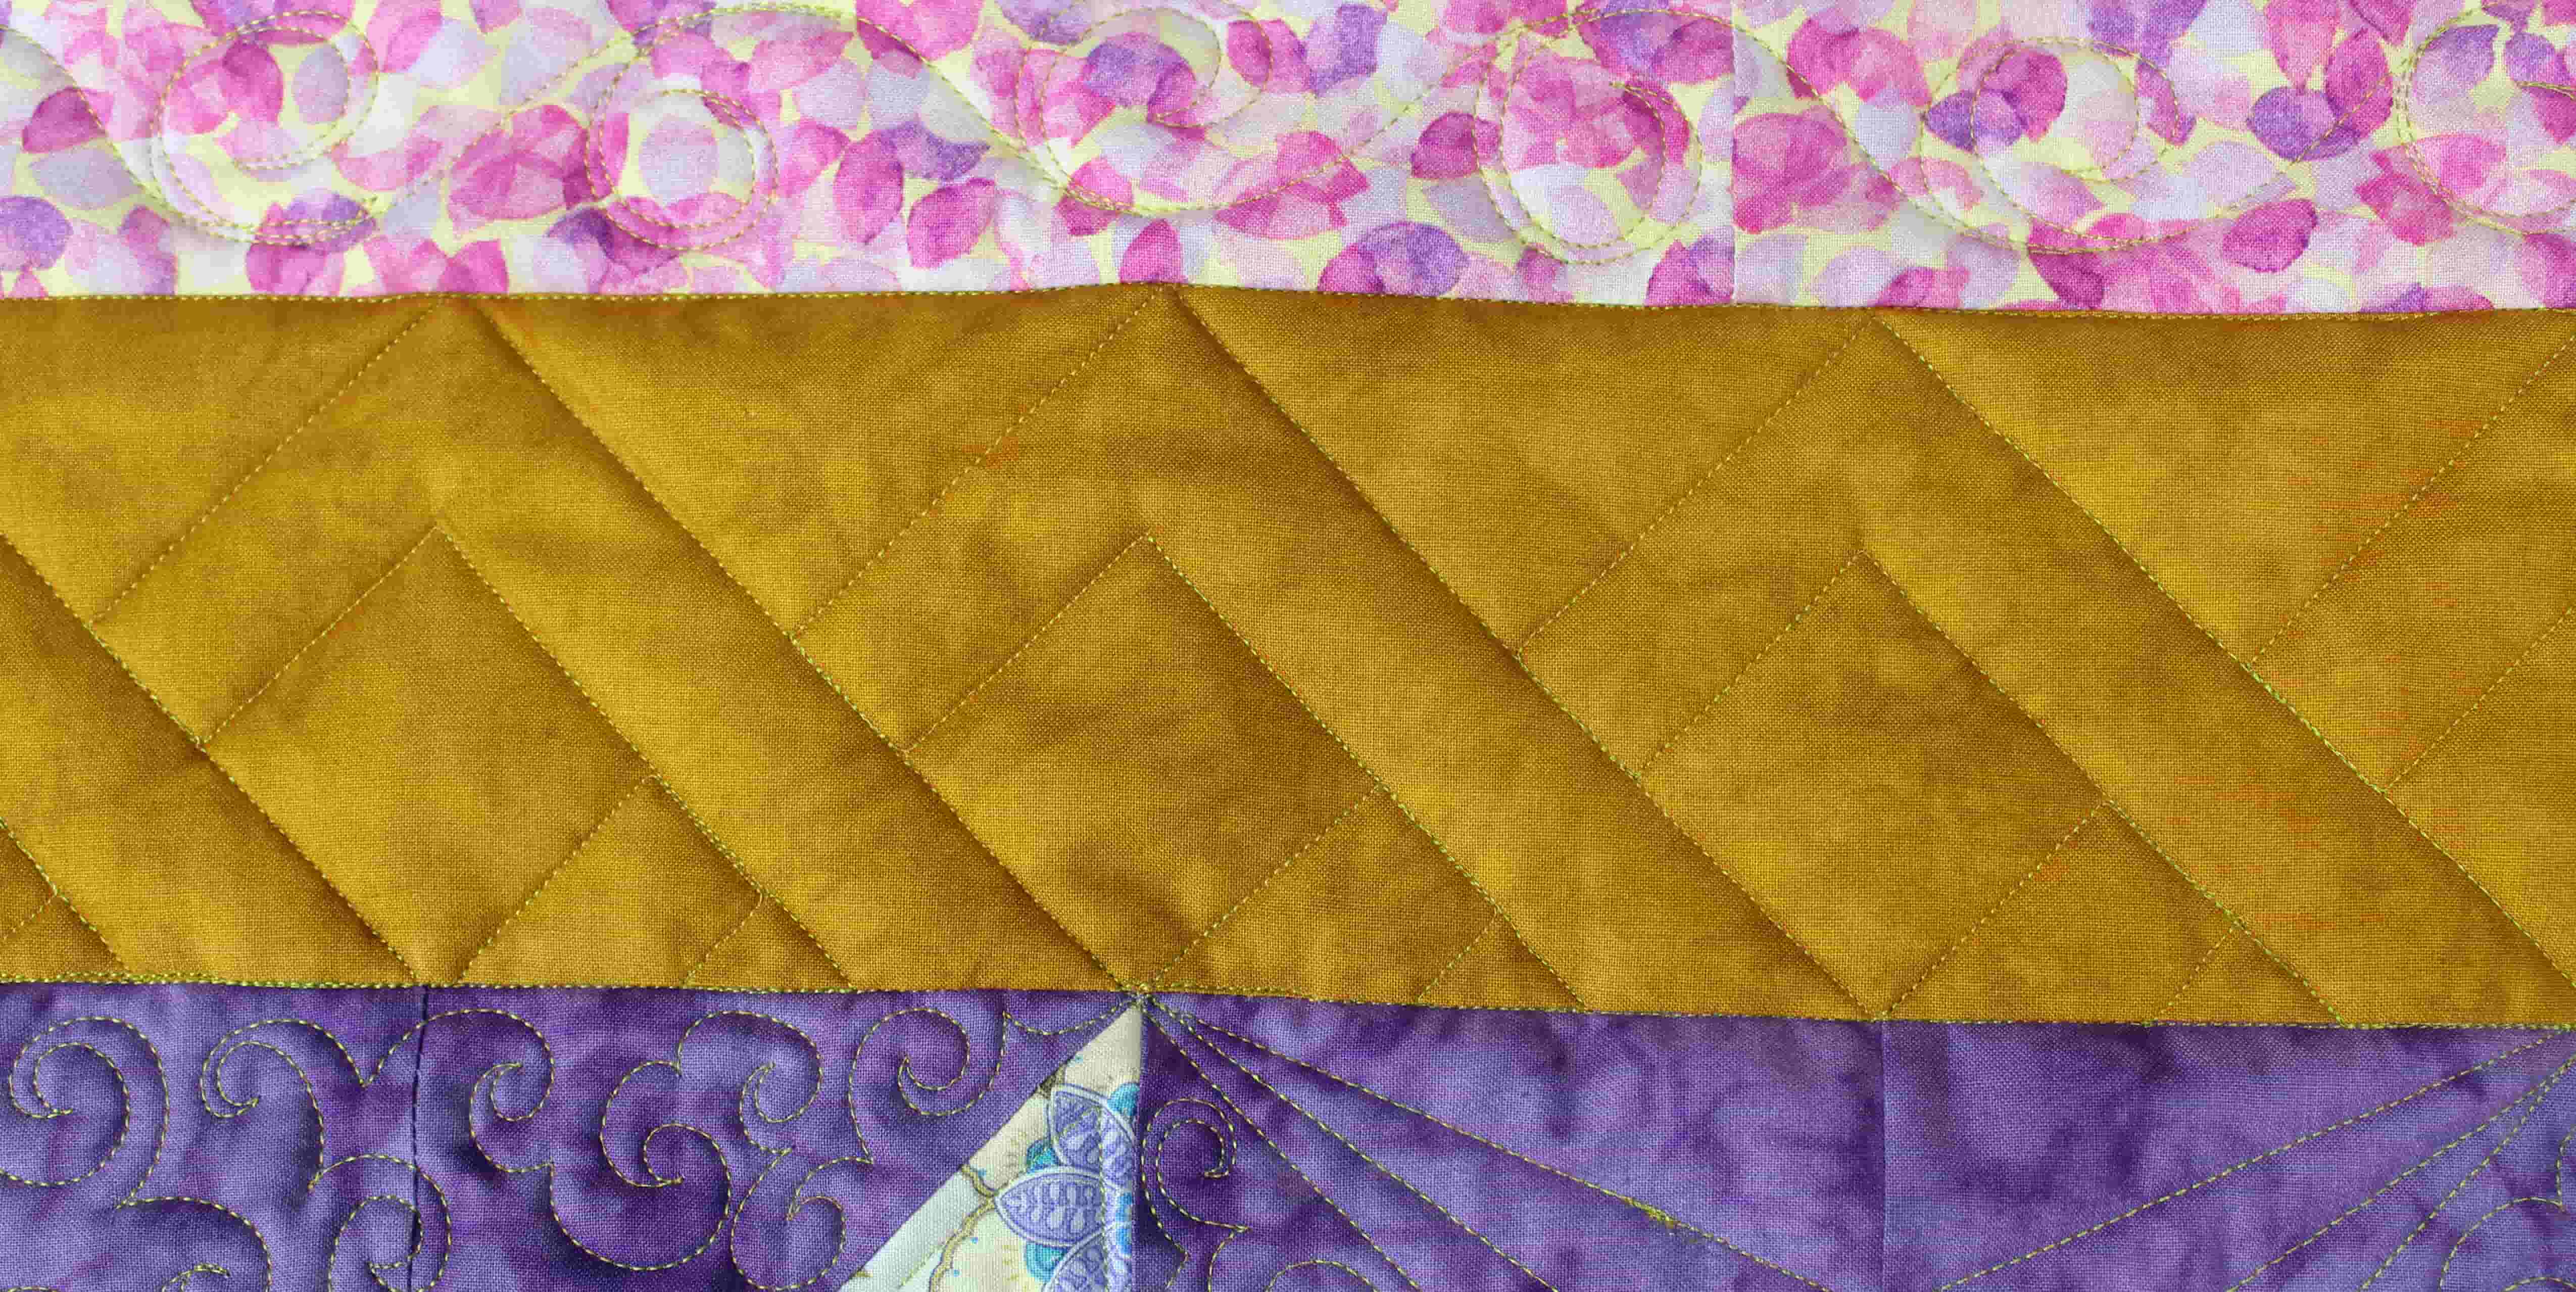
The last idea we want to share is a bit more complex and does require marking but it is fantastic! This design offers the same diamond shapes as before but weaves them together giving some depth for the eye.
Mark this first with your favorite air erasable pen. There is a very small bit of backtracking on this design and you’ll need to use the ditch to travel to each new section but this design is worth the work. Consider adding some free motion fillers to the central diamonds to really make it sing! Essentially you are making an outline of letter “Z” over and over to create this design.
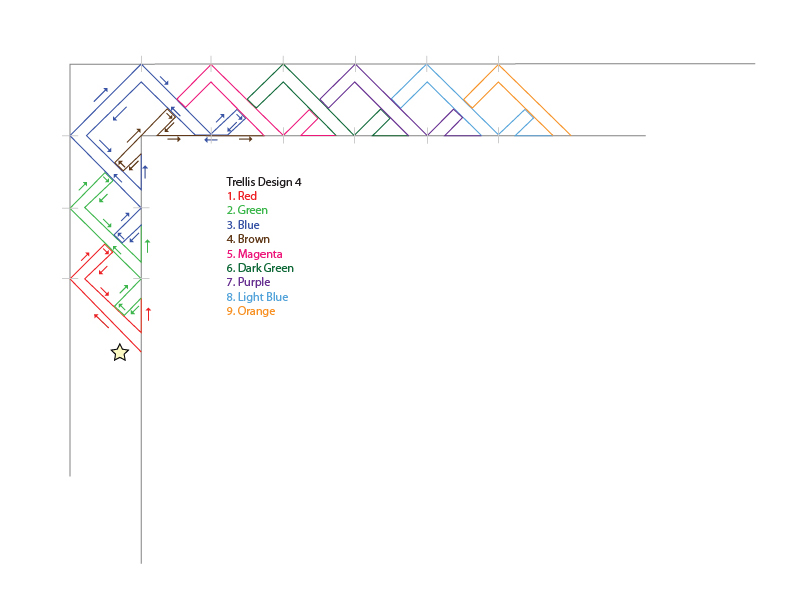
EXAMPLE ADVANCED TRELLIS DESIGN
Try your own design
We hope you’ve enjoyed learning how you can frame out your quilty garden fabrics with some ruler work in the border. Take some time to play with the blank corner worksheet and draw out the border designs from the article so you can better plan out the path you’ll use on your next quilt.
Don’t miss our next article on using machine quilting rulers in the upcoming edition of QuiltMaker magazine.
