
Free quilt pattern: Star-Crossed Table Runner
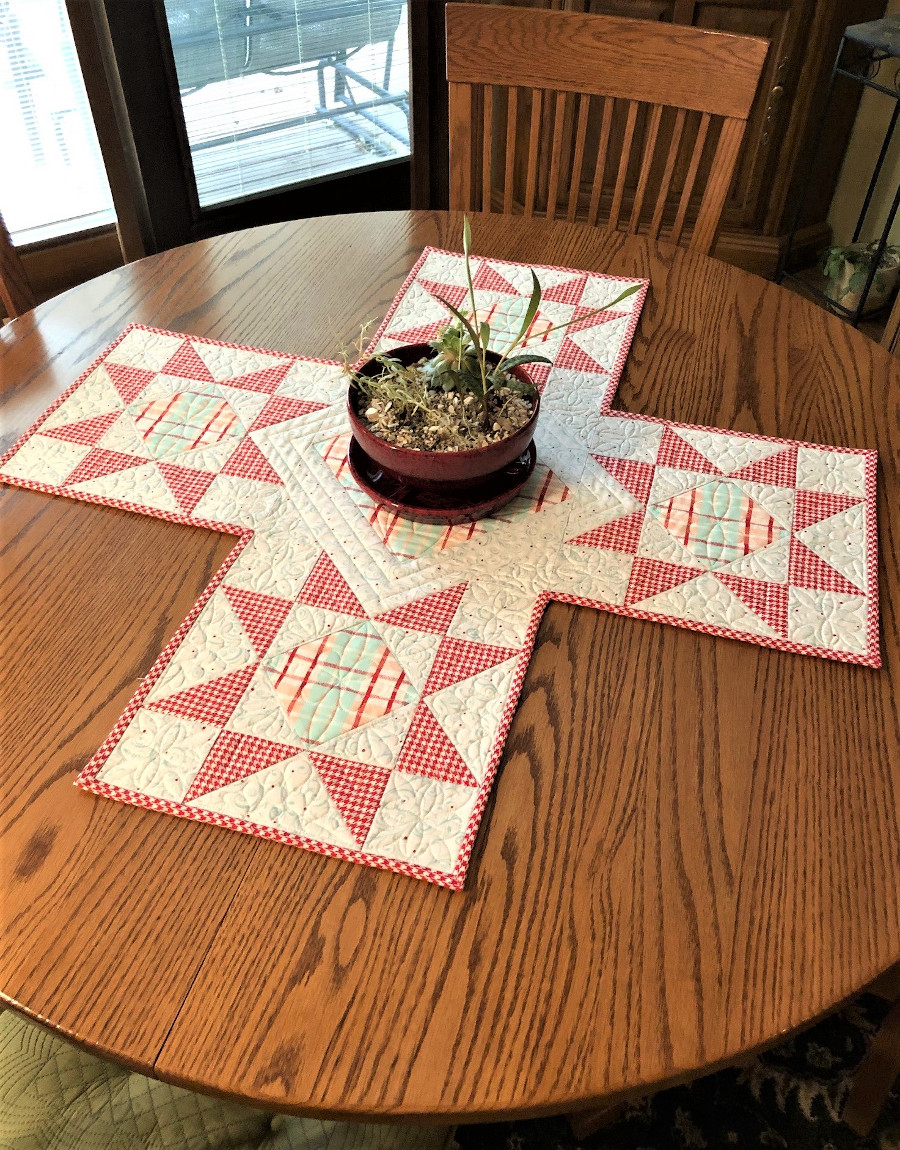
I love decorating for the holidays. It doesn’t matter which one…I just love a festive atmosphere! It’s easy to find all sorts of things for mantles, windows, doors, and tables. However, I’ve always struggled with finding a holiday table runner for my round kitchen table that appeals to me.
Many are simply too long for a 48-inch wide table, causing them to drag on the chairs. They are often beautifully embellished along the length, but their effect is lost as the runner spills off my table edges. Then any centerpiece I add covers up the center motif on the runner, leaving a chopped-off design between the centerpiece and the table’s edges.
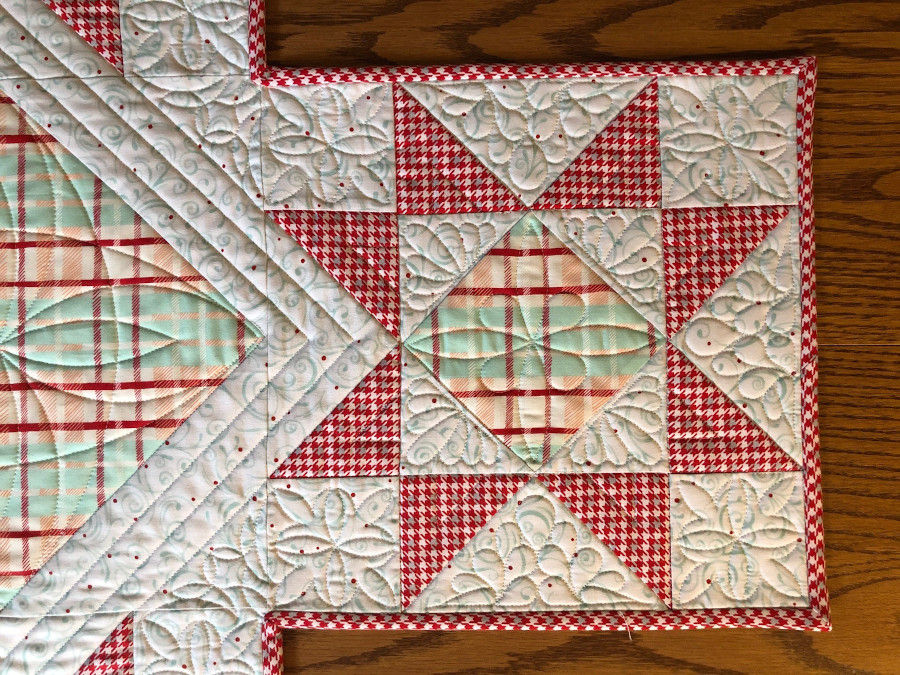
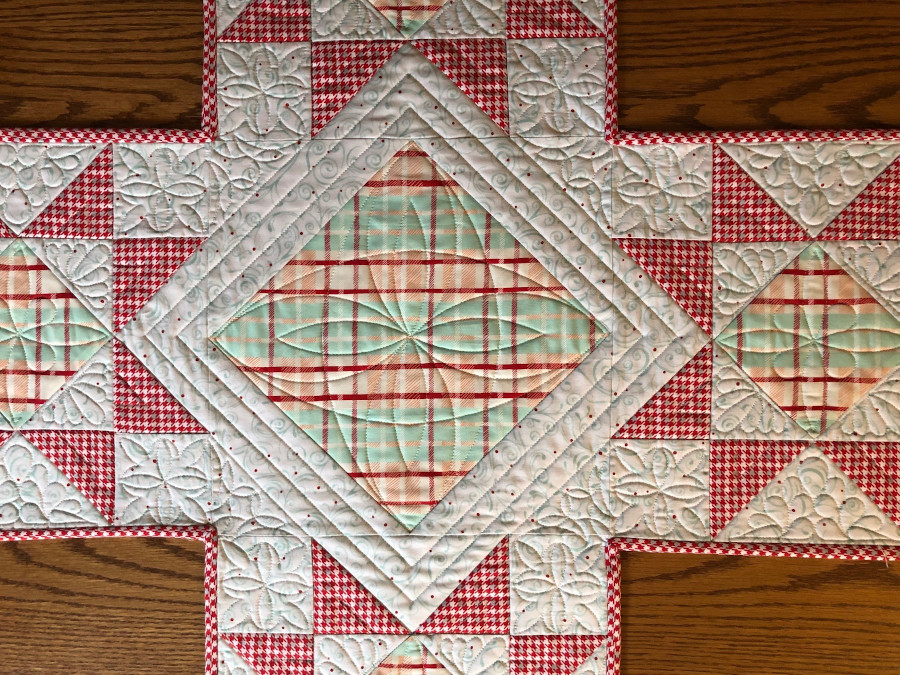
My solution? A crisscrossed table cover! Unlike traditional table runners, I designed this table cover with a center block that isn’t the focal point. Instead, it’s designed to frame out any centerpiece. Add a bouquet of flowers, a bowl of fruit, or whatever you like.
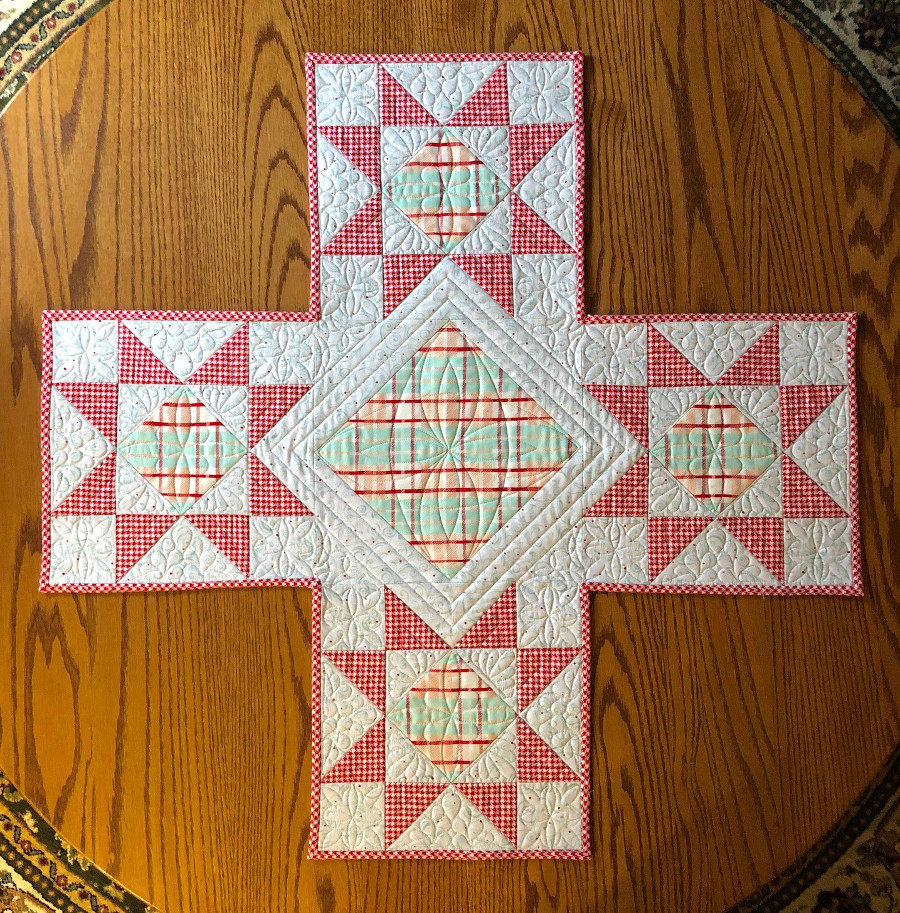
The design is versatile enough that if you aren’t a “centerpiece” person, you can simply make one more star block and put it in the center instead. I chose fabrics featuring mint green and red in a lighter Christmas holiday palette, but this design will accommodate lots of holiday color combinations. The large ‘square in a square’ block in the center and the smaller ones in the stars would be great for featuring a design element from a novelty print to play up the season. Imagine a cute pumpkin inside those stars, or even a snowman, shamrock, or patriotic flag!
This project goes together especially quickly because it uses piecing techniques that keep cutting and fabric waste to a minimum. I used a diagonal seam marker from APQS to speed up the process. It allowed me to mark two sewing lines across the diagonal of a square so I could get two half-square triangles from each set of squares. It also improves accuracy because you aren’t cutting triangles with bias edges to put the star together.
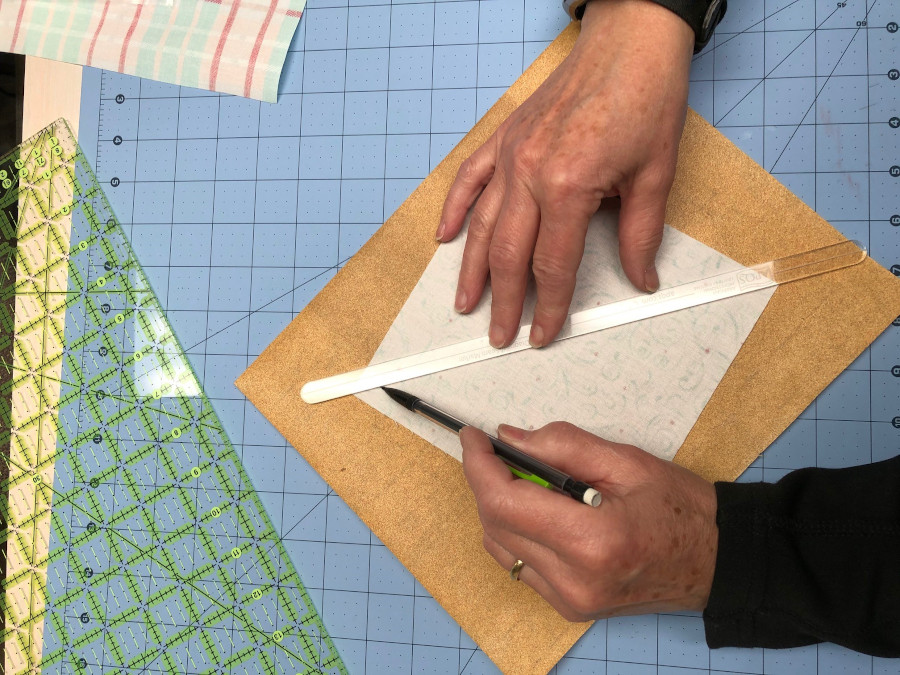
PRO TIP: When drawing lines on fabric patches, place them on top of a clean piece of sandpaper with fine grit. The sandpaper holds the fabric while you drag your pencil along the marker’s edge so that it doesn’t wrinkle and distort. And you can simply spin the sandpaper around if you need to mark a line on the other side of the seam marker so you don’t have to be a contortionist.
Don’t have a round table, or do you prefer a square topper? I’ve included instructions for additional blocks in this free pattern to fill in those corners.
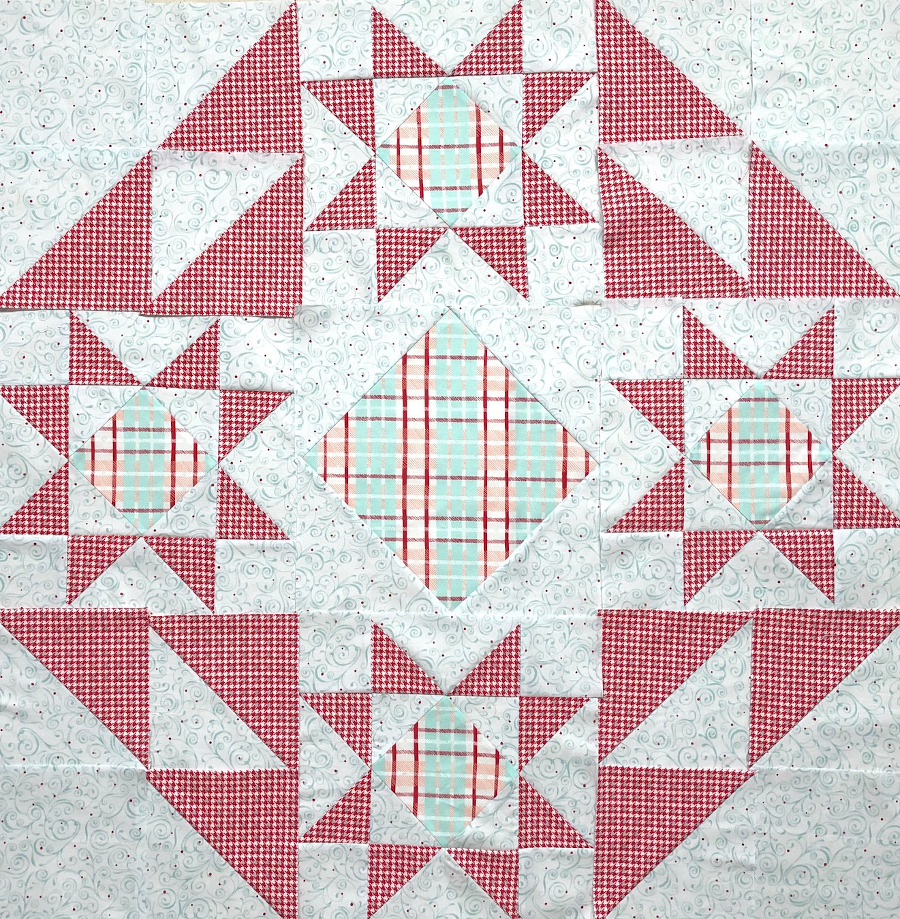
Since this project is an unusual shape, when it came time to quilt it, I floated the top over batting and backing. I used the electronic directional locks on Millie to ensure it was straight by guiding the machine along the raw edges and adjusting the quilt’s placement where necessary.
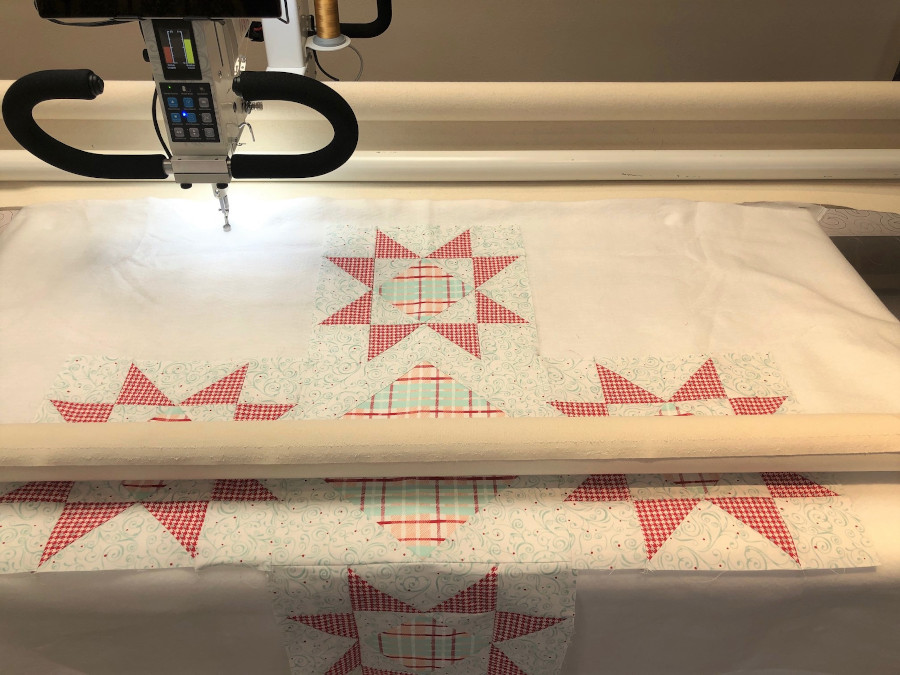

When I was satisfied that it was square, I moved the machine onto the fabric and re-engaged the appropriate lock to do a precision basting stitch around the top’s perimeter. That allowed me to put an extra basting stitch right in the star tips where several seams come together so that they wouldn’t pull apart as I quilted. (I know that I should have back-stitched at each of those exterior seams, but I admit I might have missed one or two. The precision basting is extra insurance. 😊)
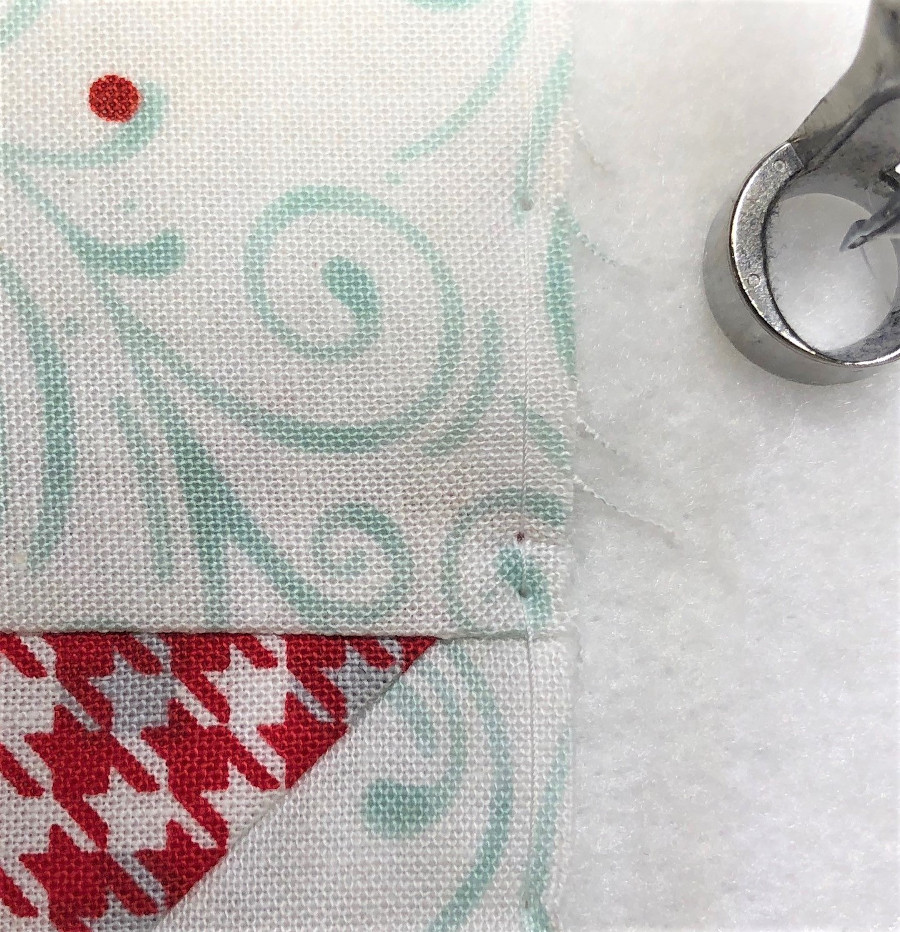
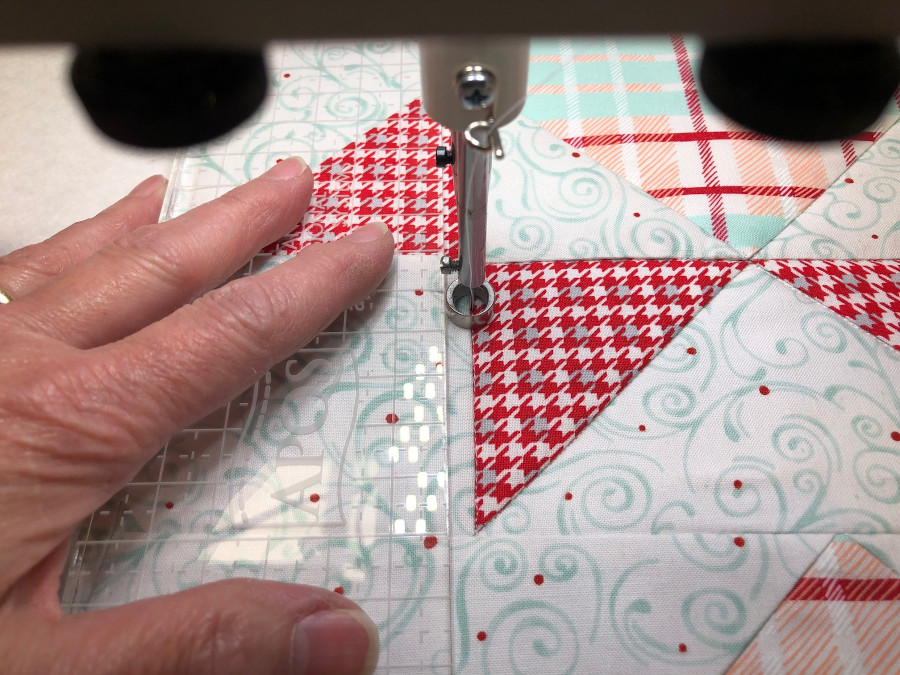
I’m a person who likes the crisp, defined line that stitching in the ditch creates. Before I quilted inside the blocks, I outlined each patch with straight stitching. I like a straight longarm ruler that’s no wider than about 3 inches for this technique. It allows me to rest my ring finger or pinky off the ruler’s edge—which acts like a ‘brake’ to hold the ruler in place as I stitch along the seam. Then I don’t need to press down hard on the ruler; instead, it is just a guide. (Make sure you use an extended base on the machine with rulers—choose a base that matches your machine type.)
I used free designs included with the APQS Quilt Path computerized system to stitch the motifs in the blocks. The software allows you to use actual block corners to accurately place each design and even stretch the design all the way out to the block edges. However, I wanted the designs to float inside the negative space. A quick button tap program let me automatically shrink the design’s size 1/8-inch at a time, while keeping its accurate placement.
This table topper has inside corners, which admittedly are a little more cumbersome to handle than outside corners. I’ve included instructions in the free pattern to help you tackle those. I’m sure you can come up with some pretty amazing color combinations and feature fabrics for this project. We’d love to see photos of your table topper designs!


