Do I “have” to stitch in the ditch?
Quilters can make a case for both a “yes” and a “no” answer. Quilts that are quilted “edge to edge” will not have stitching in the ditch. These quilting lines pass over the seams many times and are designed to blend the quilt’s elements together. But if you choose to highlight areas of the quilt with custom quilting, decide if any seam lines must maintain a straight visual appearance. If so, it’s time to whip out your ruler!
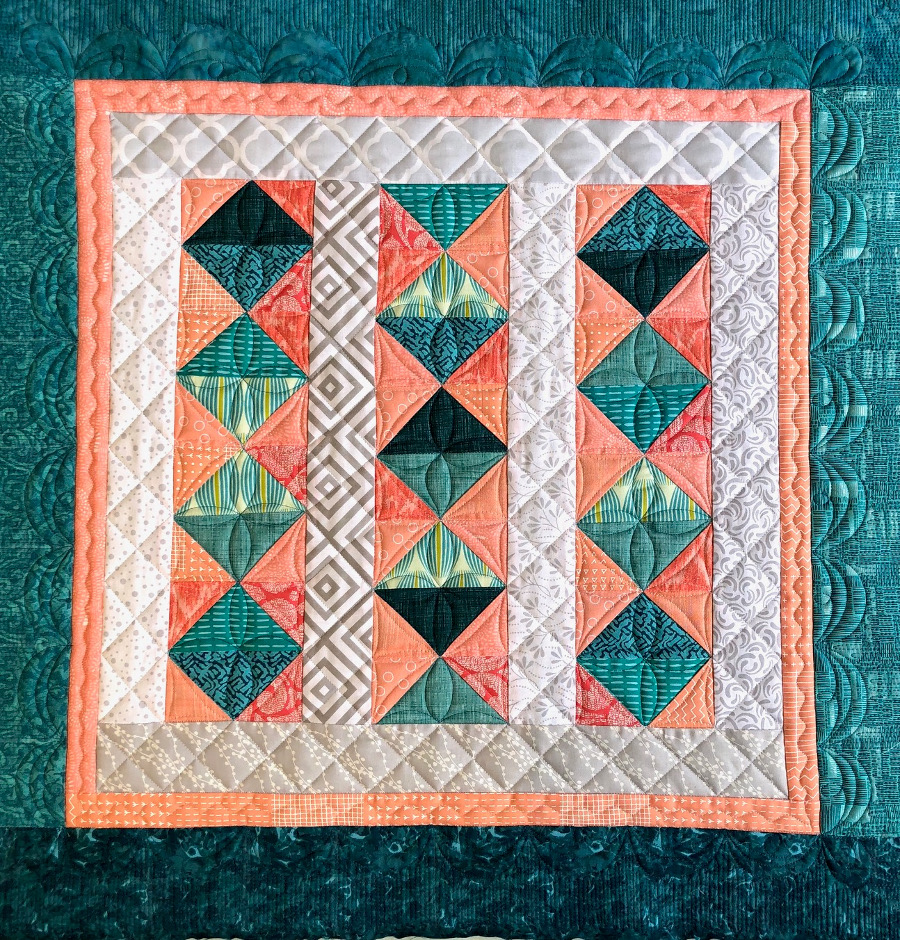
Borders and sashing strips should look very straight; after all, the border serves as a frame to the quilt and gives it that “finished” look. Stitching in the ditch between borders, blocks and sashing helps stabilize the fabric, maintaining straight lines and preventing distortion. Take a look at the photo below. Without stitching in the ditch, the narrow border appears wavy.
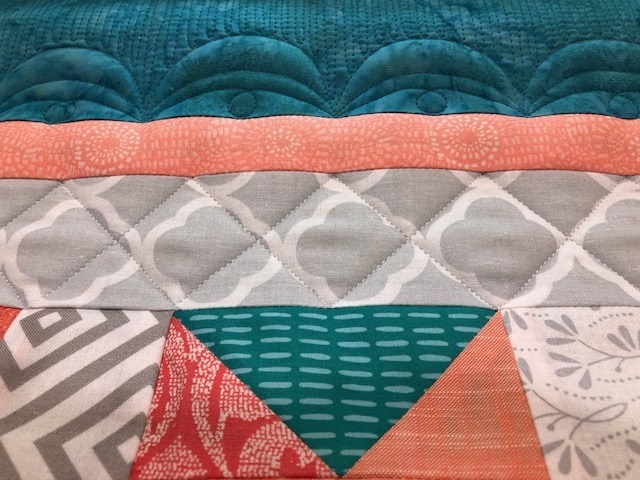
See how much better and straighter it looks with ditch stitching?

When you want your blocks to be a focal point, stitching the ditches on the patchwork draws attention to them—like adding eyeliner around your eyes. 😉 However, if the piecing didn’t turn out as accurately as you’d hoped, stitching in the ditch will only magnify the mistake. See how your eye is drawn to the chopped off corner of the block?
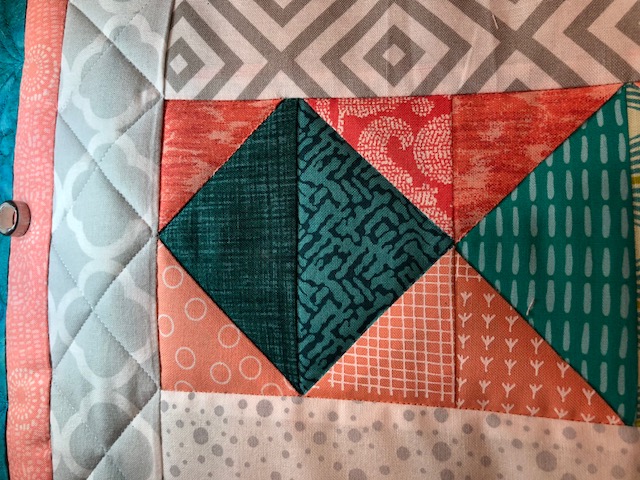
In that situation, consider adding a block design over the top of the block to camouflage the error, or use continuous curve quilting instead of stitching in the ditch. The curves will soften the seams visually and hide errors.
If you choose to stitch the ditch, do it as the first step before adding any quilting design in the border or sashing. If you are adding extra background quilting around your design, that would be the last element to add to the quilt.
“But it’s too hard!” is a lament uttered often by quilters. If your daughter said that about her piano recital piece, what would you say? “The more you practice, the easier it gets!” If you are nervous about stitching in the ditch, you’ll never develop your confidence by standing on the sidelines.
This video shares helpful tips to get you started. Be sure to use an expanded base and guiding ruler for stability and accuracy.
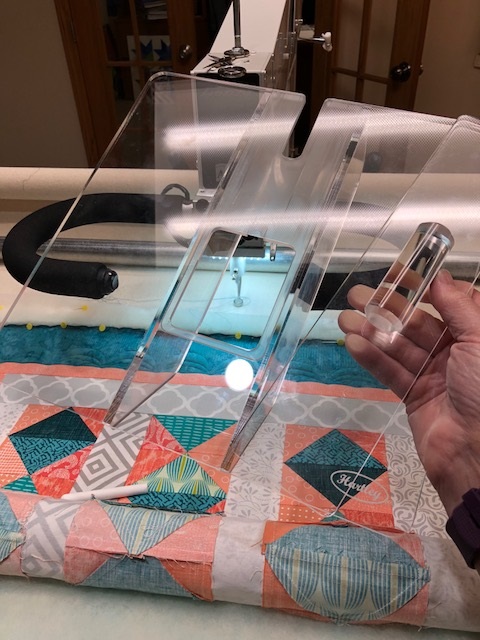
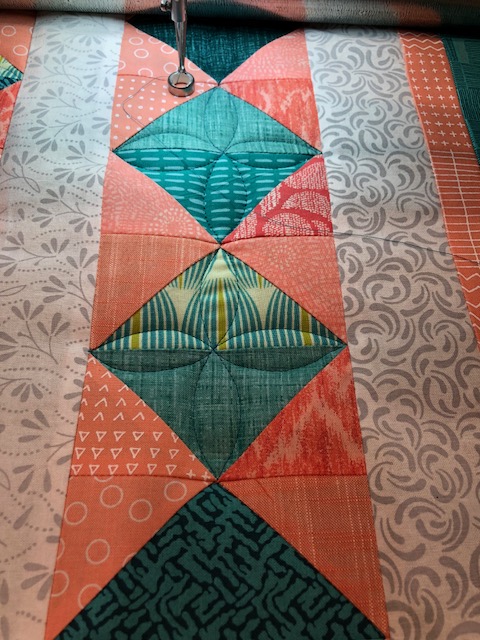
Practice your technique, holding the ruler on the “low side” of the seam whenever possible. This keeps the top fabric from folding over under the ruler’s pressure, which can affect how close you can actually stitch to the seam.
Practice holding the ruler with either hand, driving the machine with the opposite hand. With a new APQS longarm machine, you can easily control the machine’s functions with any handle, as the needle up/down feature and the start/stop function are both built into each handle. If you are still timid, try using invisible thread in the machine for stitching in the ditch (it’s very forgiving to both learning quilters and experienced quilters—I used it on this sample! 🙂 )