
Bulky Intersections
Seam direction is a pressing matter for quilters everywhere. (Sorry, I just couldn’t resist!)
Quilters on one side of the iron insist, “Always press toward the dark fabric!” The other side chants, “Always press to reduce bulk!” As a quilt piecer, I want it all—I don’t want my dark colors showing through my light fabrics; I want my patchwork to be accurate and I want it to be flat. But as a longarm quilter, eliminating bulky intersections that can break needles or distort quilting lines tops the list.
In reality, most quilt tops require compromises on both sides to produce a quilt that lays flat, has precise intersections, has minimal shadowing, and is also easier to quilt. Your batting and pattern choice impact all of those concerns, as does the fabric.
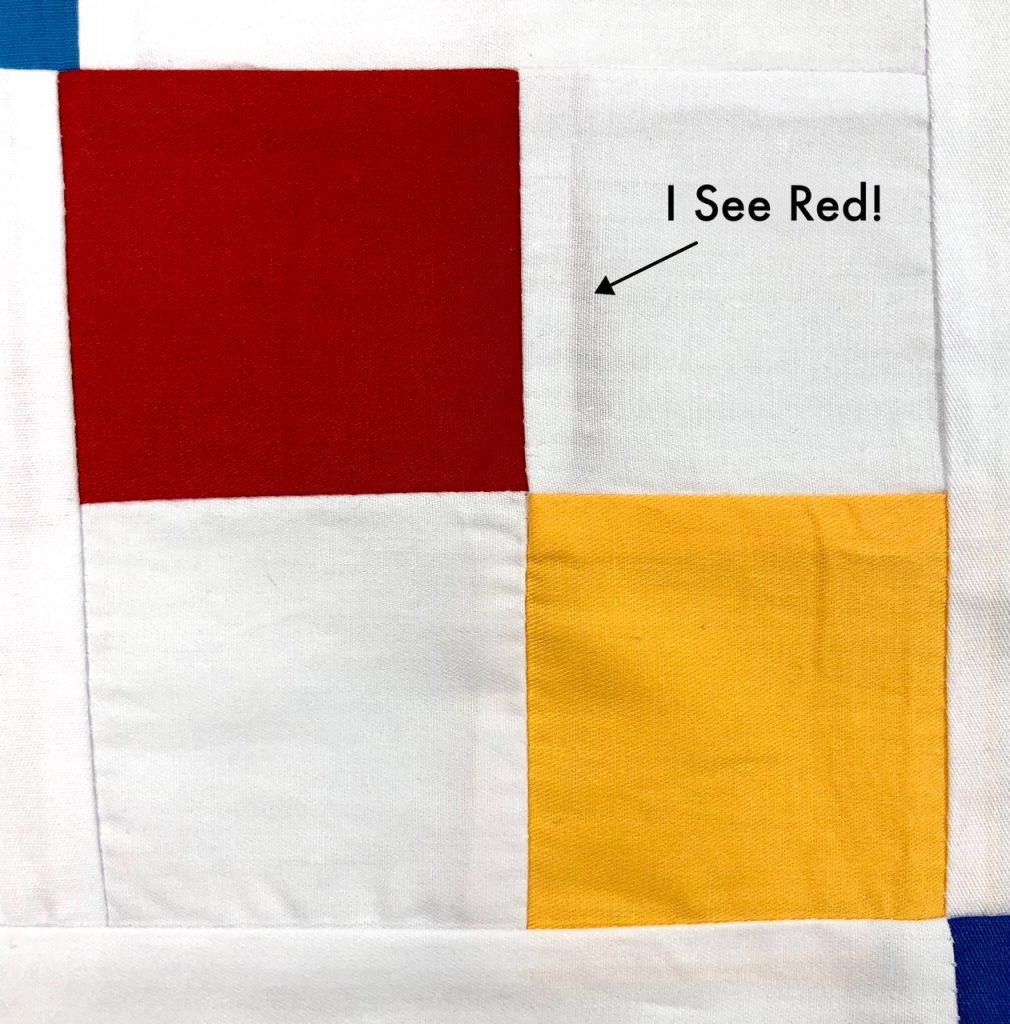
The fabric in the photo below is broadcloth, which is thinner and more transparent. Do you see a much-too-generous red seam allowance peeking through? With this fabric, you may need to pick your battles—are you more concerned about the shadows, or the piecing accuracy and bulk?
The easiest way to tackle fabric shadowing and bulk (while also improving piecing accuracy) is to make a “pressing plan”. A pressing plan is a road-map that guides which way seams should be pressed when assembling a block. The plan takes fabric color into account when possible, but reducing bulk trumps the “always press to the dark fabric” rule if pressing to the light side will accomplish that.
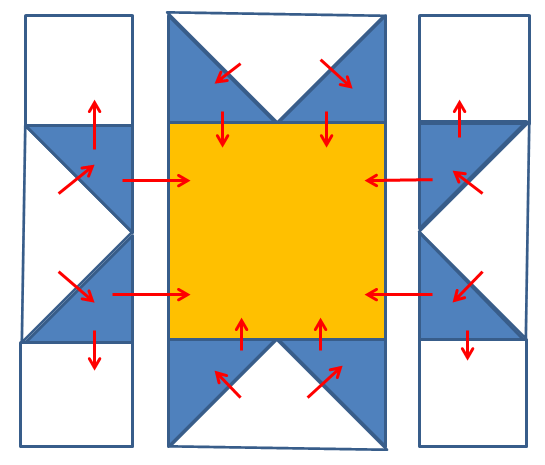
Depending on the piecing pattern, it may not be possible to accomplish both—you may have to live with some shadowing as well as some bulk. (Of course, your longarm quilter will be super pleased if you place ‘reducing bulk’ as your #1 priority! J)
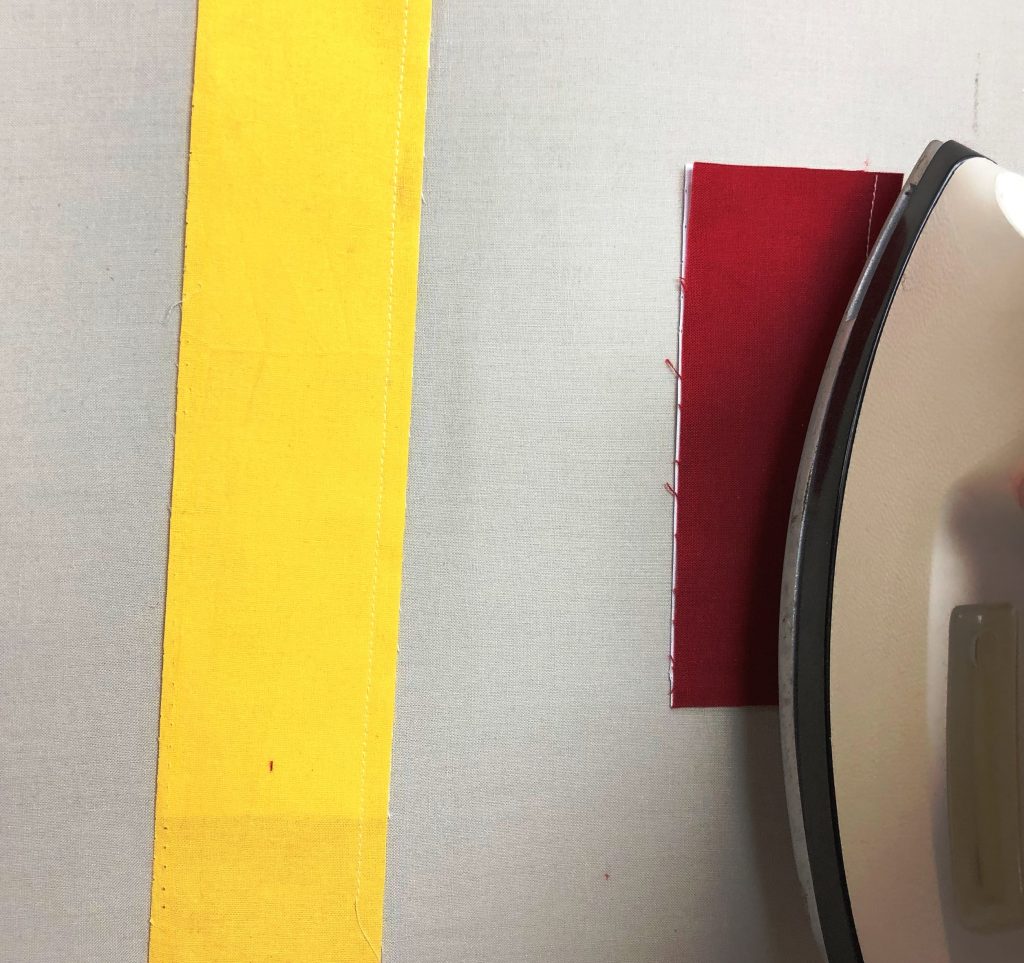
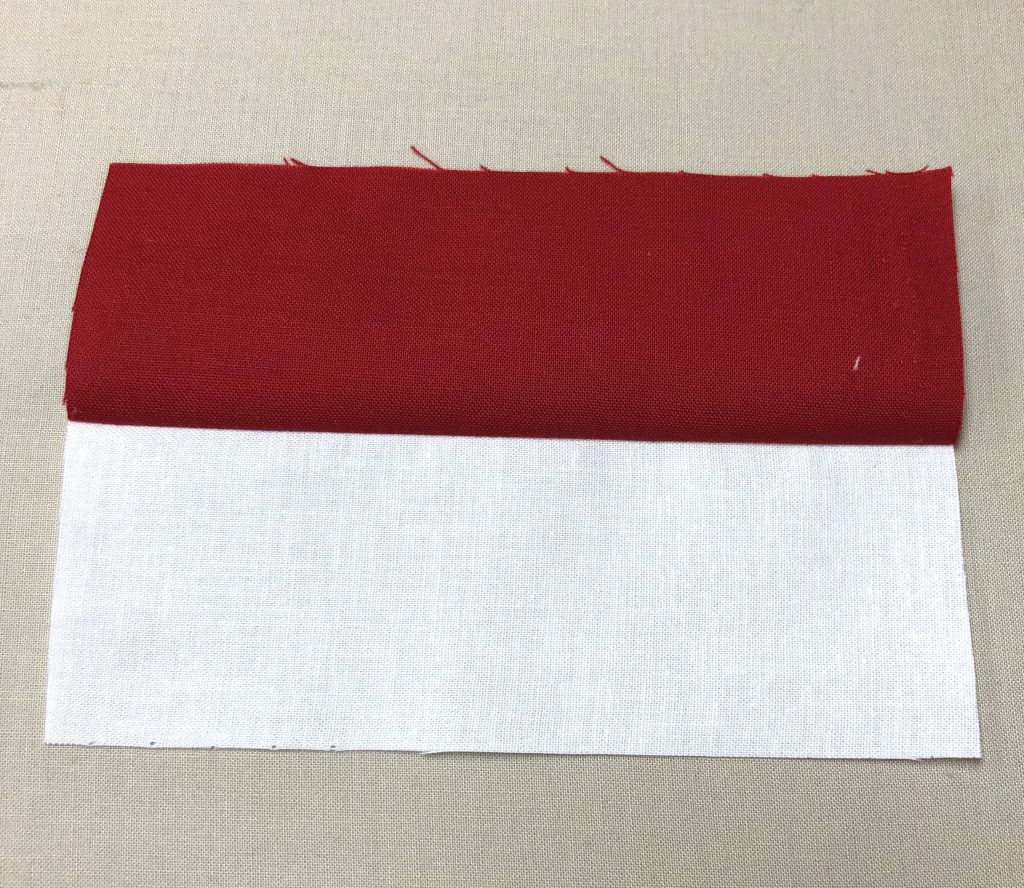
Here’s a quick look at how a simple pressing plan can help avoid having the red fabric shadow through. While I’m using Kona cotton for the next photos, the process would give the same results using other fabrics. I sewed a strip of white fabric to both a red and yellow fabric strip for our demo, and then put them together in a 4-patch similar to the broadcloth example above.
First, set the stitches on each sewn strip set before opening them and pressing. Place the dark fabric side up. Set your iron on top of the strip and press. (Don’t slide your iron—lift it and place it down on the next section of strip to avoid stretching it.) Personally, I use steam, but that’s a topic for another blog!
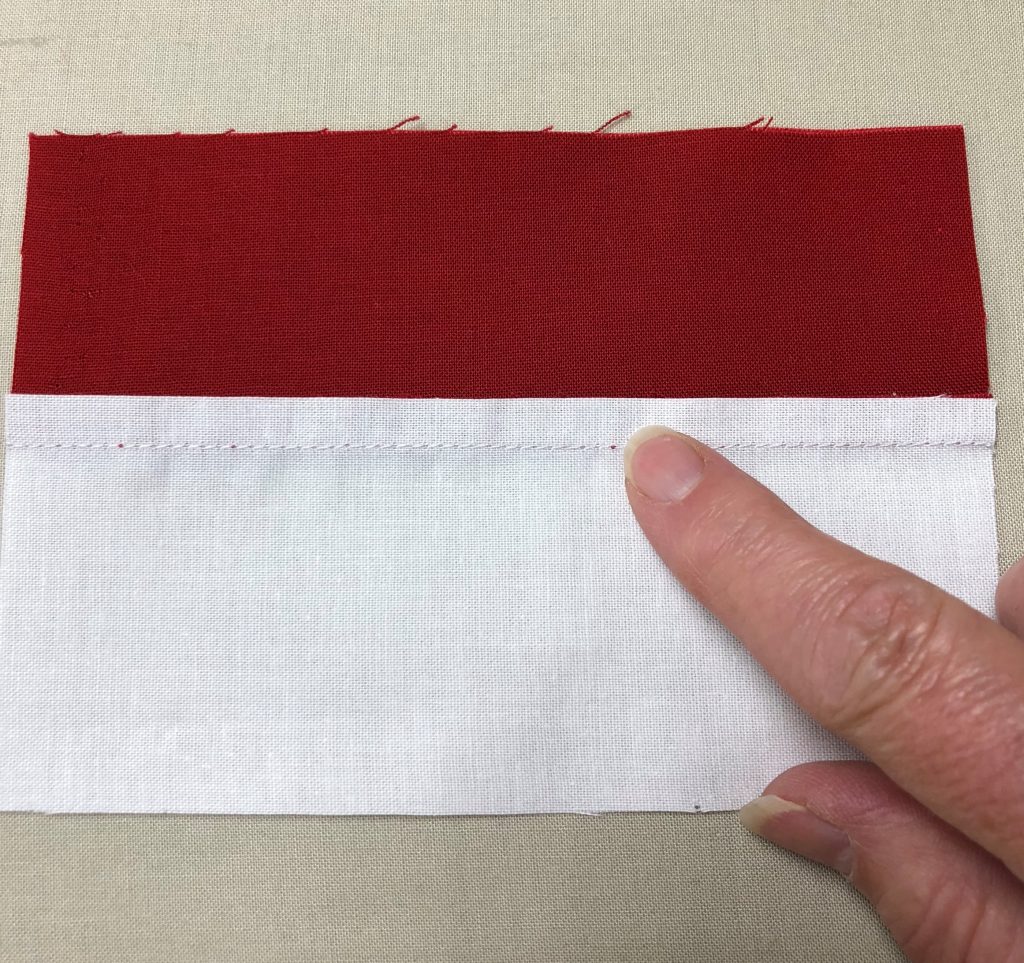
When it’s cool, lift the dark fabric up from the strip set and gently finger press the dark fabric away from the white fabric.
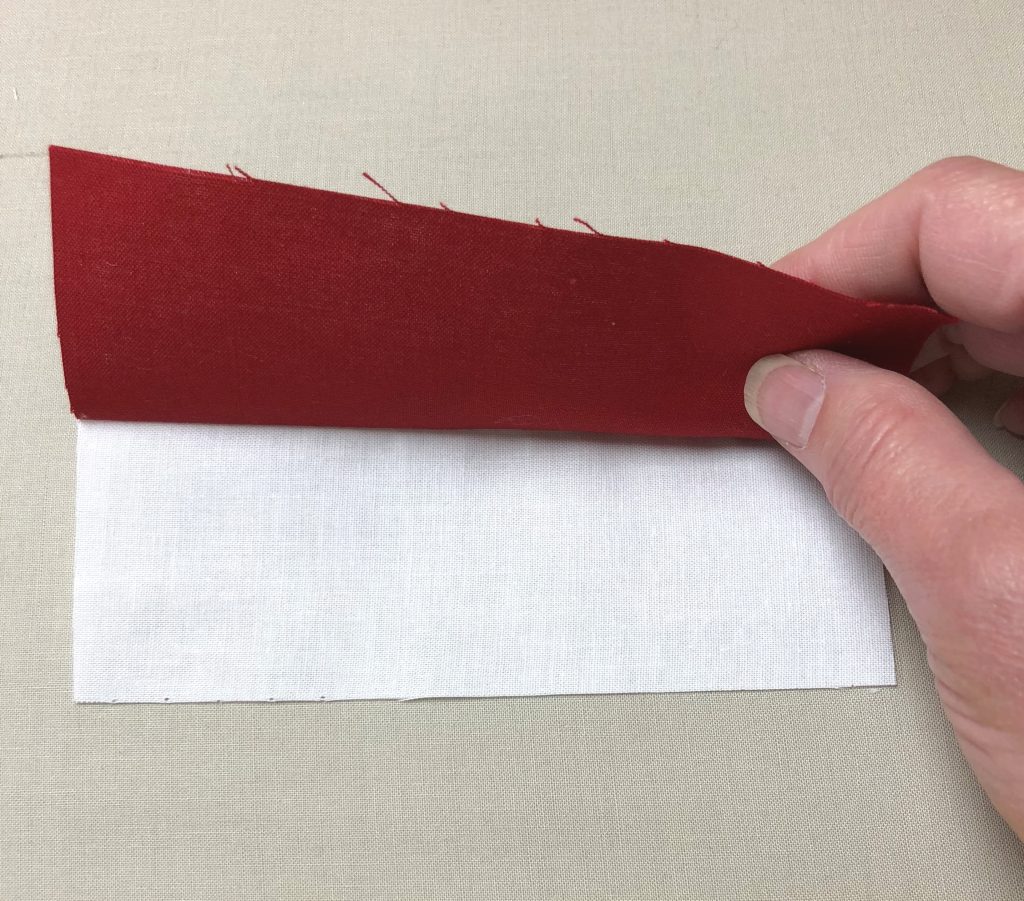
This will direct the seam toward the dark fabric on the back side. Press again.
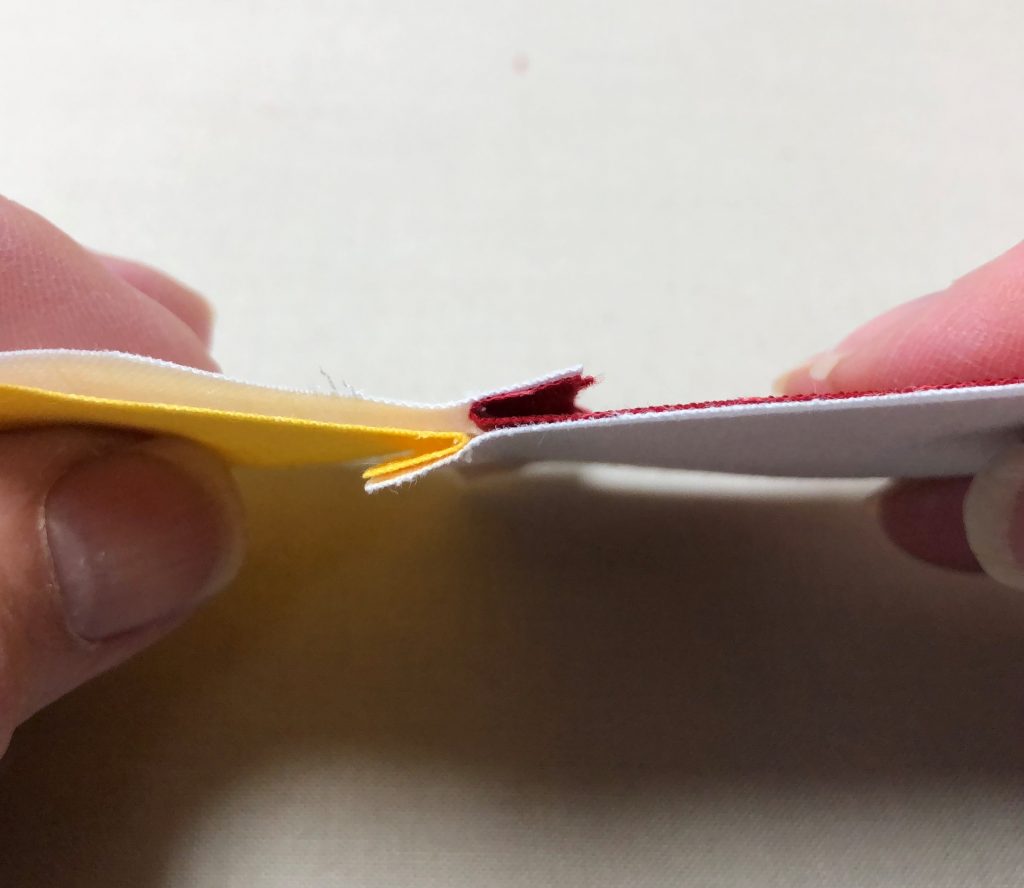
After pressing the strip sets open, I cut them into the proper width for my 4-patch sample block. The seams point in opposite directions, ensuring that the two fabric sections will nest neatly together.
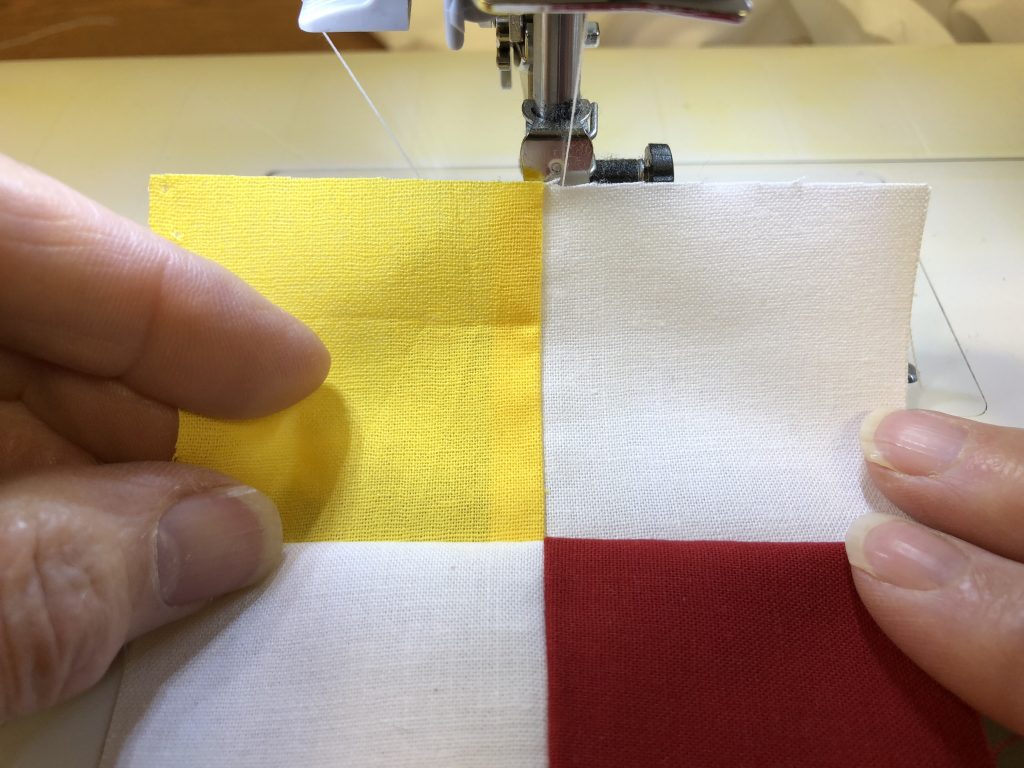
Since I can’t see the sewing machine’s feed dogs, I like to place the set so that the bottom seam will face away from the feed dogs as the unit feeds under the presser foot (that’s the red/white fabric seam in my sample.) This way, I can keep an eye on the top seam and ensure that it doesn’t accidentally flip over while the bottom seam follows neatly along underneath.
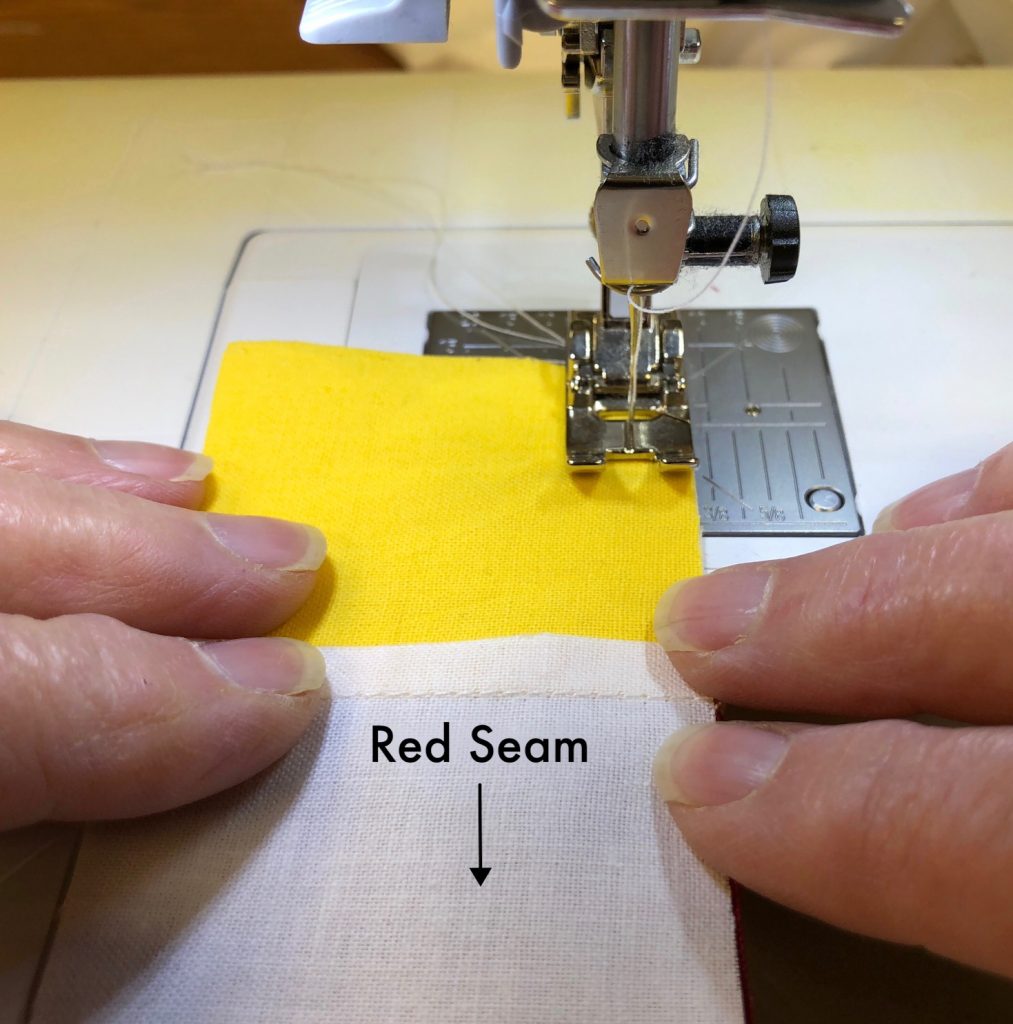
If you like, you can also use pins on each side of the intersection to make sure the fabric stays put as you direct it through the machine. See how precise and tidy that intersection is? PH
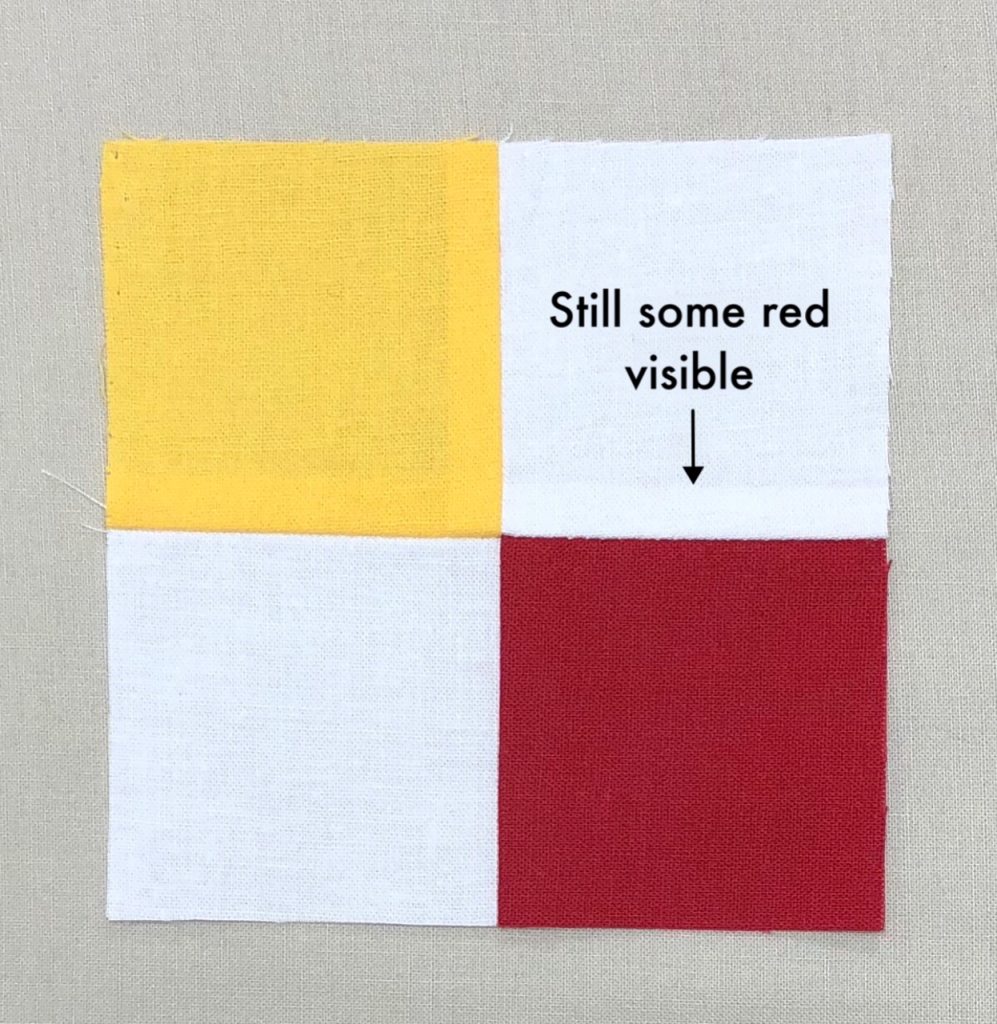
Now that the seams are nested so well, I have a pressing choice to make for this unit. If I press the new seam toward the yellow and white fabric, there’s a chance the red seam allowance will shadow through.
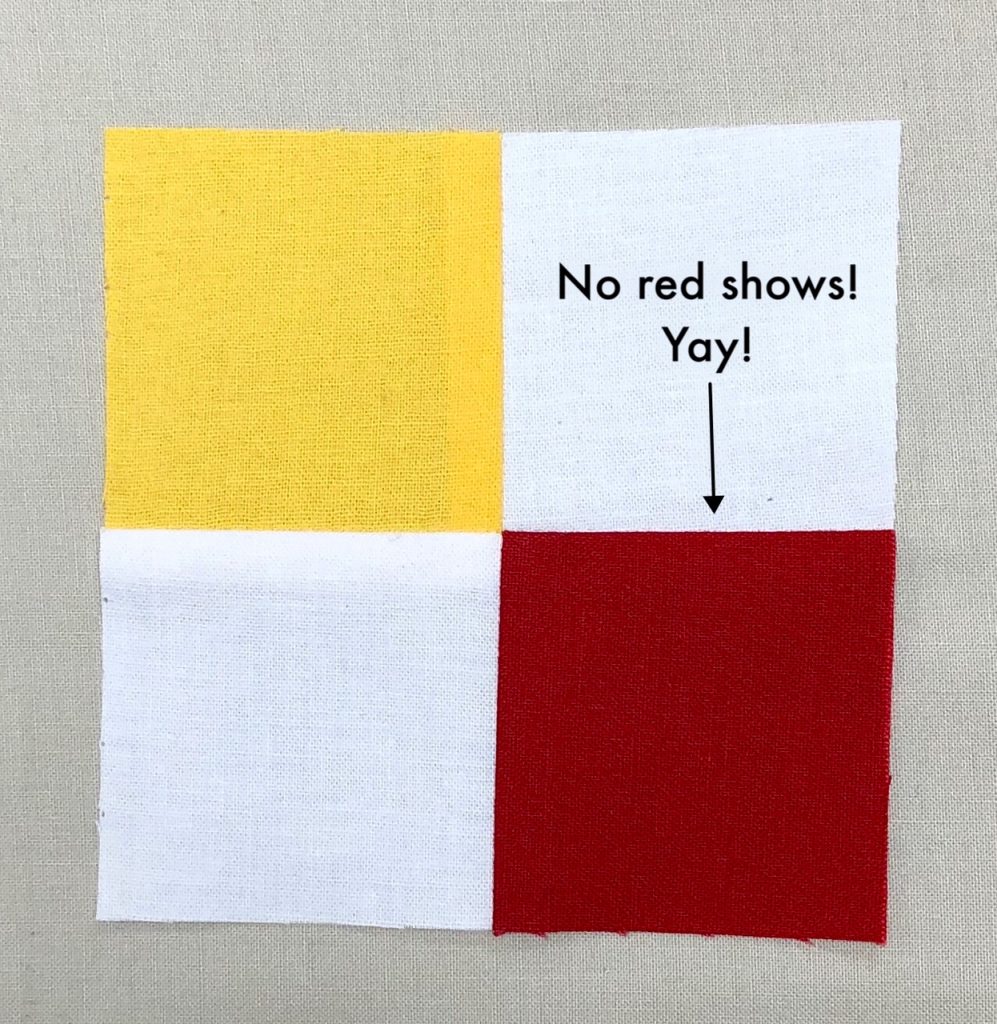
But I can choose to press it toward the red fabric, and keep both red seams out of sight. Bingo! A great intersection, no shadowing, and minimal bulk!
This simple 4-patch is just an introduction nesting seams and making a pressing plan. If you intend to stitch in the ditch with your quilting, or if any of your quilting designs will cross over intersections, take a few extra minutes to map your pressing route. It can mean the difference between blocks that lay flat and true, and blocks that are misshapen and distorted as your quilting foot runs into the piles of fabric. And if you ‘quilt by check’, you’ll be your longarm quilter’s best pal!


