Avoiding tucks on the back of your quilt
We all want the backs of our quilts to be as lovely as the fronts and want to avoid any tucks. Tucks occur if a bit of the backing fabric has been folded over and sewn down. Tucks generally happen when the backing is looser than the top, particularly in a specific spot.
Here is some advice to help keep you and your quilt on the straight path!
Loading the quilt
Make sure your backing is square
This doesn’t mean your backing has to be a square with all four sides the same, but it does mean that your backing should be a rectangle with opposite sides of the exact measurement and the corners are 90 degrees. It is especially critical that the sides attached to the rollers be parallel. Otherwise, one side will be looser than the other and your backing will sag. Sometimes you can roll the quilt back and forth between the backing and pick-up roller and the sag will smooth out.
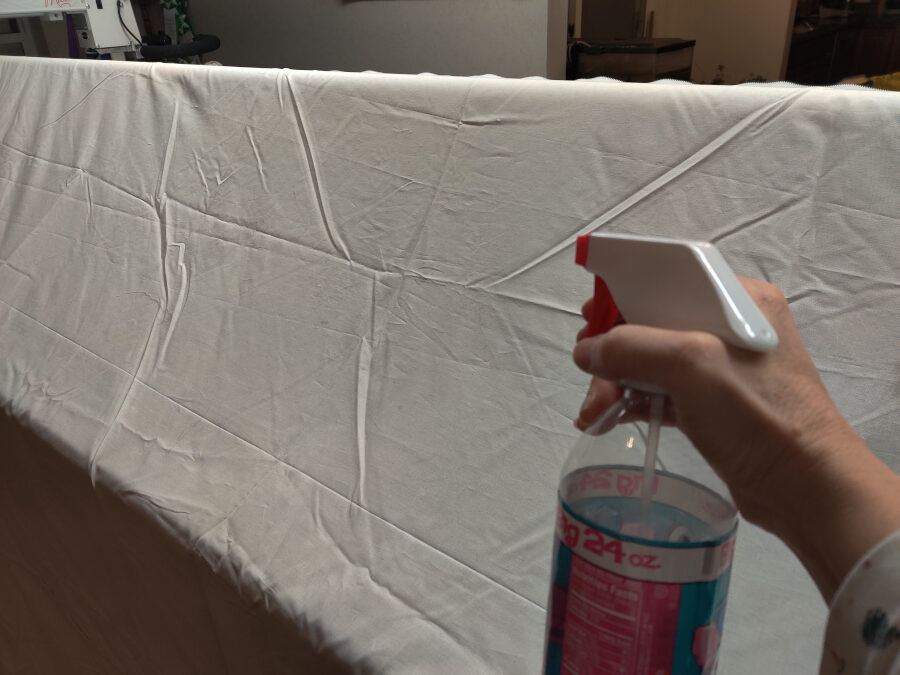
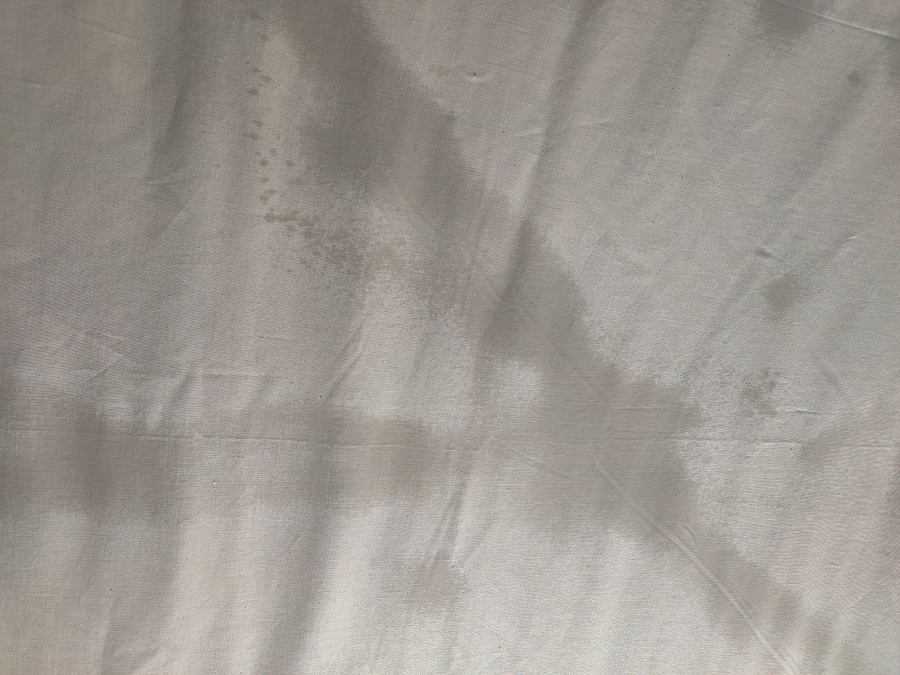
Make sure your backing is flat
Wee don’t want to stitch in any wrinkles or creases. Press your backing, or drape the backing over your rollers, spritz those creases and let the backing dry. When you do this, the creases will usually disappear. Also, make sure your fabric is colorfast before trying this method.
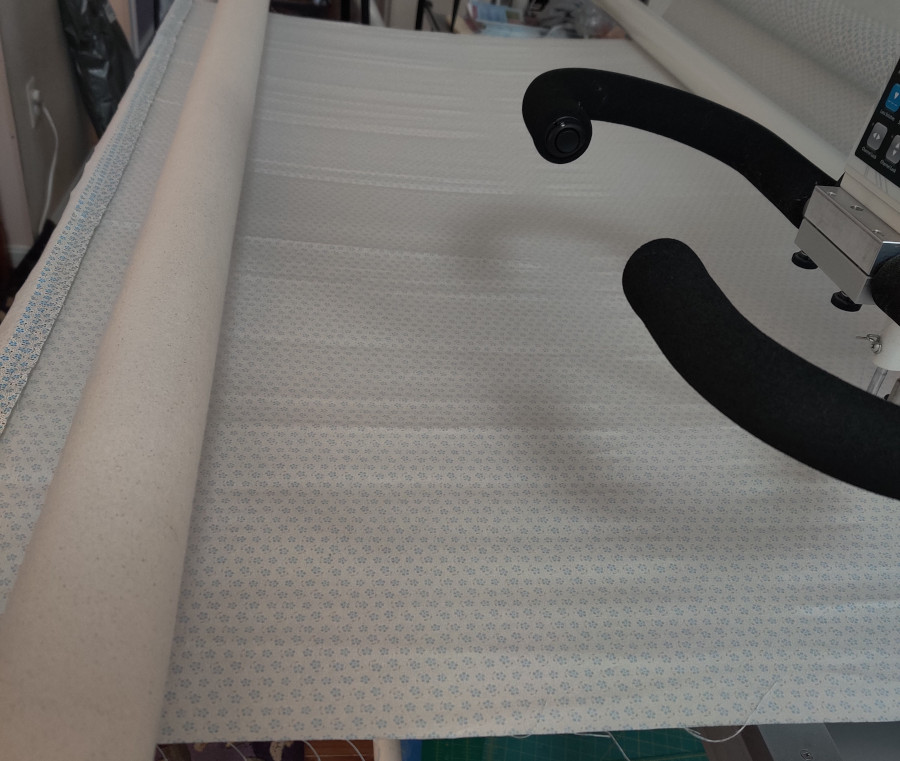
Keep good tension on your backing and use your side clamps
Your backing shouldn’t be “tight as a drum,” but it also shouldn’t be loose and saggy. If you can see the leveling bar move as you tighten the backing, it is too tight. You should be able to see a slight rise where the machine is as you move the machine around, like a mole underground. Your side clamp elastic should also have a little give.
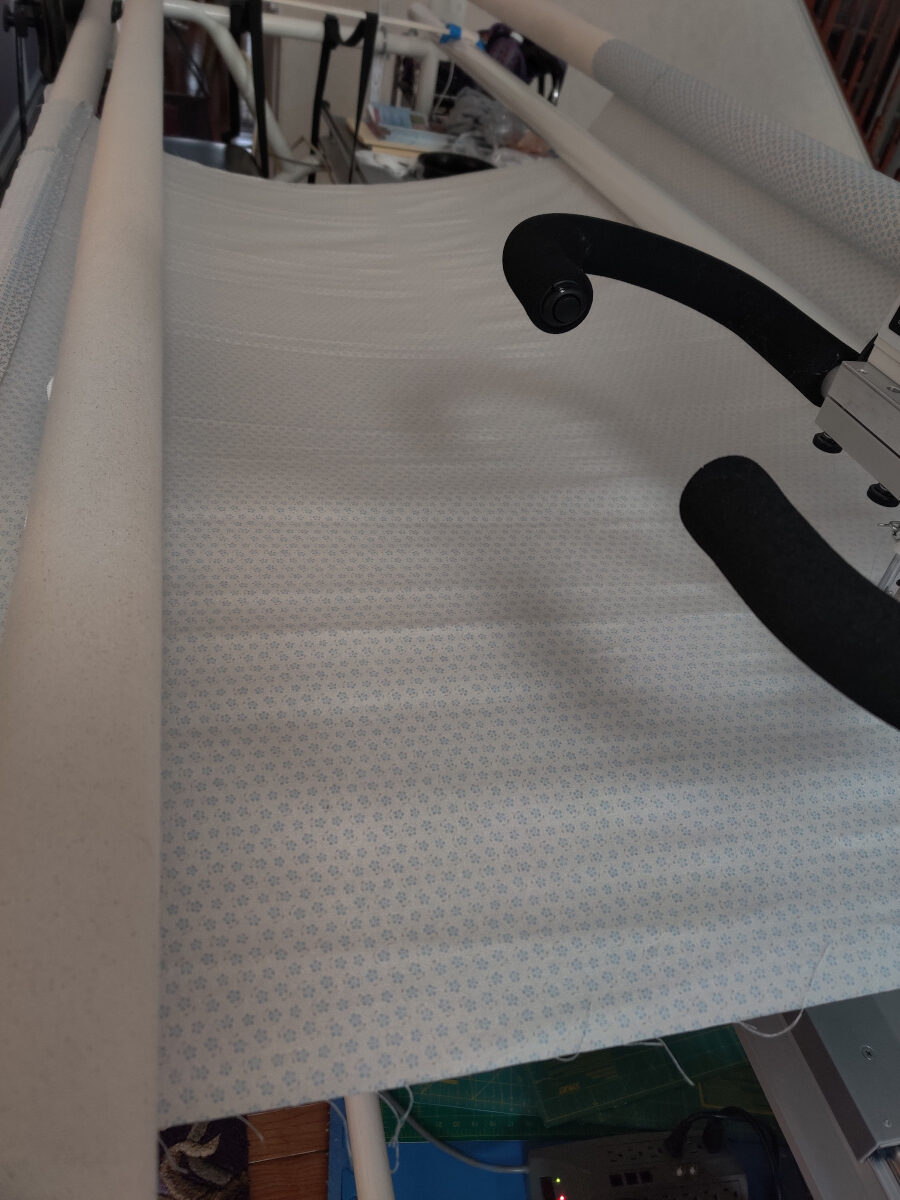
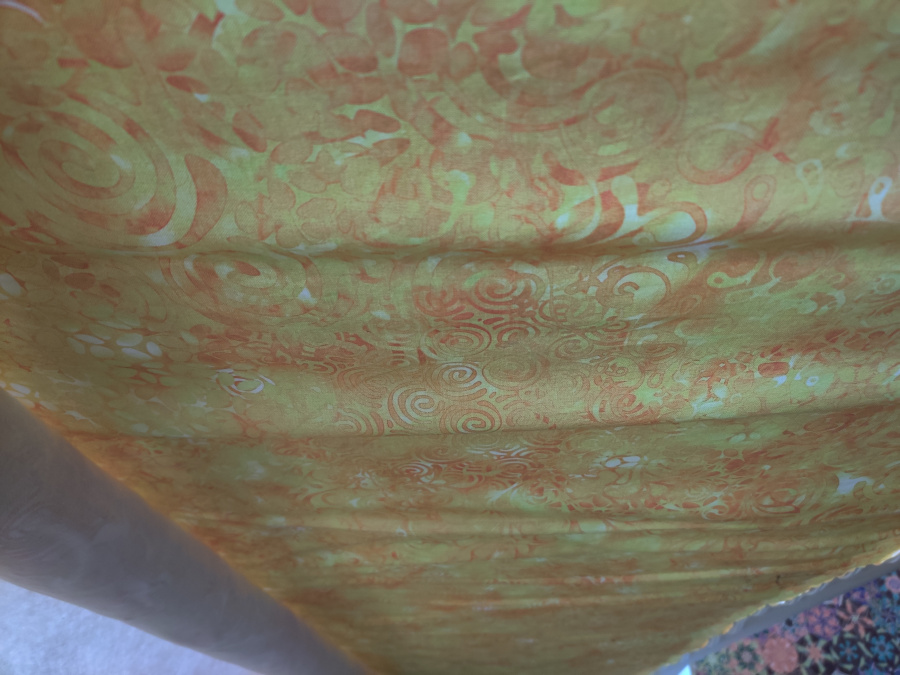
Lift your batting and place it down
Don’t pull your batting to get it centered, as some battings are very “grabby” and could pull your backing with it and create ripples that may result in a tuck. Instead, lift it up and replace it. In the photo below, the batting has pulled the backing in places and it is rippling.
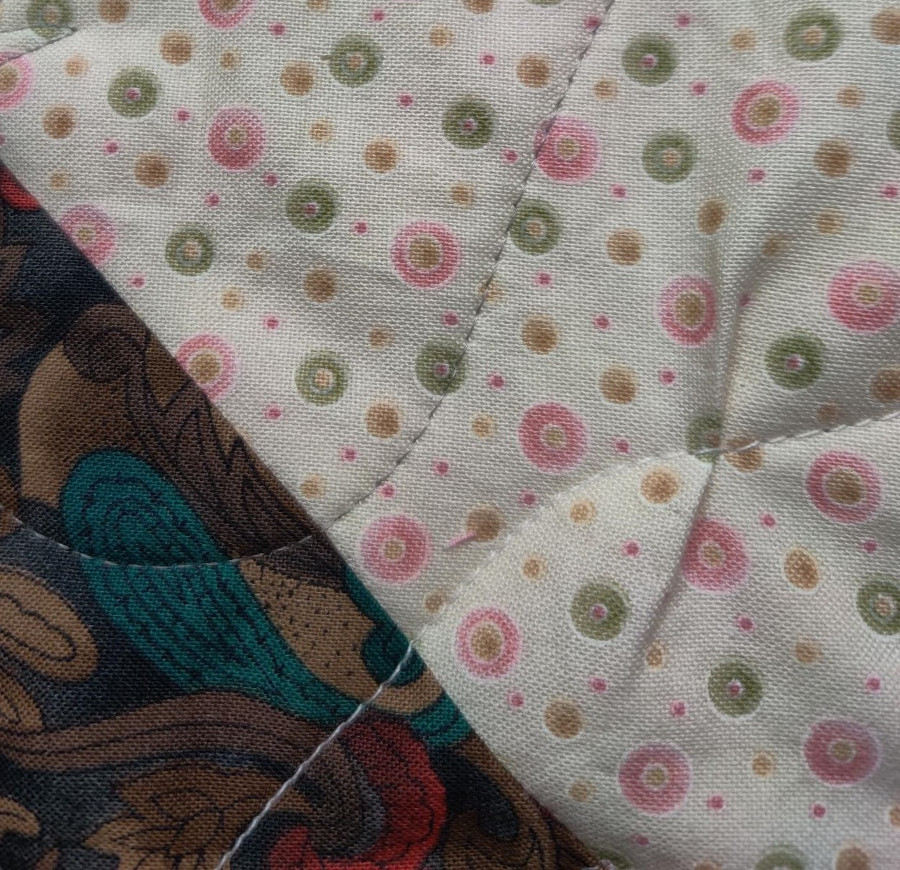
Press the backing seam open and place the seam parallel to the roller
This helps prevent seam build up which can cause a tight spot at the seam and looseness next to the seam.
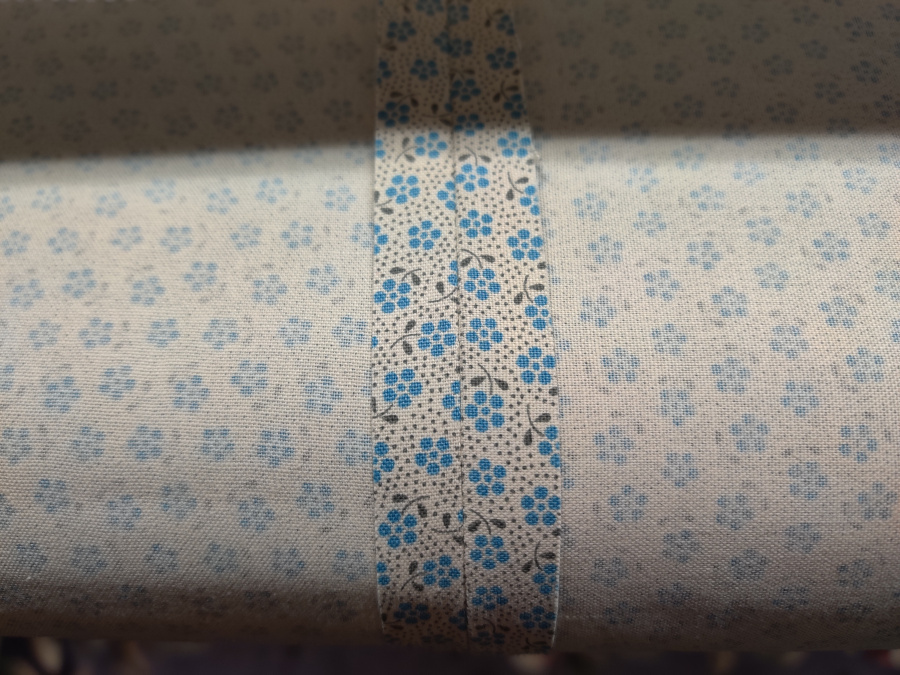
Try to avoid the seam being perpendicular to the roller. We want the seam parallel to the roller, like this!

Quilting the quilt – baste potential problem areas
If you have one of the potential problems below, baste 1-3 inches apart to help keep the backing and top in place. When quilting a basted area, pull out the basting stitches ahead of your quilting and avoid quilting over the basting stitches.
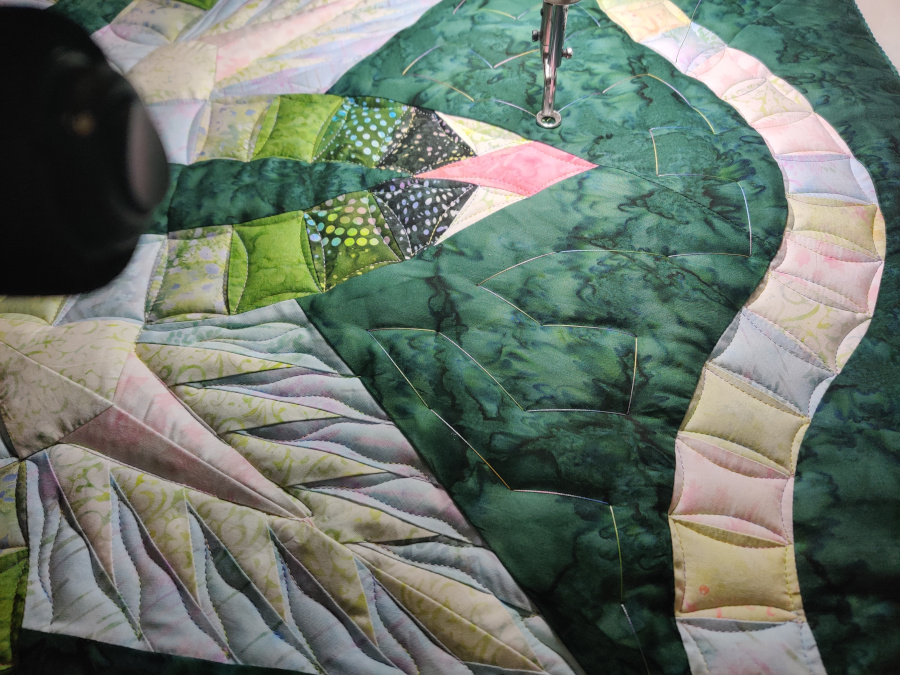
Dense quilting next to open quilting
If you have a portion of the quilt that is densely quilted around open areas and then go back to fill in the open area, sometimes the backing is looser in the open area and prone to get a tuck. Try quilting the more open area first, then quilt the denser areas around it. Or, baste the more open area, quilt the dense area, then quilt the open area.
Rolling the quilt back and forth
In most cases, you quilt the entire visible portion of the quilt before advancing. But if you are quilting with multiple colors of thread, you may want to quilt all of one thread color before switching to the next color, or maybe you have a continuous design that is larger than your throat space allows in one pass and you want to roll the quilt to finish the design. Baste any areas that will not be quilted before advancing.
Turning the quilt
If you are quilting a border design that is easiest done in one pass, you can quilt everything except the side borders (baste these), then turn the quilt 90 degrees and quilt the two remaining borders. If you haven’t basted, these borders will be very puffy and full and difficult to quilt without creating a tuck.
The top is not flat
Sometimes a quilt top will have areas that are very tight and others that have a lot of fullness. Basting the full areas will help even things out and can help prevent tucks in the top as well.
How to fix a tuck
Even the best of us get tucks now and then. If you do, don’t despair! Often you can take out the stitching causing the tuck, steam the extra fullness out and restitch. Starch can also help draw in the fullness but will need to be washed out afterward so as to not attract critters.
Try these tips, and may your backs ever be flat and tuck-free!