
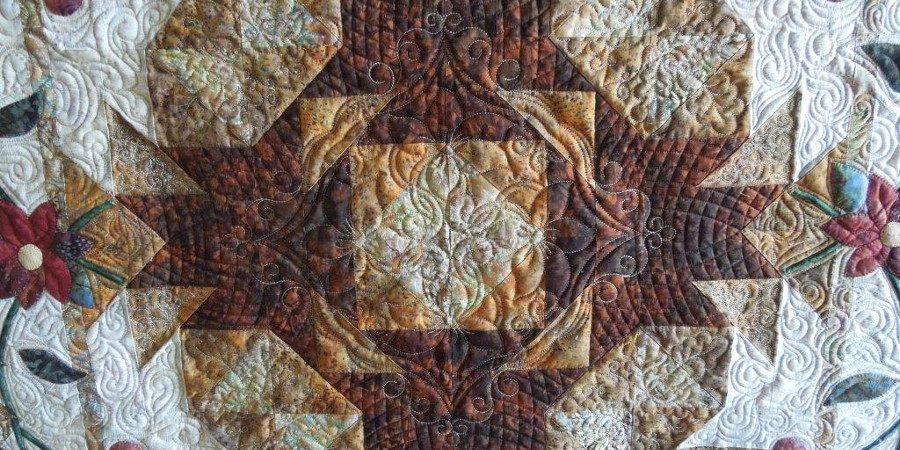
Quilting the Quilt: Bending the Lines
Contrast (noun). “The state of being strikingly different from something else, typically something in juxtaposition or close association.”
The word contrast is a key word in a quilt maker’s vocabulary. We look for contrast in fabric shades, print scales, patch sizes, thread choice, and even
quilting texture to make our projects more appealing. When it comes to quilting designs we also use contrast to set things apart and spark interest.
On linear patterns like the log cabin, curved designs like Baptist fans or feathers complement the straight lines and angles nicely. And on curvy
appliqué patterns we often use a crosshatch grid behind the design to set the appliqué apart.
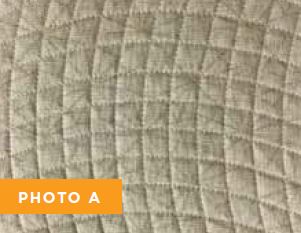
In recent years quilters have explored modifying the traditional 45-degree crosshatching grid by changing the angle to 60 degrees, creating a diamond-shaped grid. You’ve probably seen quilts where a grid is built with curved lines instead of straight ones, creating a dramatic bending grid pattern (Photo A).
Traditional 45- and 60-degree crosshatching is static and acts like a symmetrical anchoring element to the undulating lines of appliqué or
negative space. But curved crosshatching introduces movement and asymmetry while still imparting a sense of order and structure to the
design.
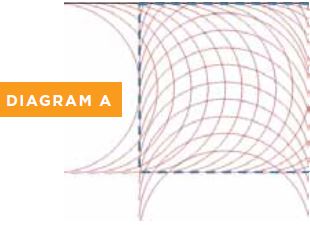
Curved crosshatching can be accomplished using a series of concentric circles to radiate out from a center point, or by using a singlesize
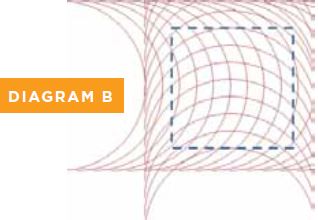
circle that slides along a reference line. These two methods produce slightly different looks depending on the result you desire. Concentric circles create uniform spacing between each stitched line, which is closer in style to traditional straight-line crosshatching. Using a single-size circle along a straight plane creates depth of field since lines will get closer together near the outer edges of each arc (Diagrams A and B).
In either case, you may not notice a difference unless you create large sections of curved crosshatching. Both styles are best accomplished by either marking your quilt or using a guiding ruler/ruler set specifically designed for the task. Since crosshatching is typically used as a background or filler design, you’ll need to consider the distance you must travel from one side of the block to the other and select the best ruler size and type for the job.
Depending on the space you are filling, you might need a large ruler or template. As you see in Diagram A, using a ruler based on a circle with the same diameter as the block itself creates lovely curves near the block’s center, but the block feels awkward around the edges. However, the curves in Diagram B are more pleasing because the circle used to create the curves has a much larger diameter than the block.
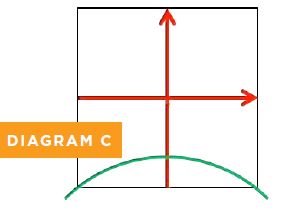
No matter which method you use, it’s important to use registration or reference lines to properly maintain spacing and control the arc of the crosshatching. Place the reference line where you want the highest point of the curve to cross. For example, in Diagrams A and B, the curves move
from left to right and from bottom to top across the block. Therefore the registration lines would bisect the block in both directions as you see in
Diagram C.
(Note: My favorite marking tool for this purpose is an air soluble marker, but you can use whatever marking method you prefer. Always test marking methods before you begin to ensure that the marks can be removed.)
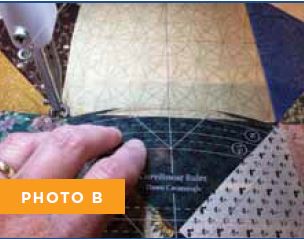
The steepness of the arc and the desired line spacing will determine where you need to place your first curved line. You may be able to start in the corners of a block as shown in Photo B, depending on the size of the ruler, the size of the block, and line spacing. Larger blocks will require
longer rulers to prevent a steep curve across the block.
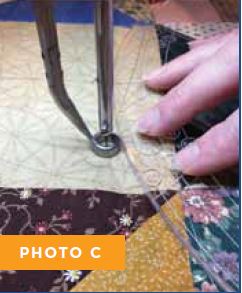
The easiest way to move from one arc to another is to stitch in the ditch and travel to the next arc. However, if you would rather not do that,
you’ll need to secure the thread at each end of every arc. You can do that by leaving thread tails to knot and bury later, or begin and end each
arc with very tiny, close stitches. My APQS machine has a single-stitch feature that makes placing those stitches easily and accurately. Align
the previous stitching line with the correct spacing line on the ruler as you see in Photo C, remembering that the machine’s foot adds ¼-inch to
your measurements.
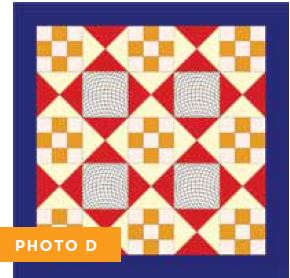
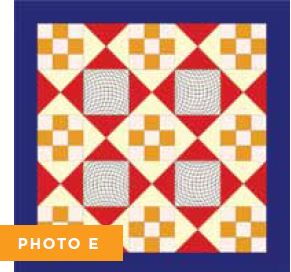
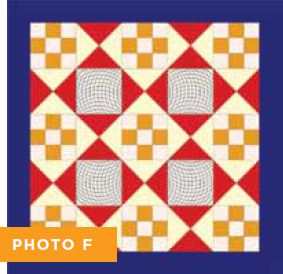
Since curved crosshatching creates design movement, you’ll also want to give some thought to where you want your eyes to travel when you
look at the curves. The direction you place the arcs of the crosshatching lines will create different visual effects or illusions. In Photo D the curve placement directs your attention to the upper left corner. The curves in Photo E seem to rotate clockwise, and in Photo F, the curves radiate toward the corners.
Curved crosshatching can be dramatic when used effectively. Plan your layout and quilting direction so that your quilt doesn’t look haphazard
and confusing, and choose a grid size that is consistent with the quilting density on the rest of your quilt. Have fun and try “bending the lines”
a little for optimum impact on your next quilt!


